Camper Van Conversion: Build Essentials List
Welcome, fellow adventurers and van life enthusiasts, to a comprehensive dive into the world of van conversion essentials. Whether you're embarking on your maiden voyage into van life or gearing up for your second conversion project, you're in the right place.
As someone who has been traversing the globe full-time for the past nine years, this isn't my first rodeo. In fact, this marks my second van conversion. Over the years, I've honed skills (mostly from watching YouTube videos and asking my dad a few too many questions), fine-tuned my preferences, and learned invaluable lessons about what it takes to transform a humble van into a cozy, functional home on wheels.
In this guide you’ll find must-have gear and space-saving hacks. So, buckle up and join me on this adventure as we explore the essentials of van conversion mastery.
The following items are ones that we have used in our van and that we would recommend to anyone else embarking on a similar conversion:
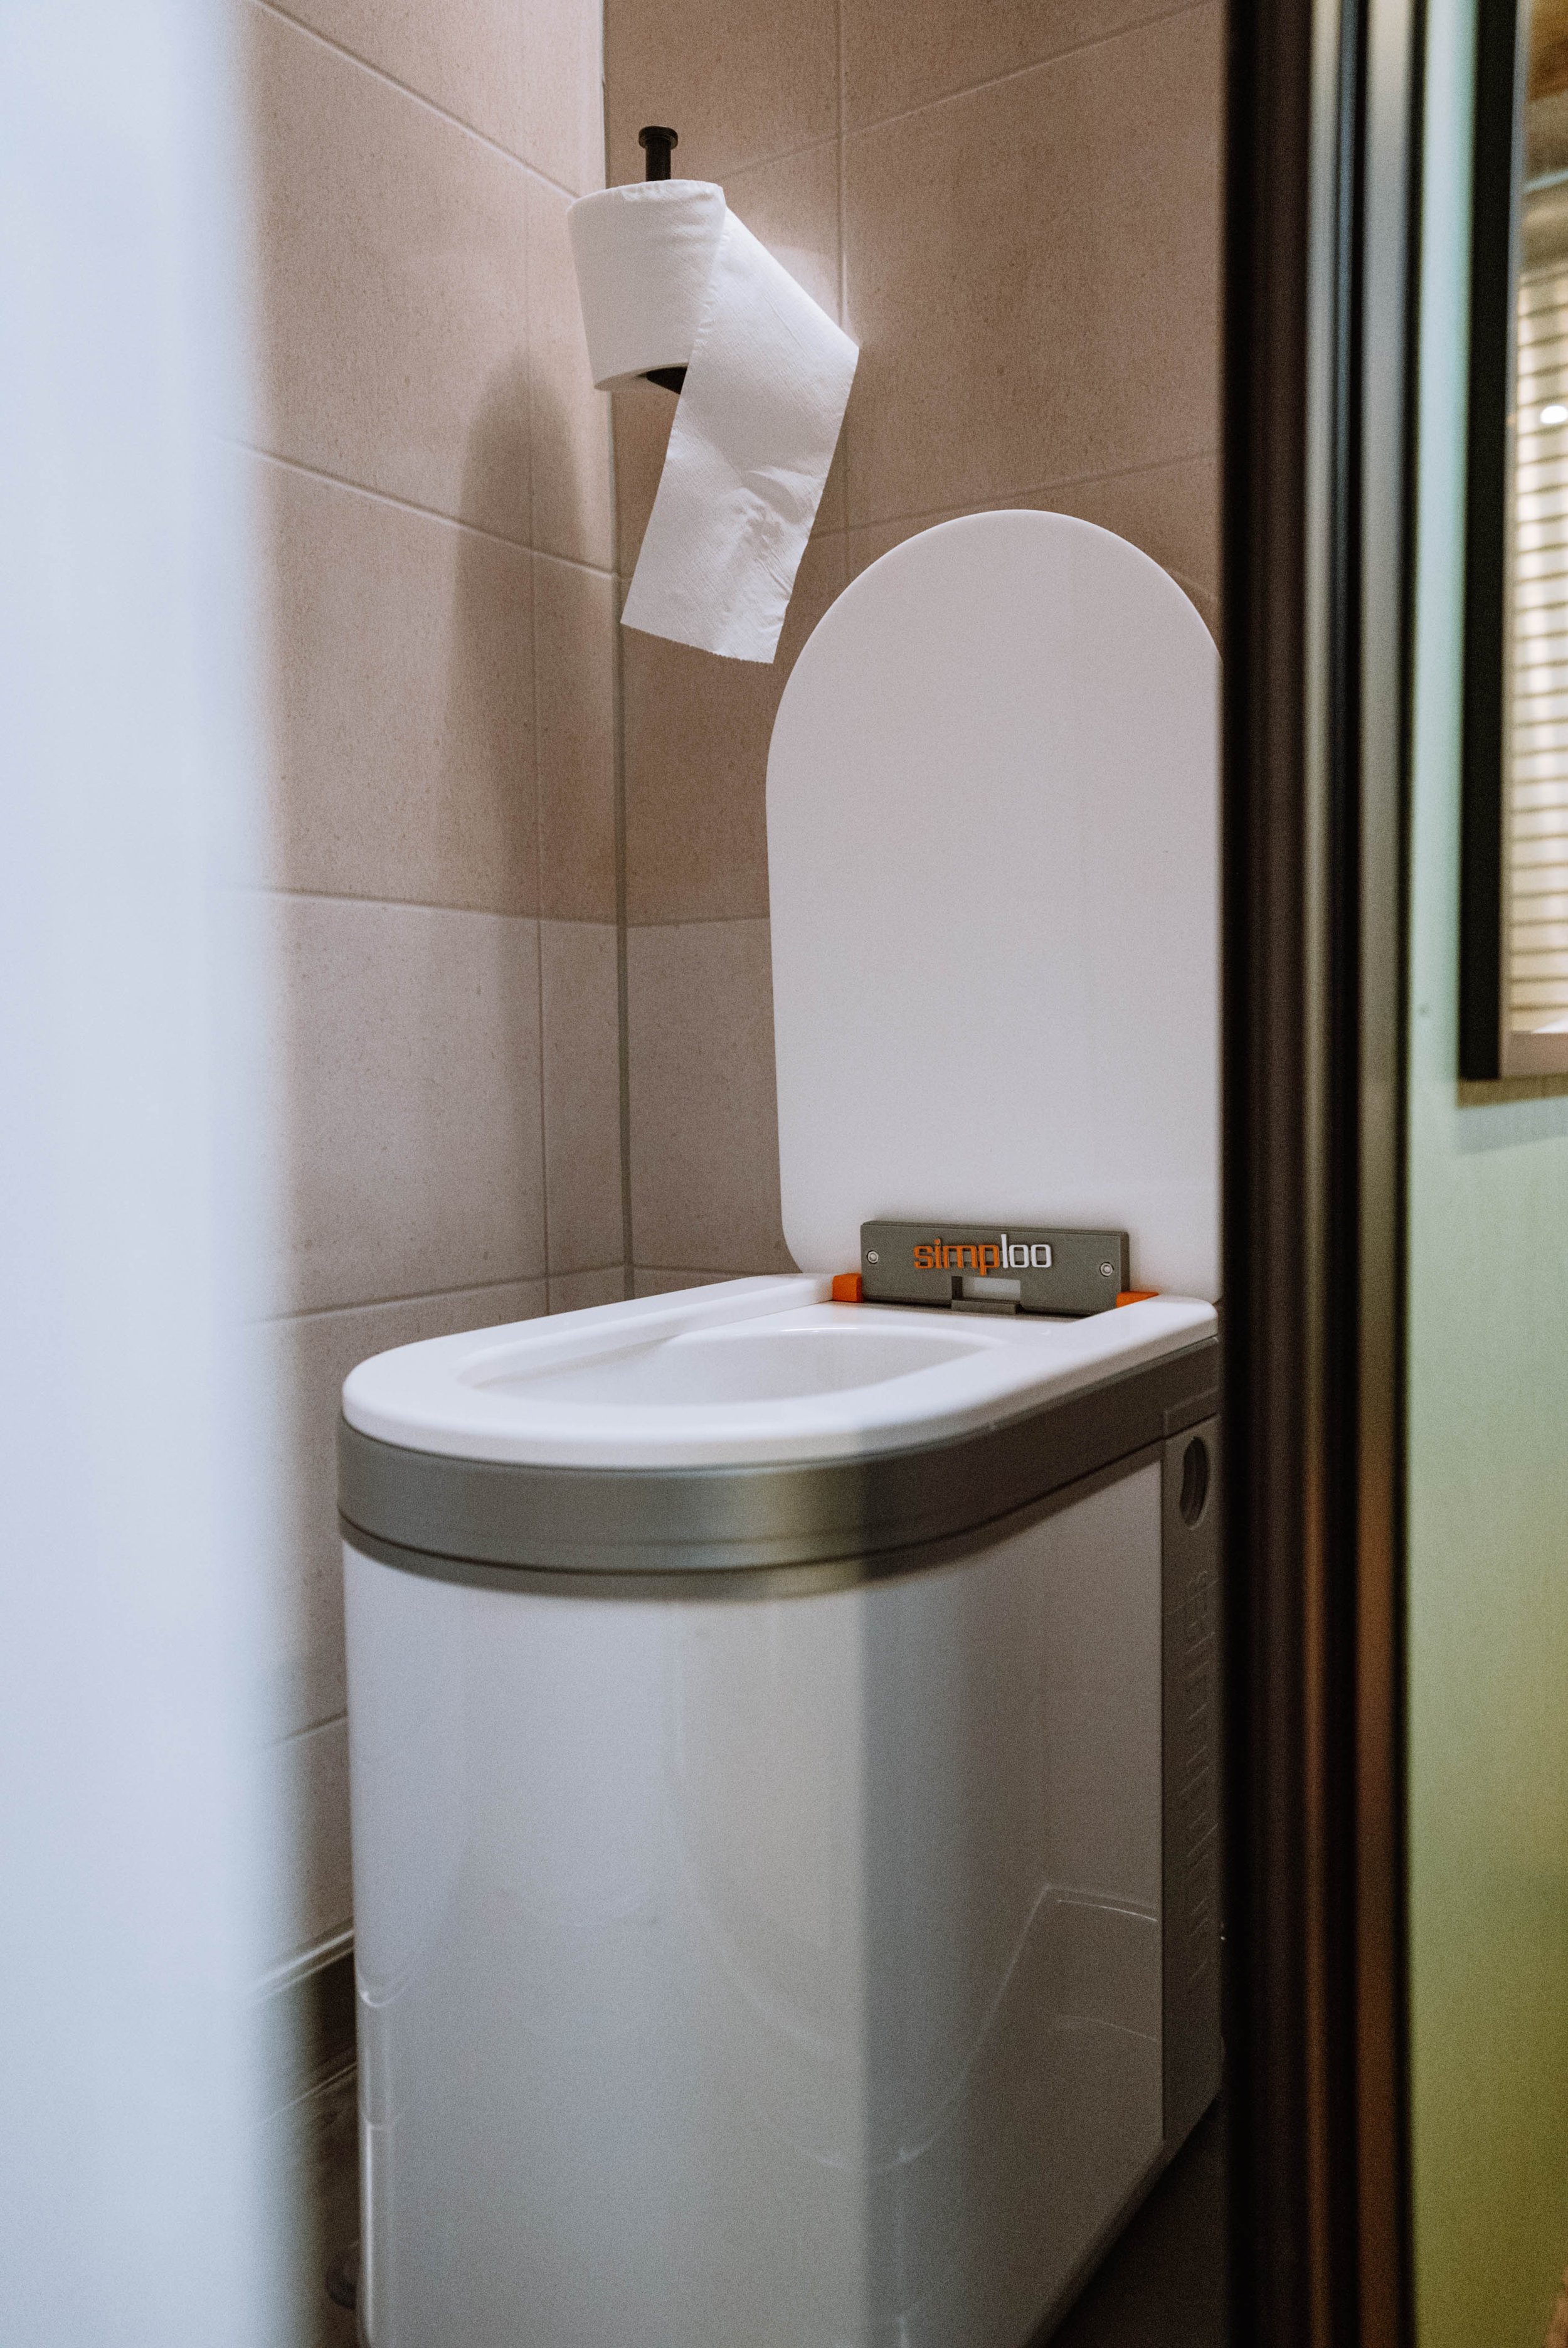
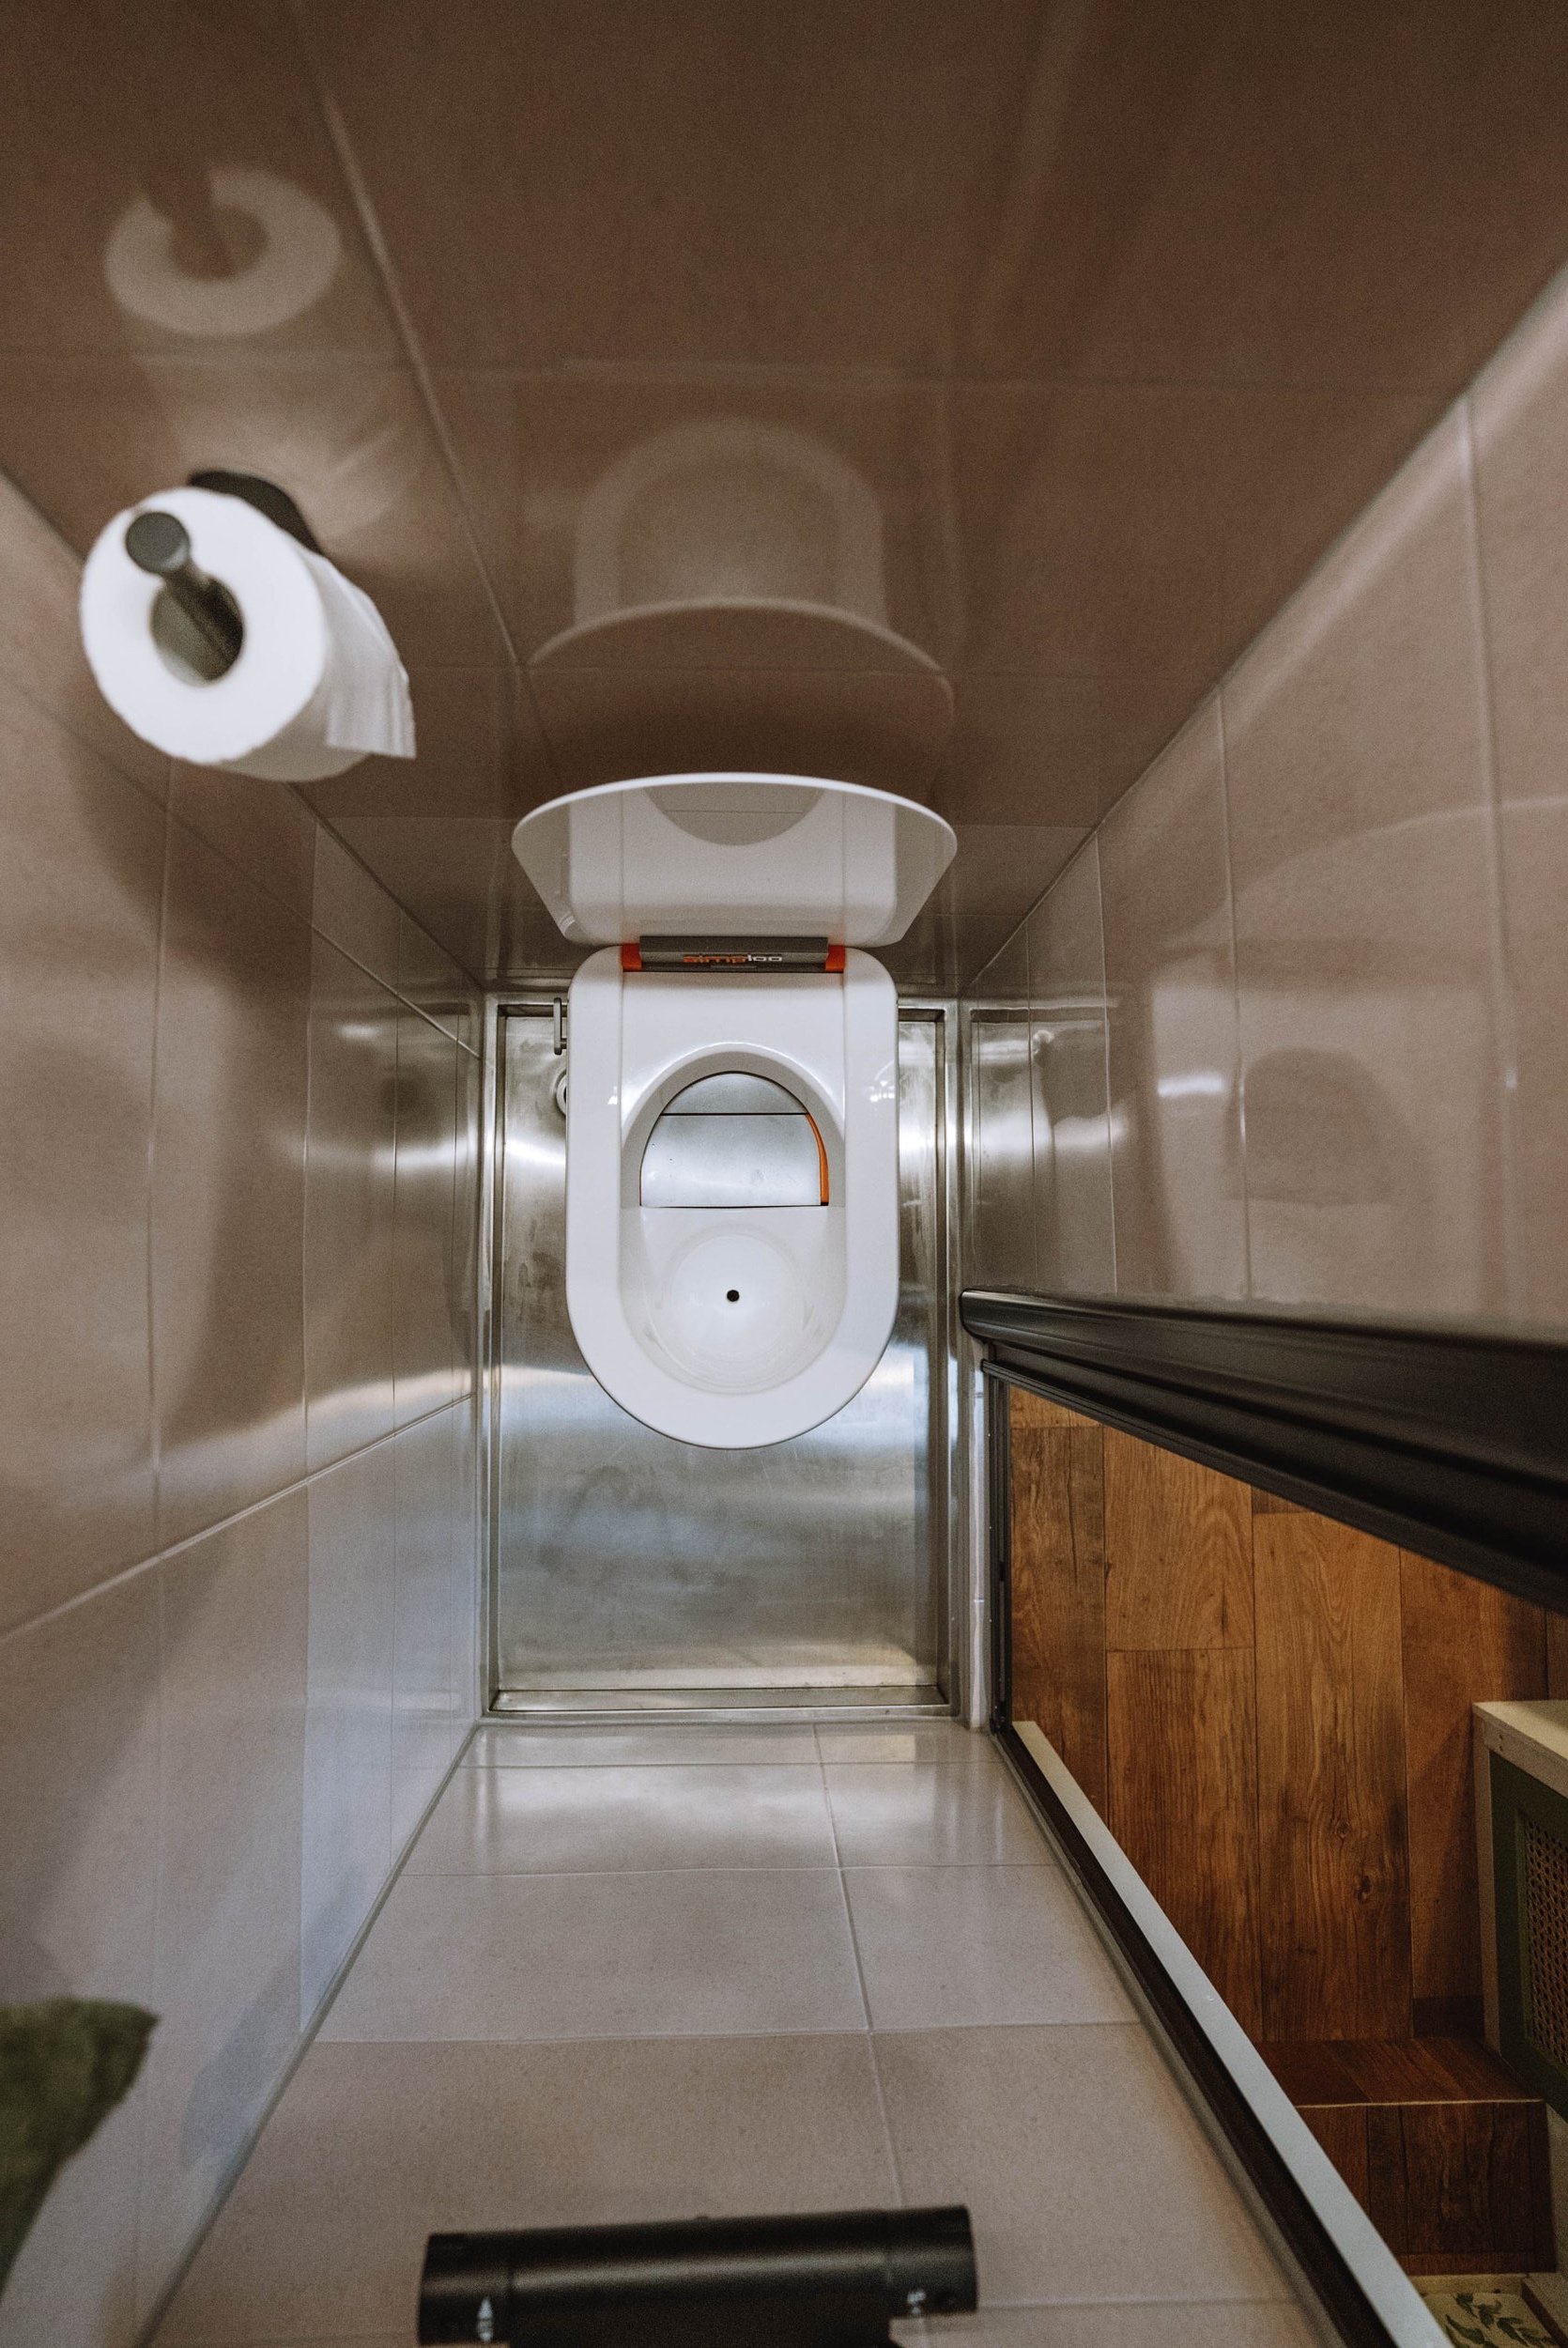
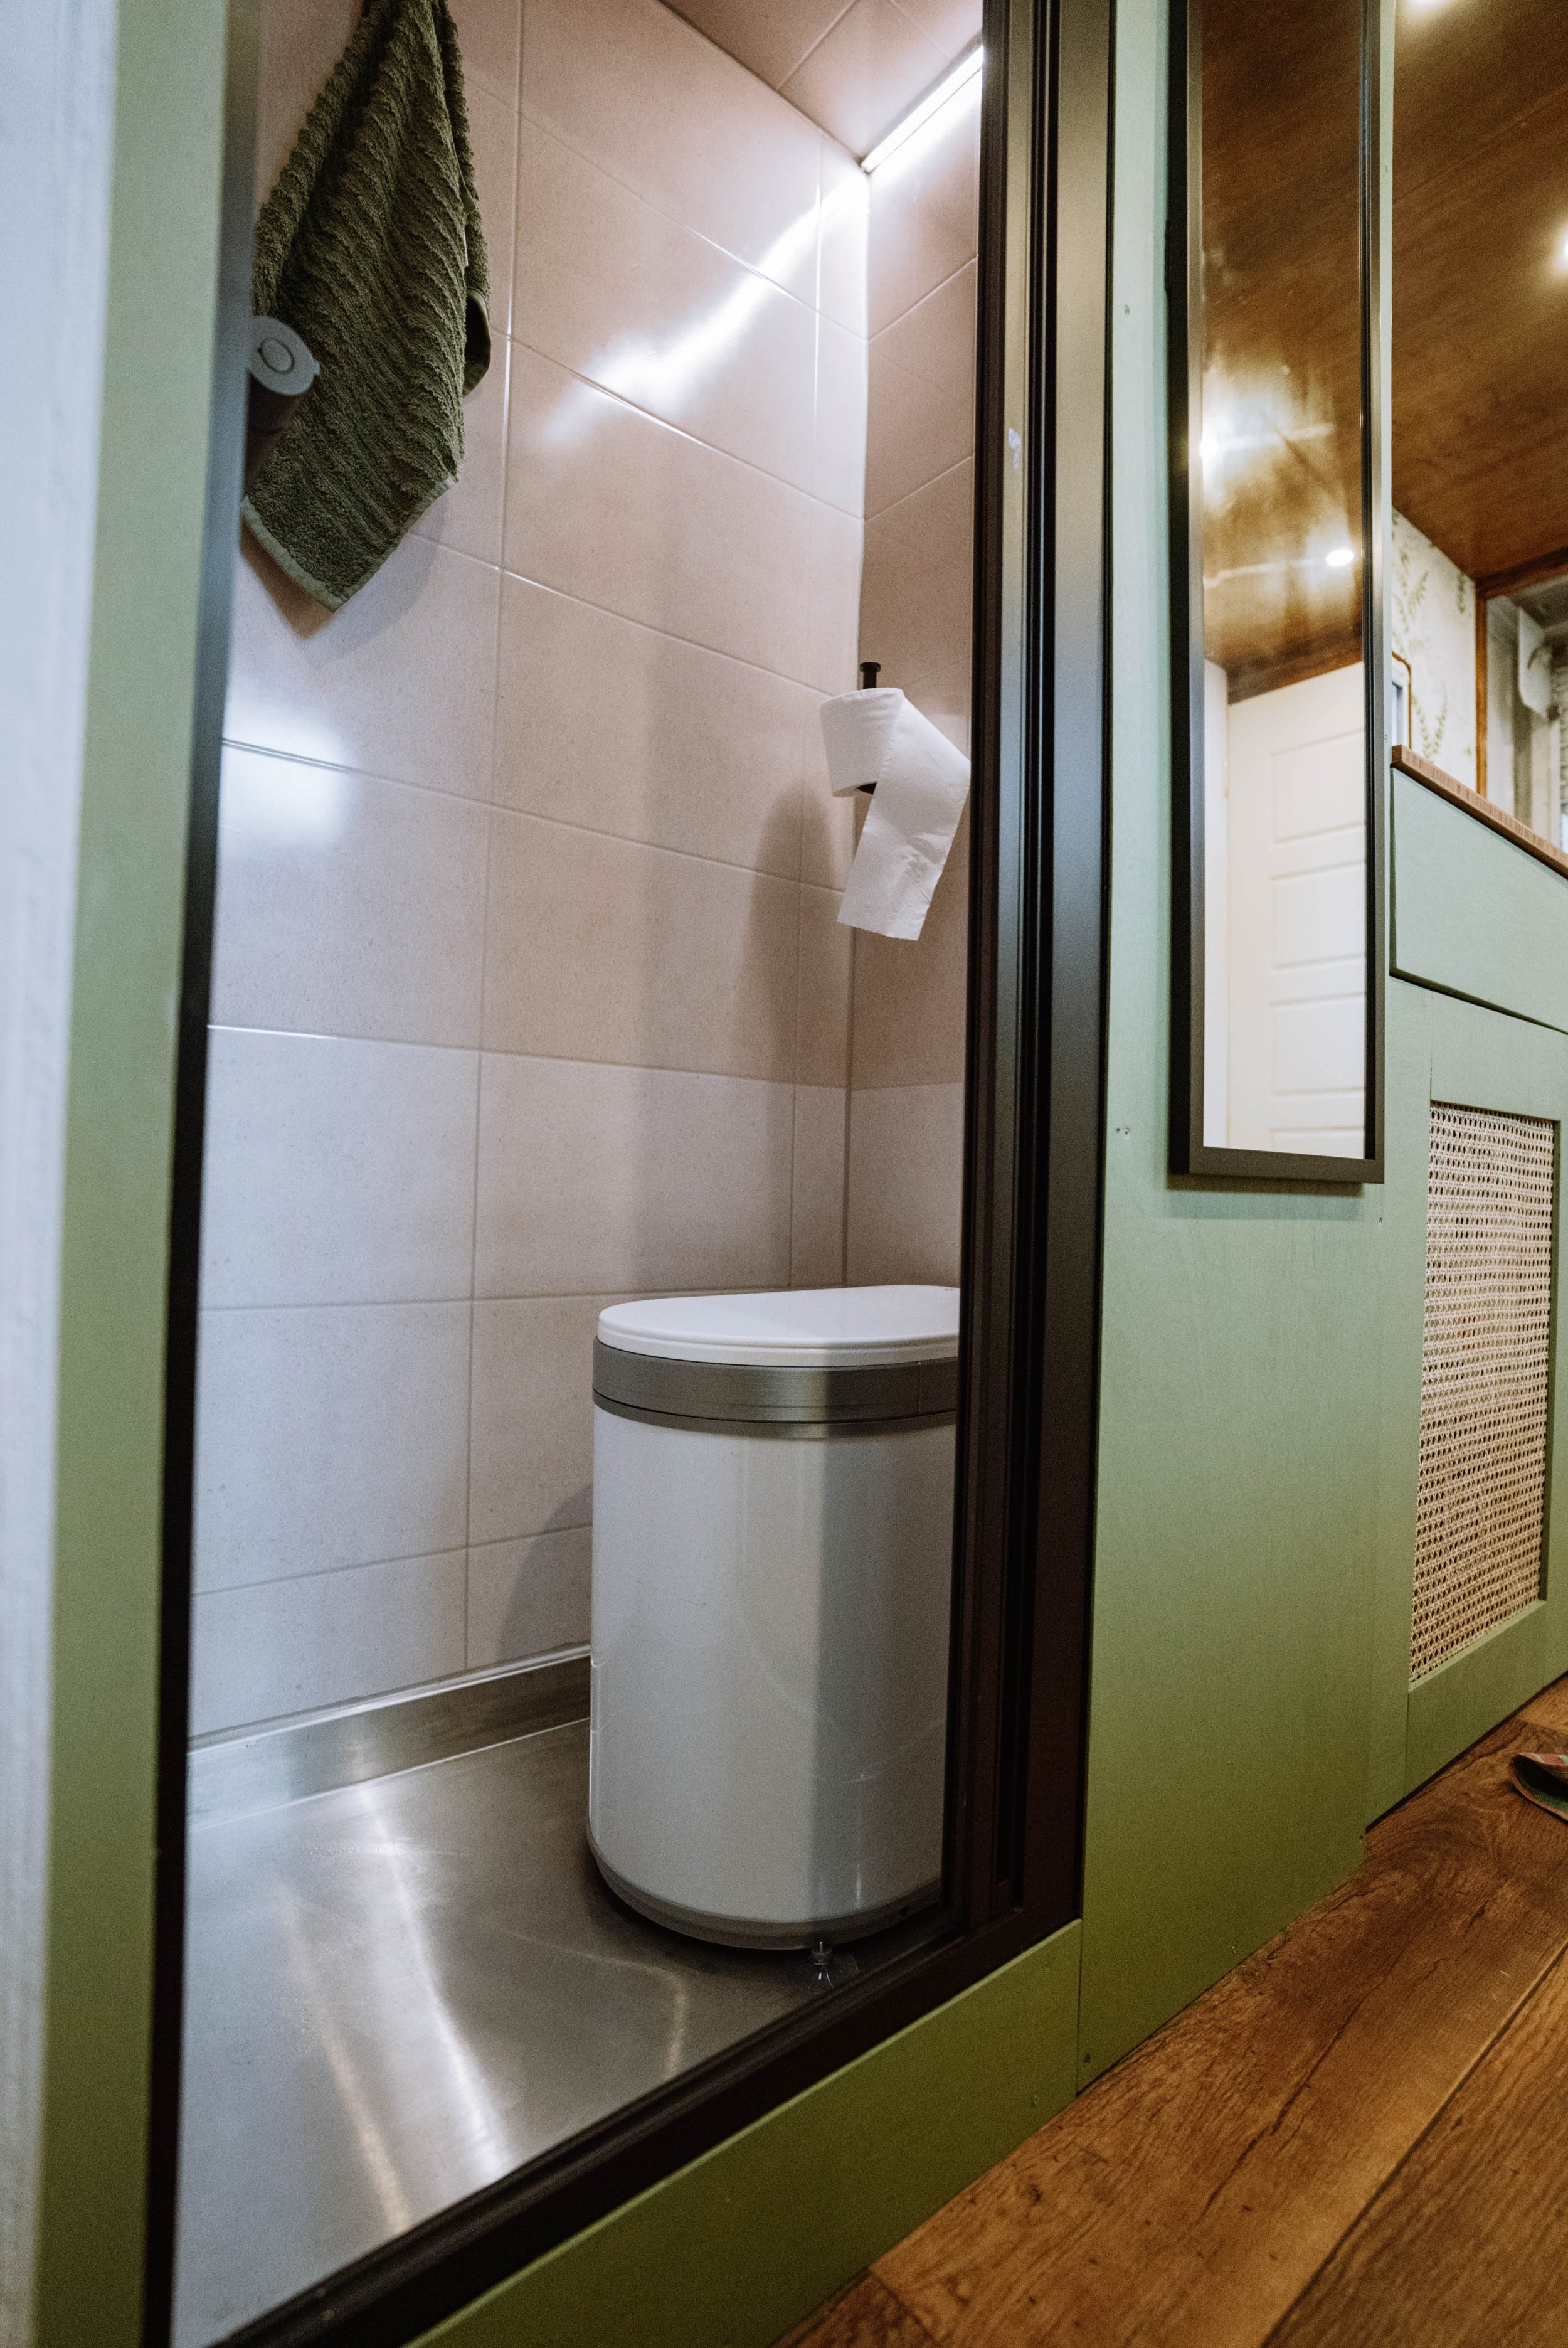
The Bathroom
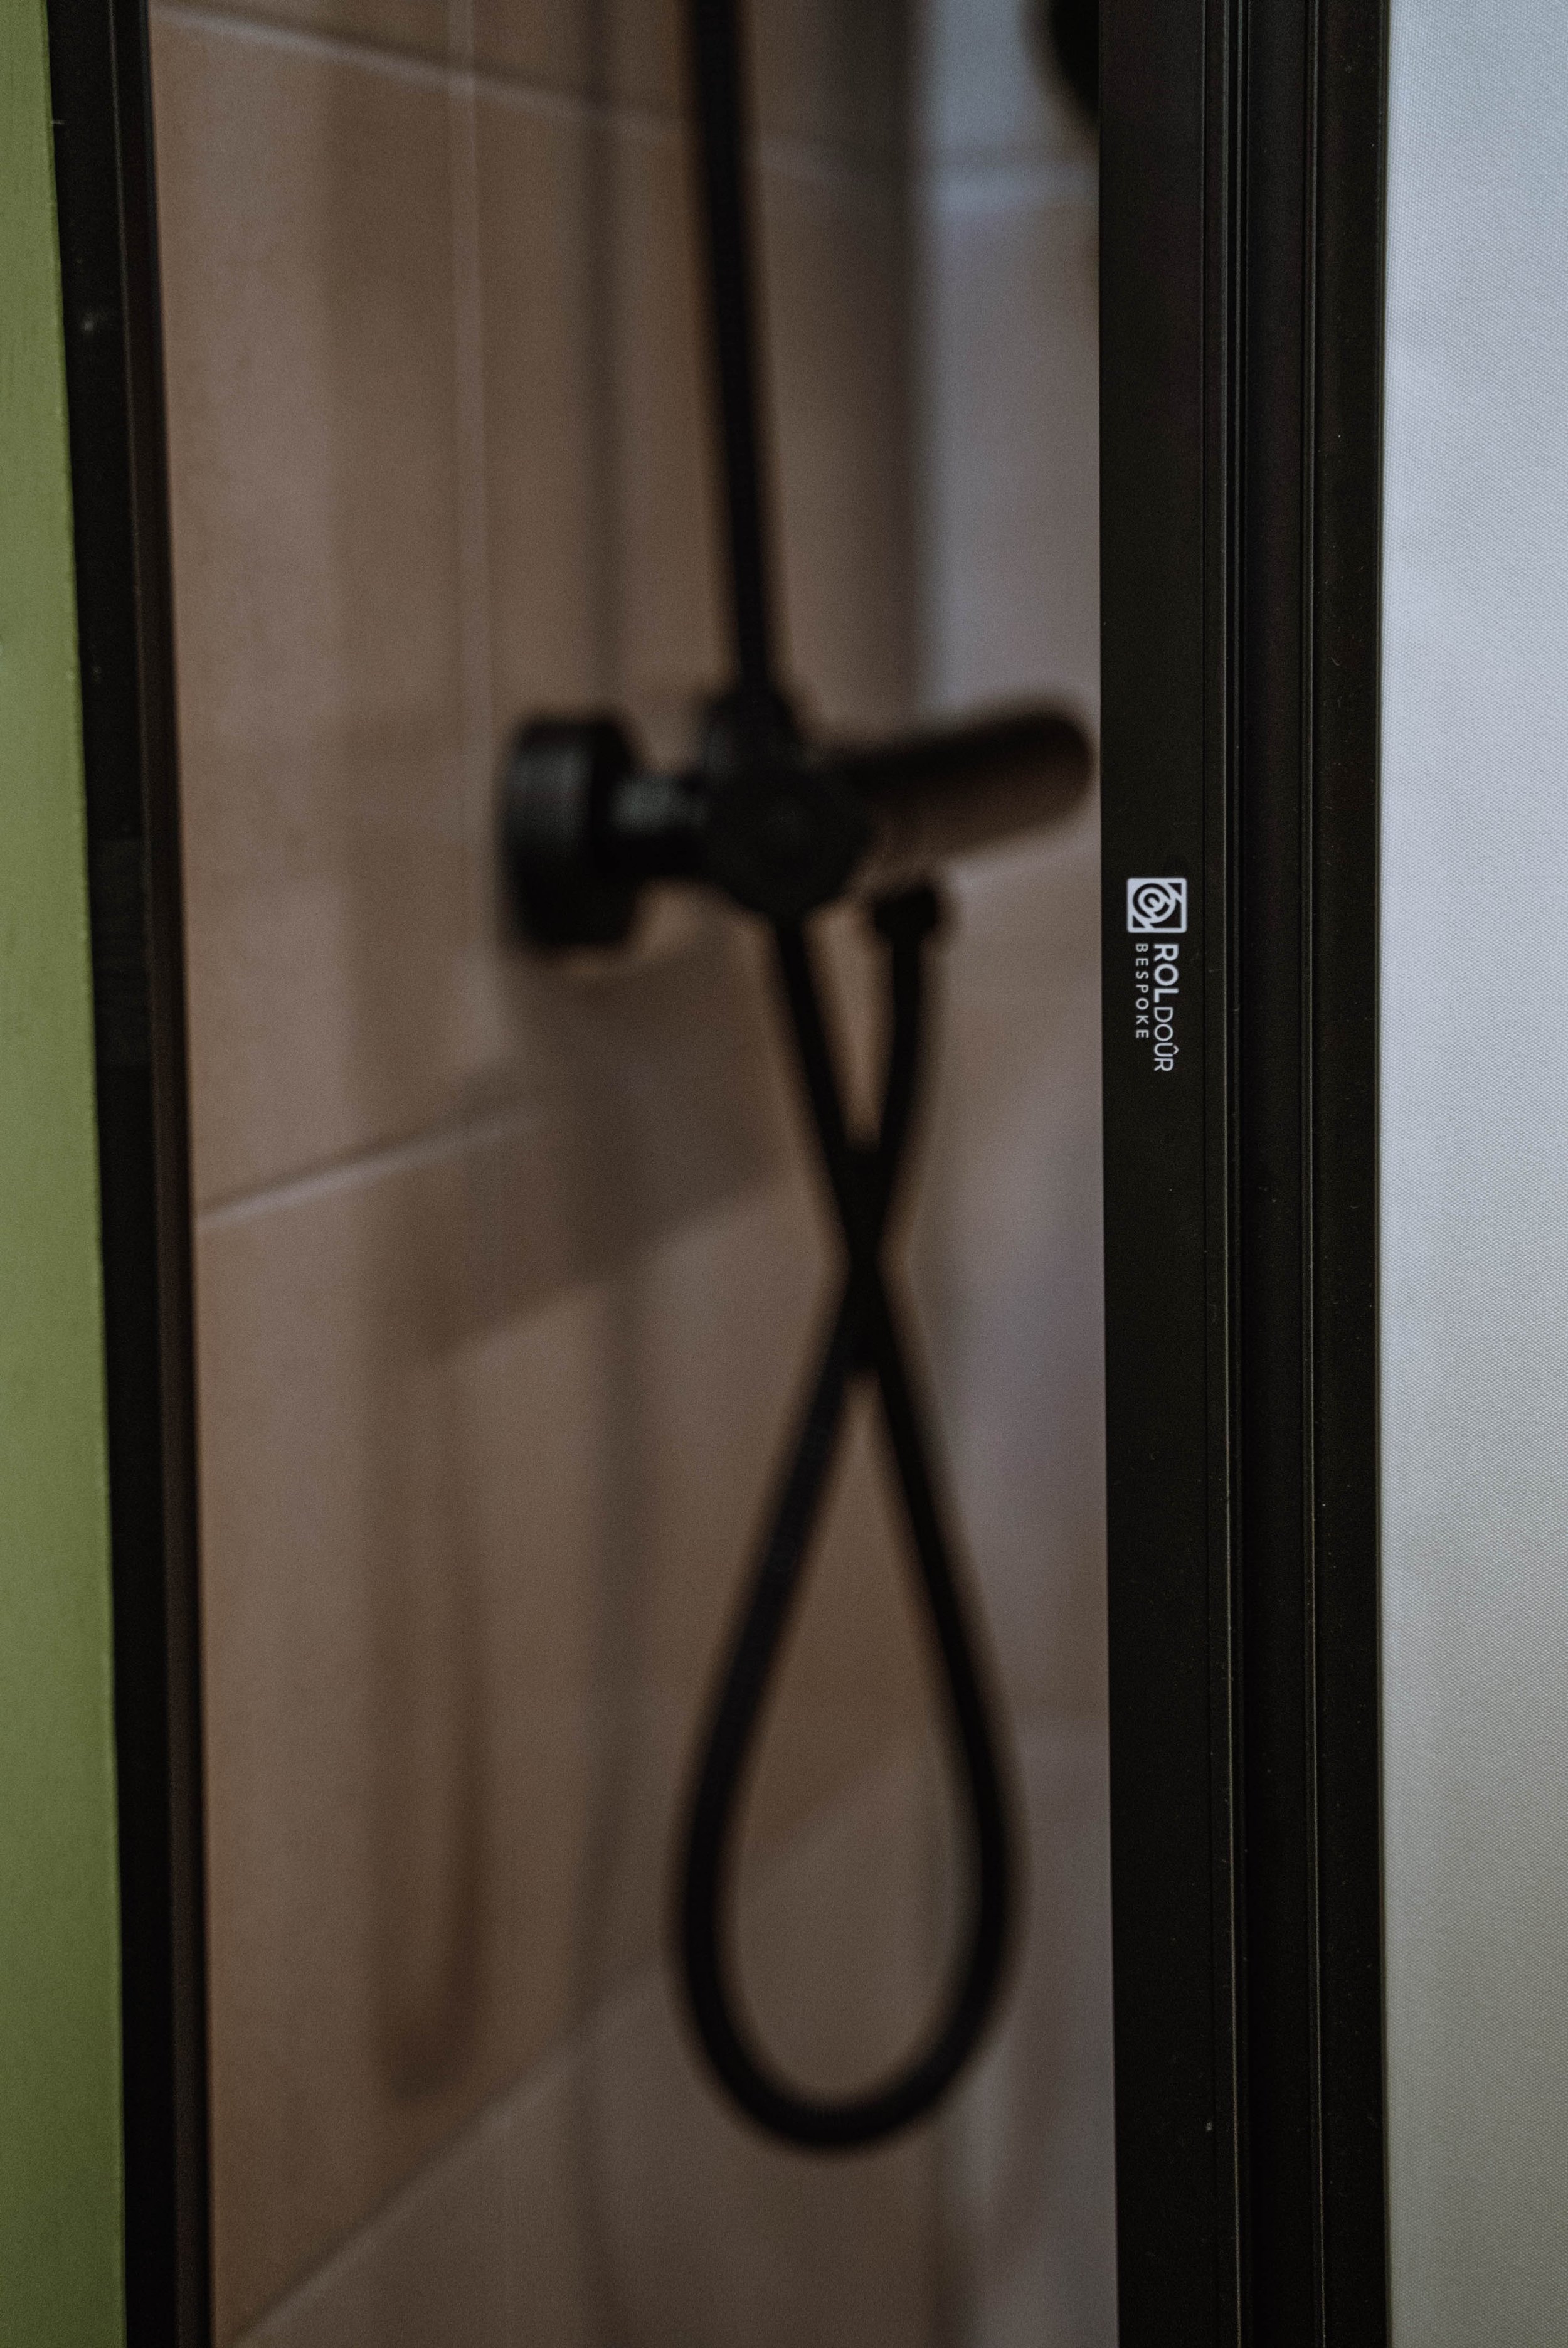
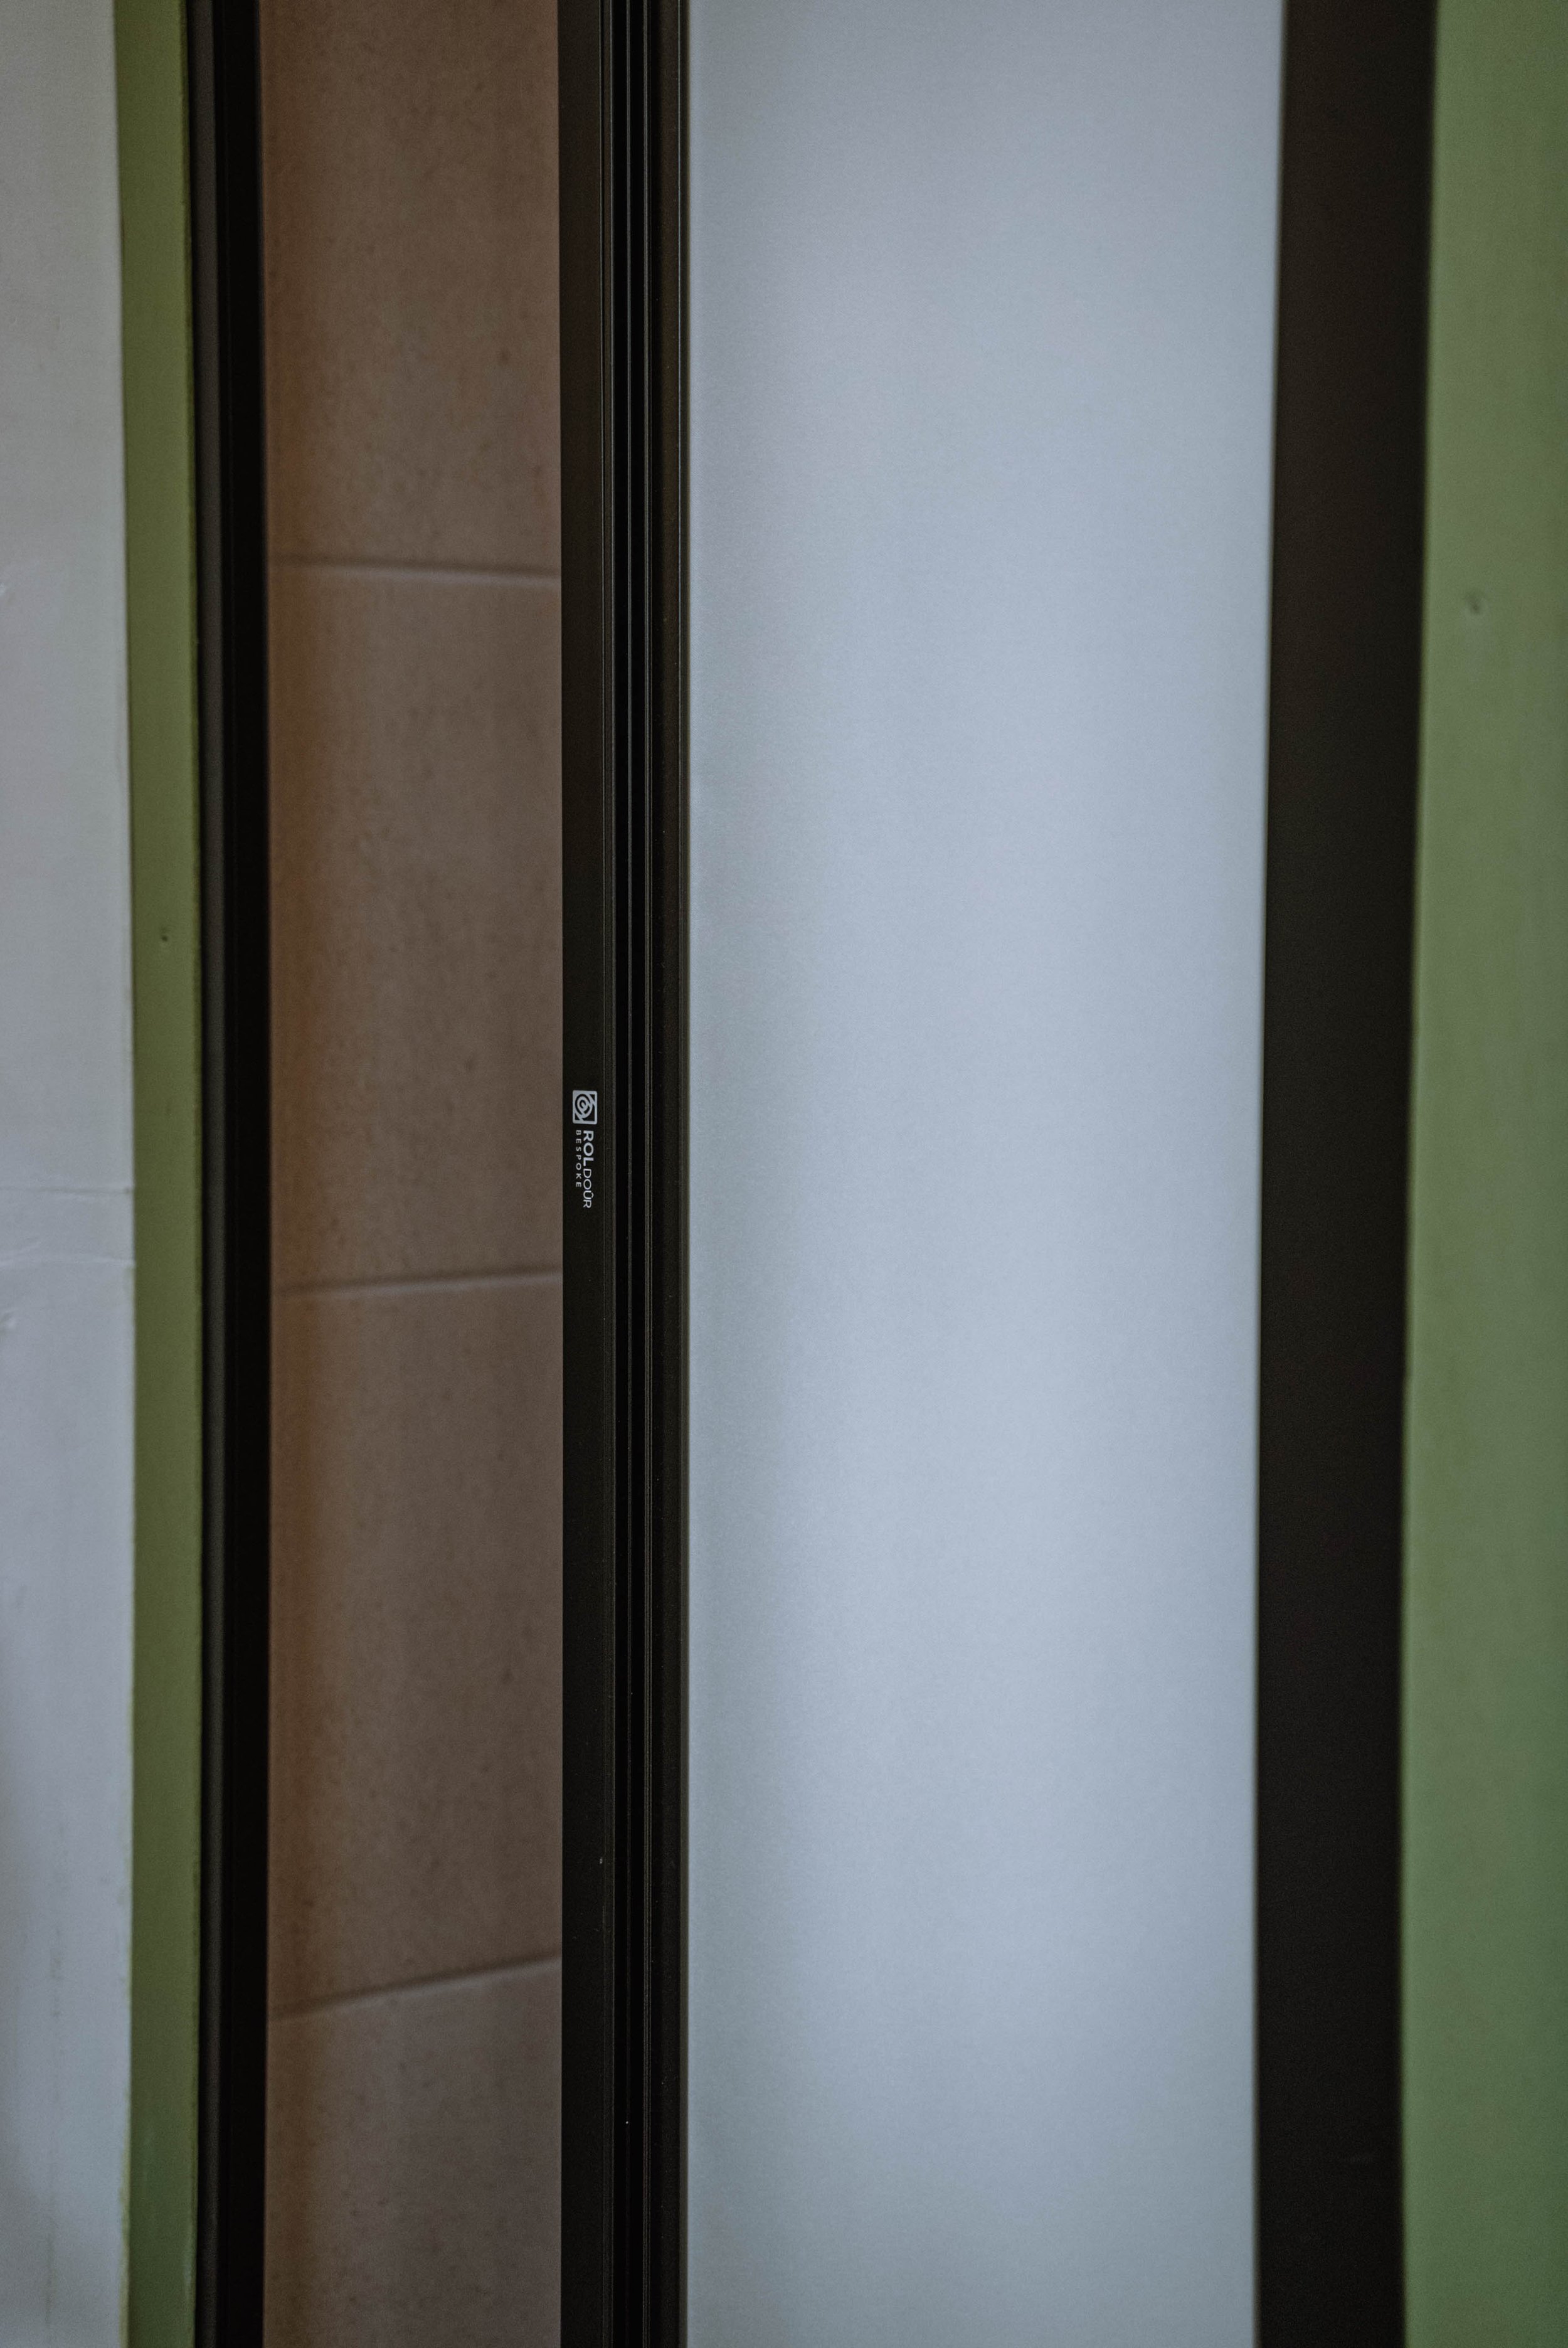
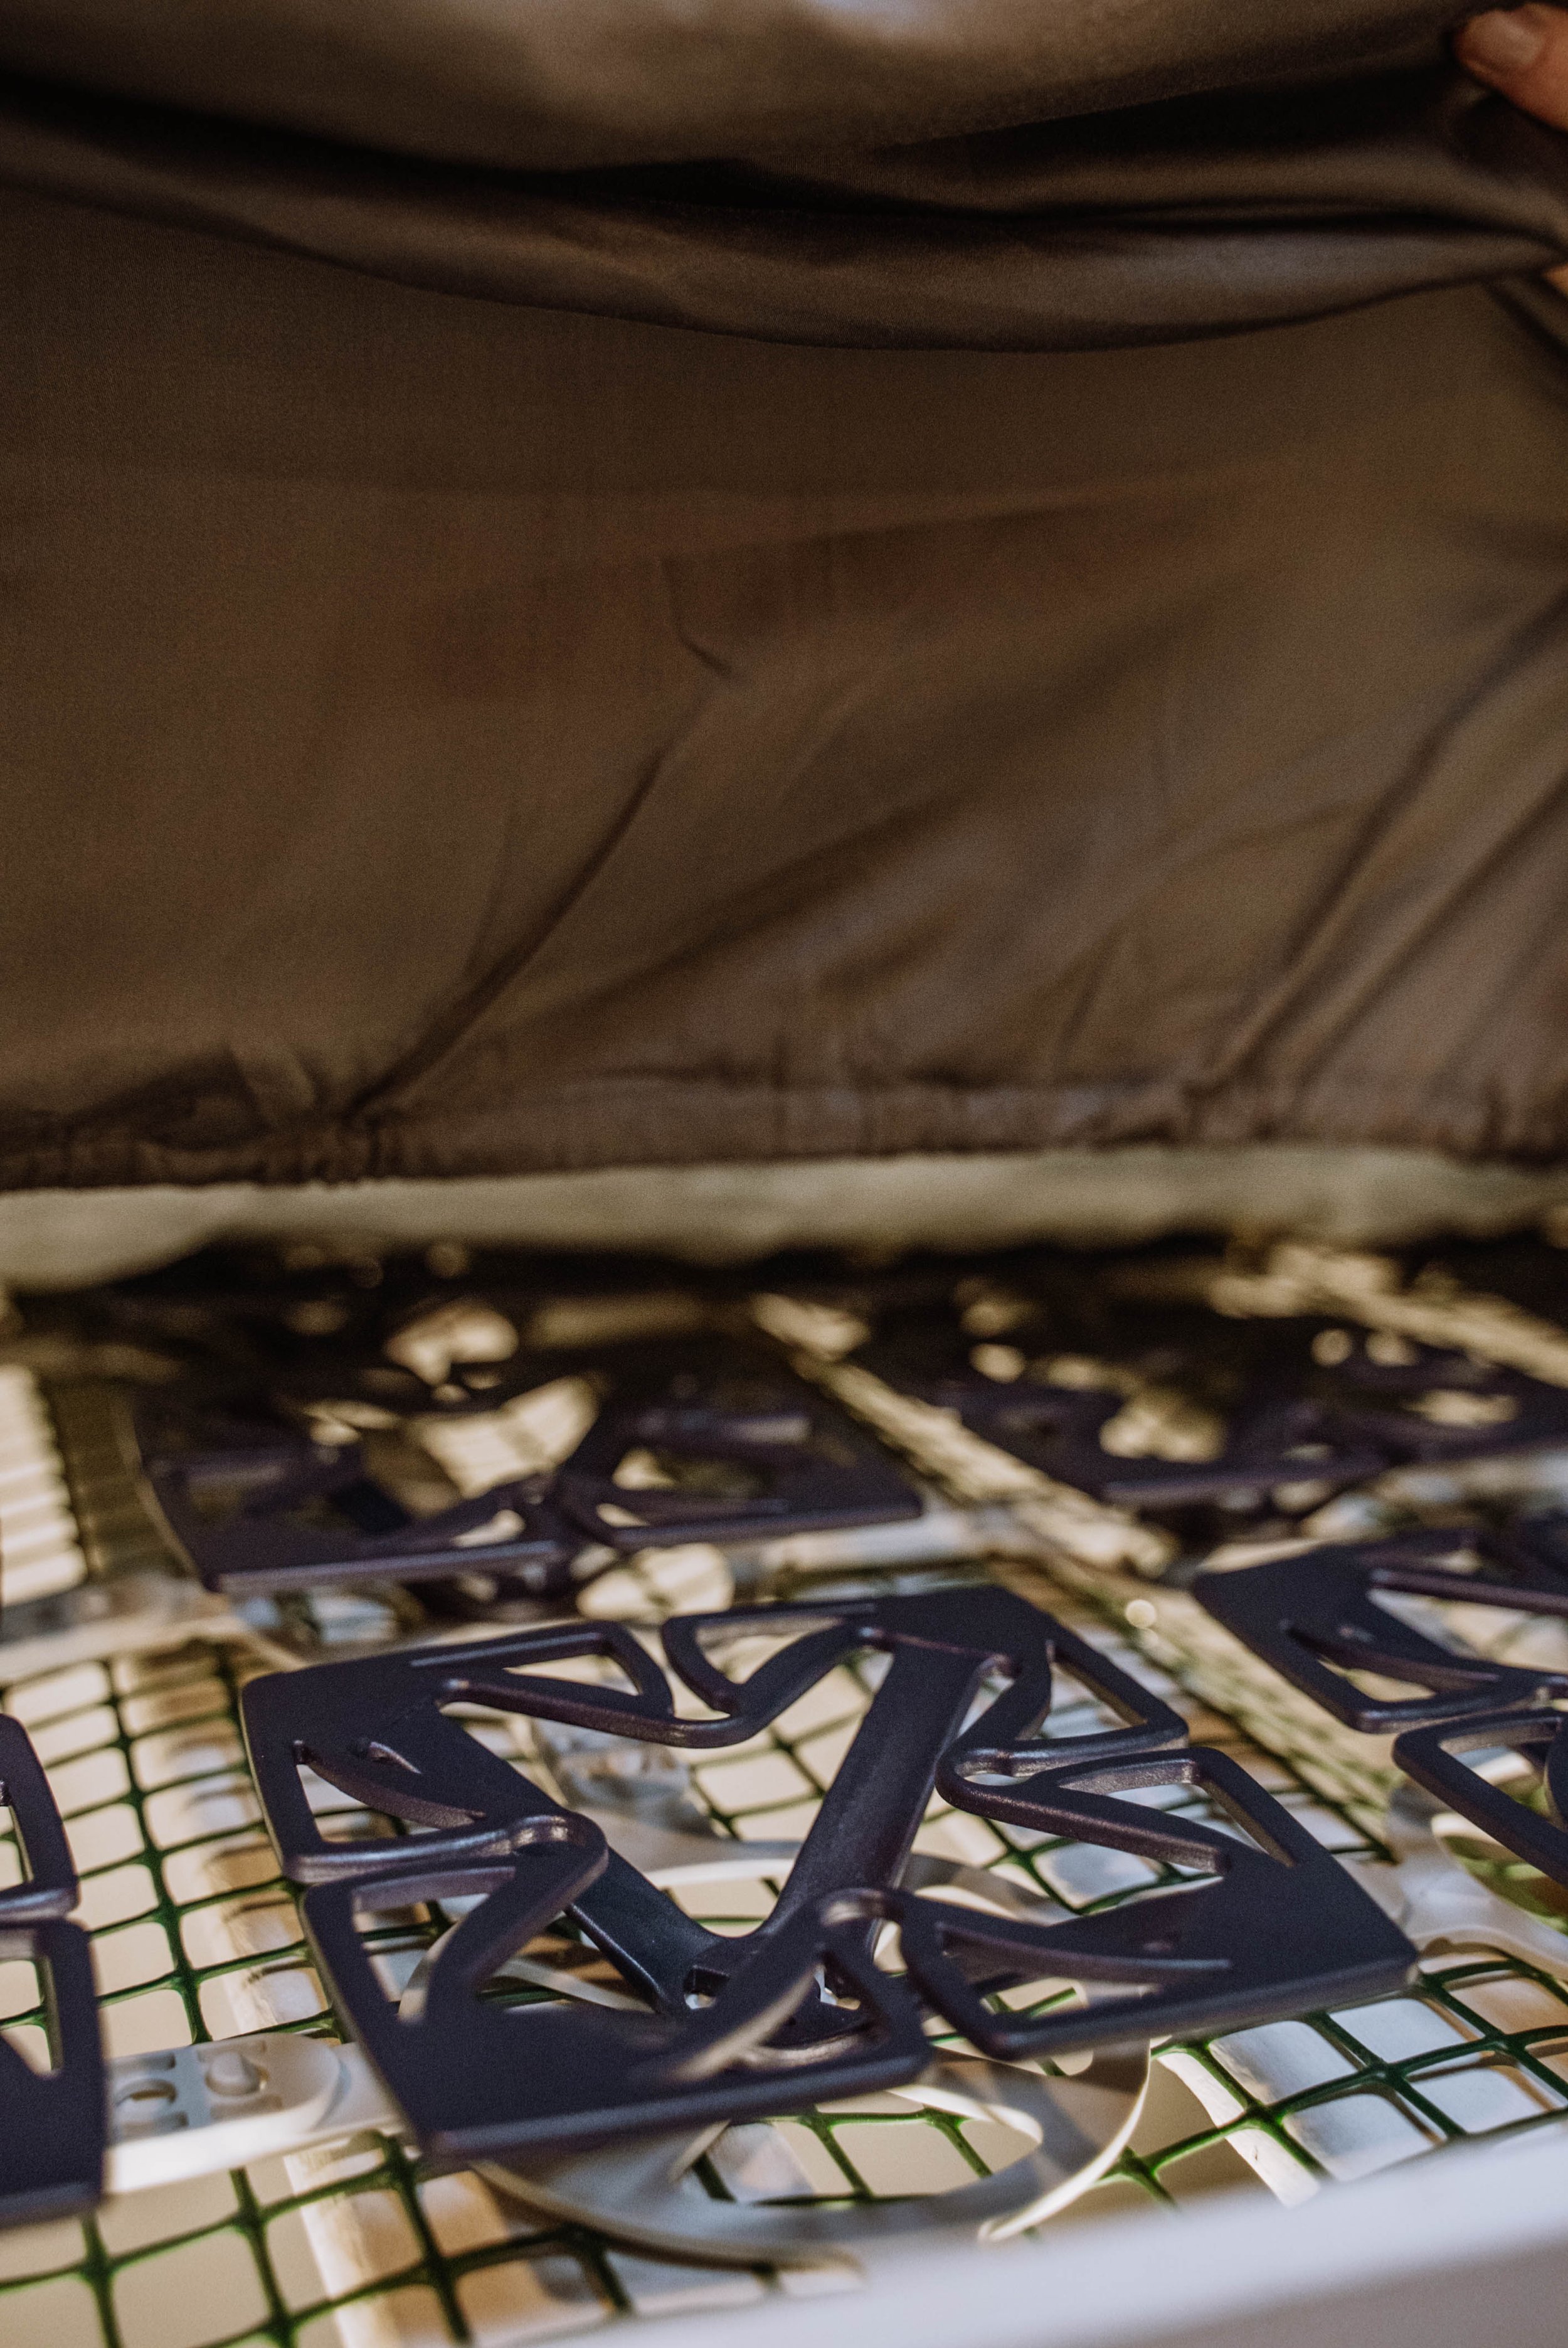
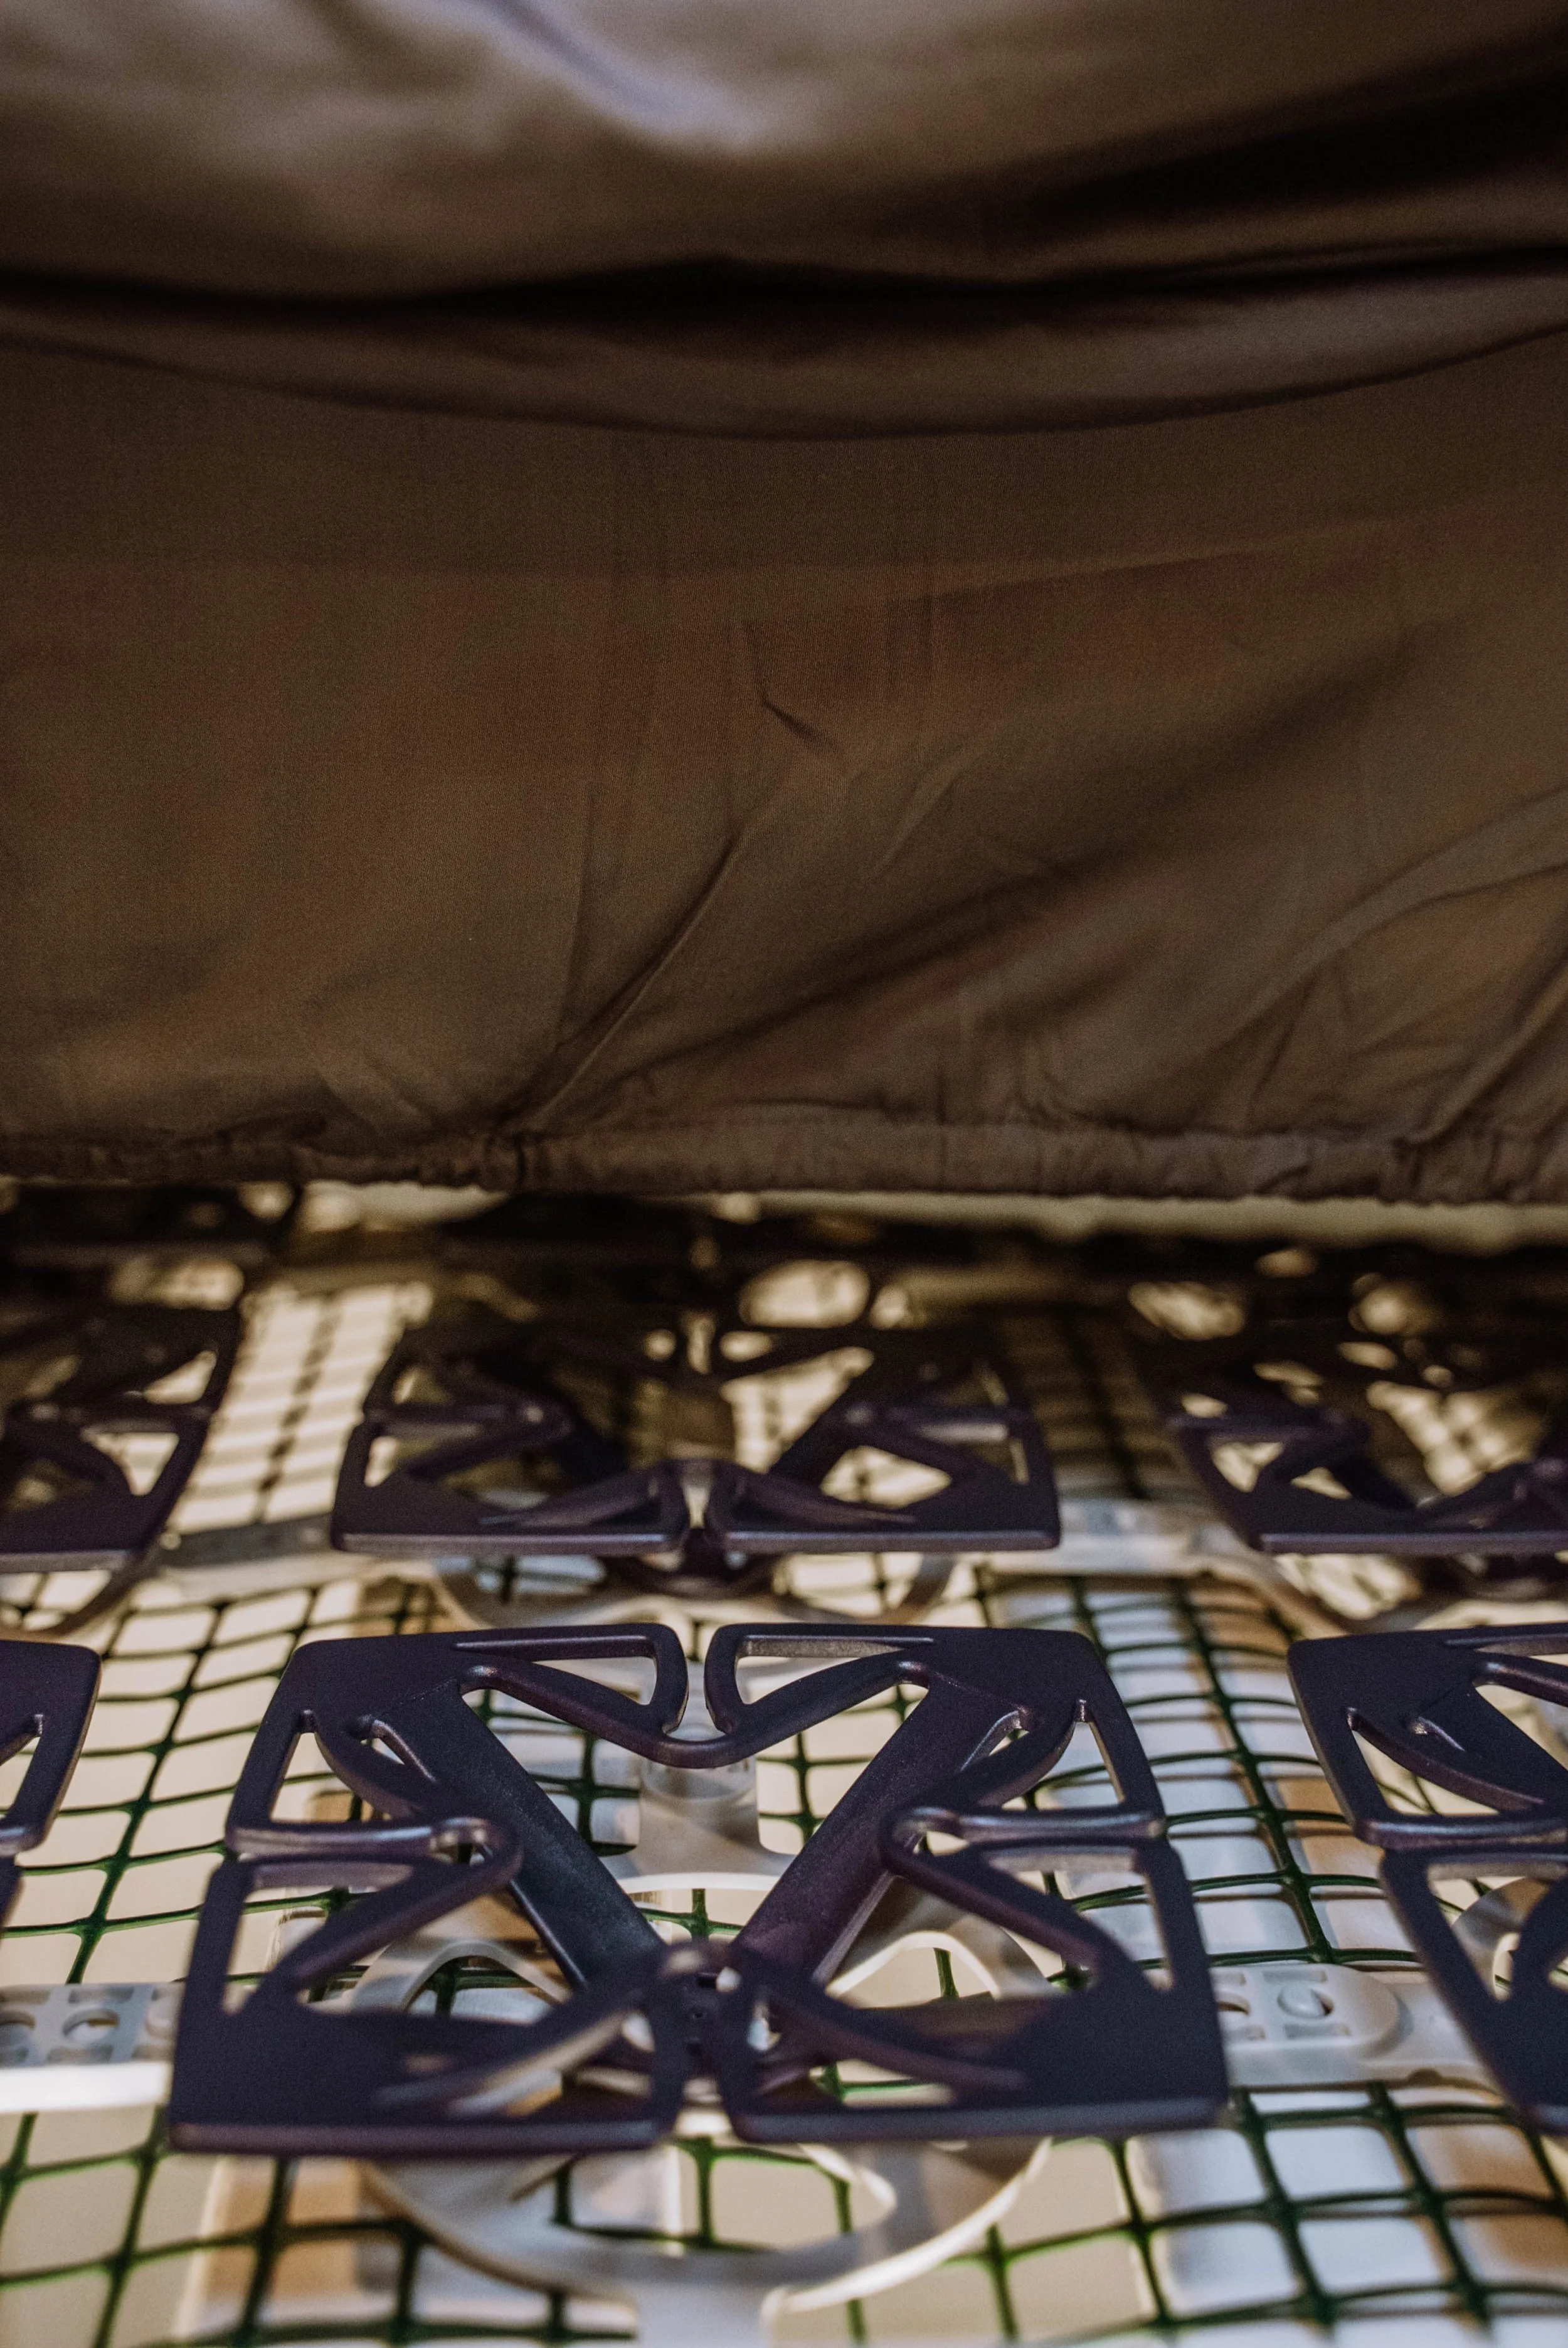
The Dour
The RolDour is a lightweight, space-saving bathroom door that slides out of the way when you're not using it. The Dour is a hero when it comes to maximising space in your tiny home on wheels. There are so many different types and styles to choose from that match what ever shape/ style you are going for.
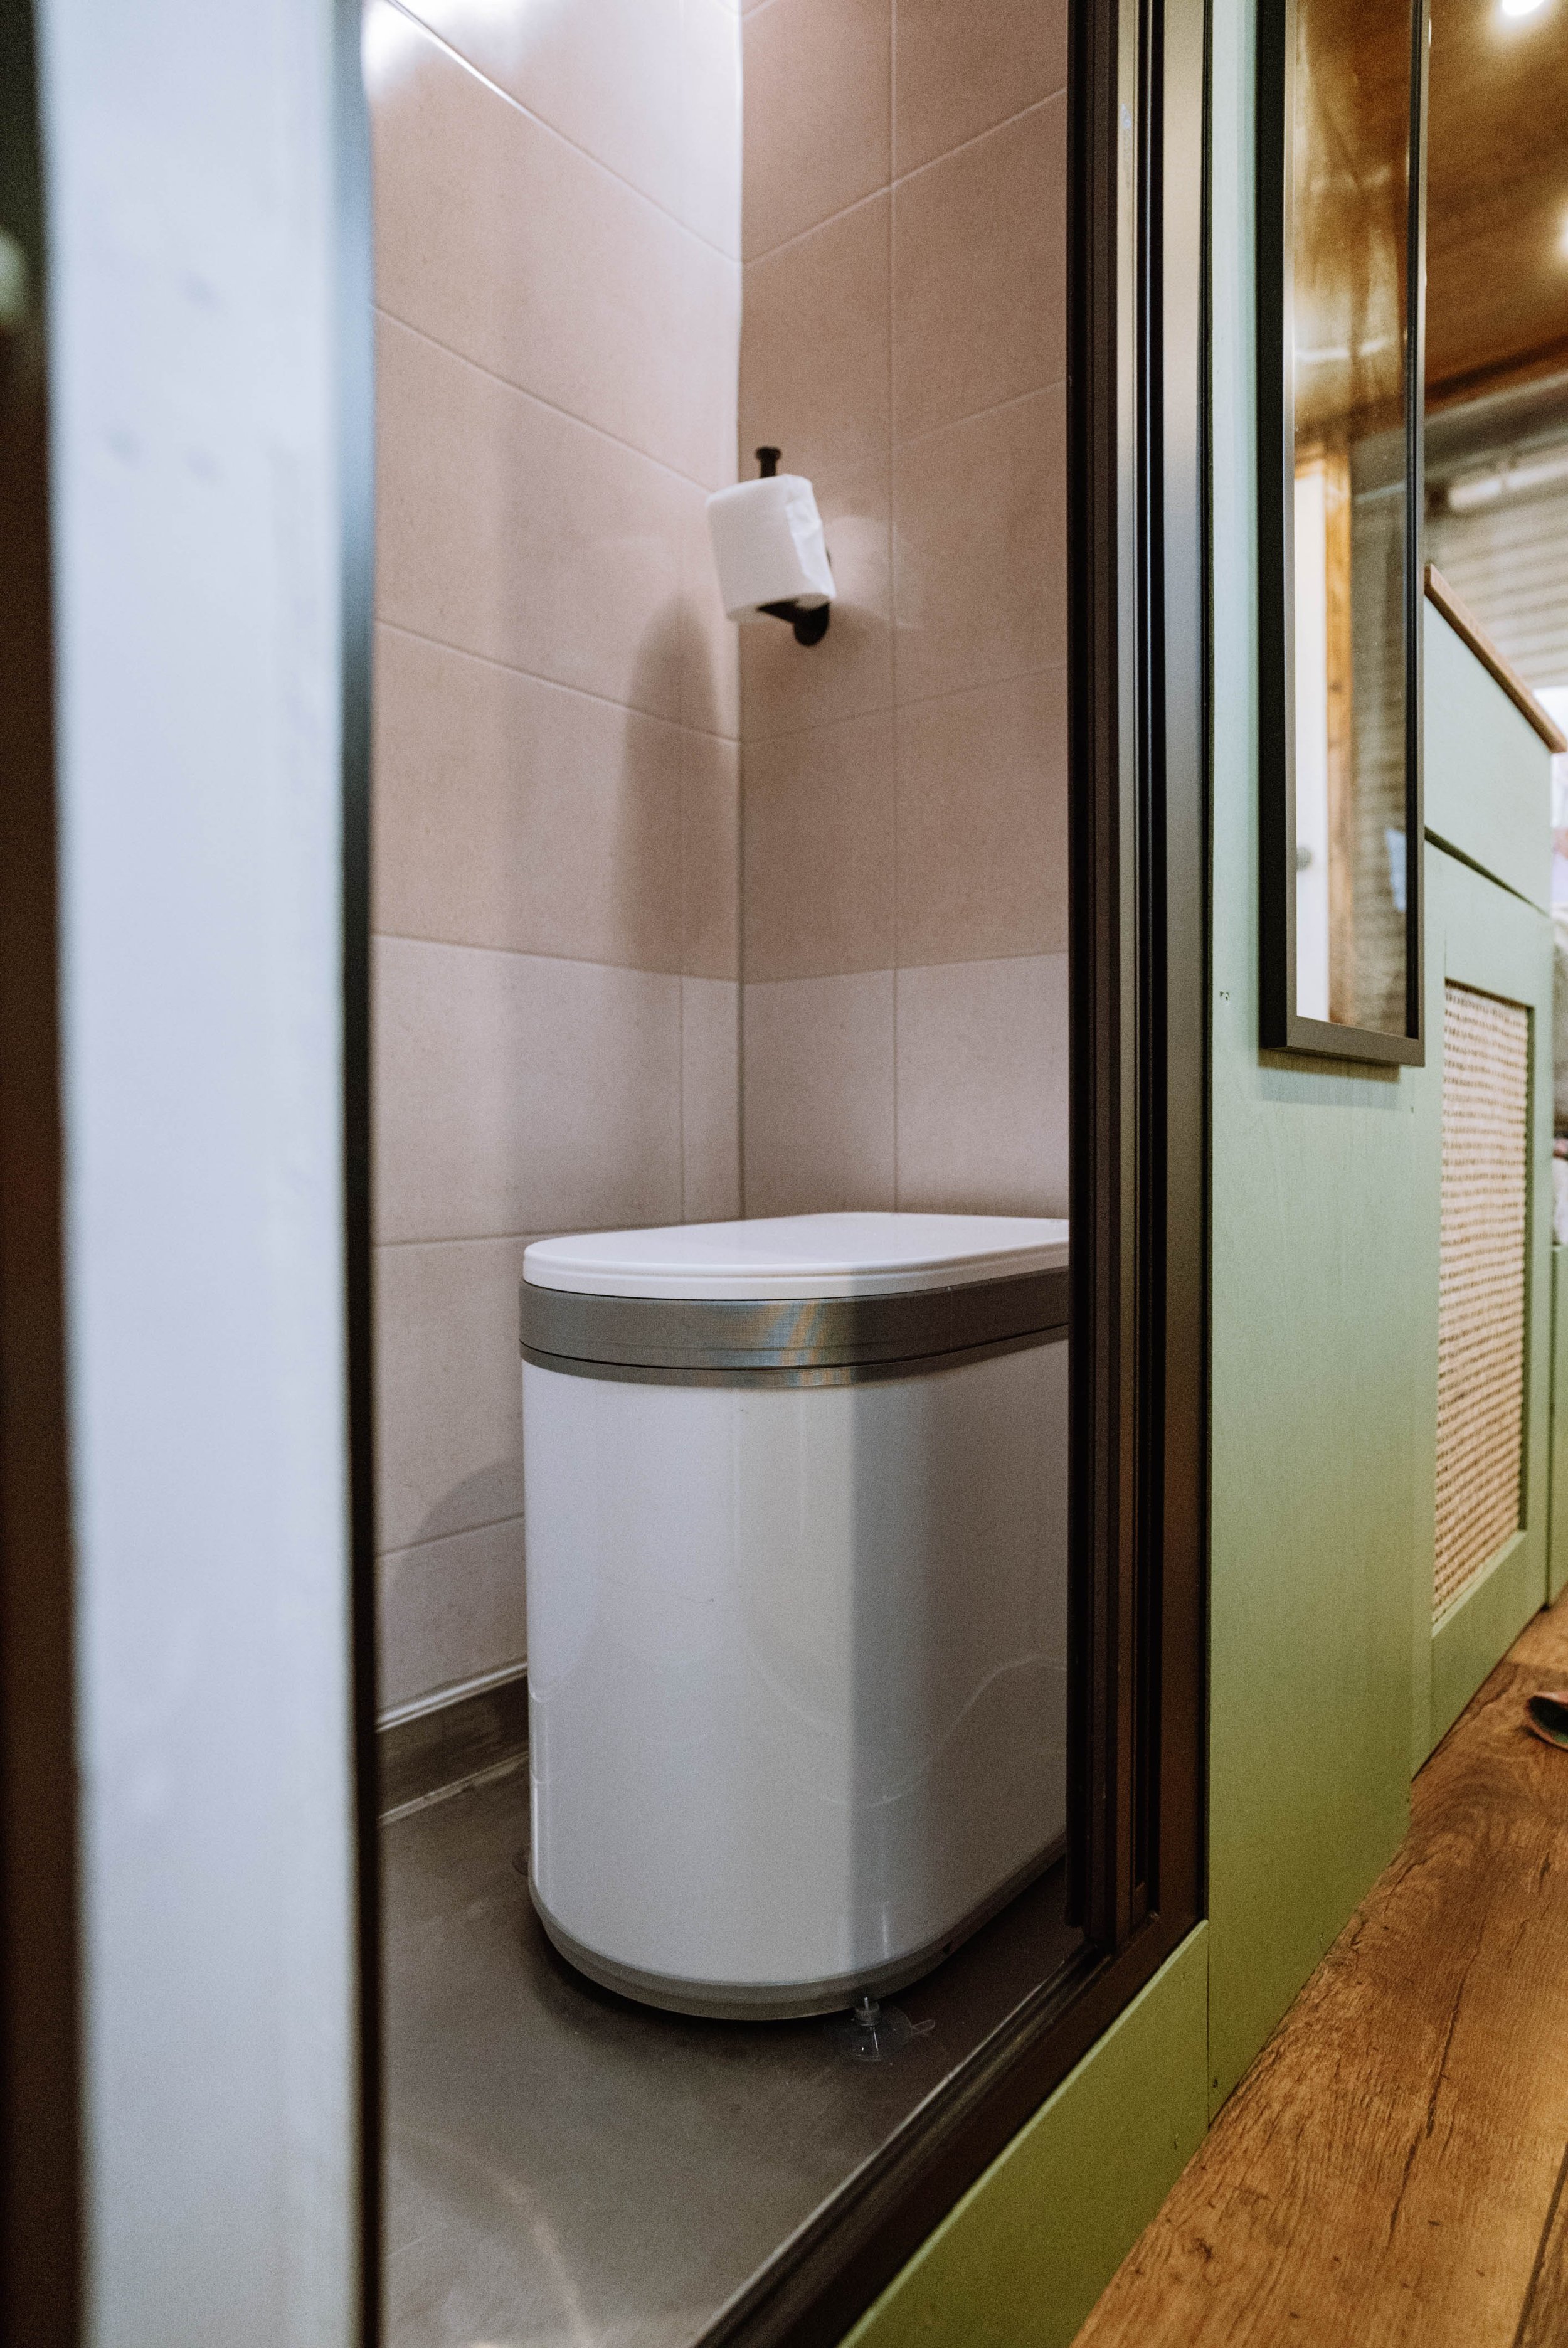
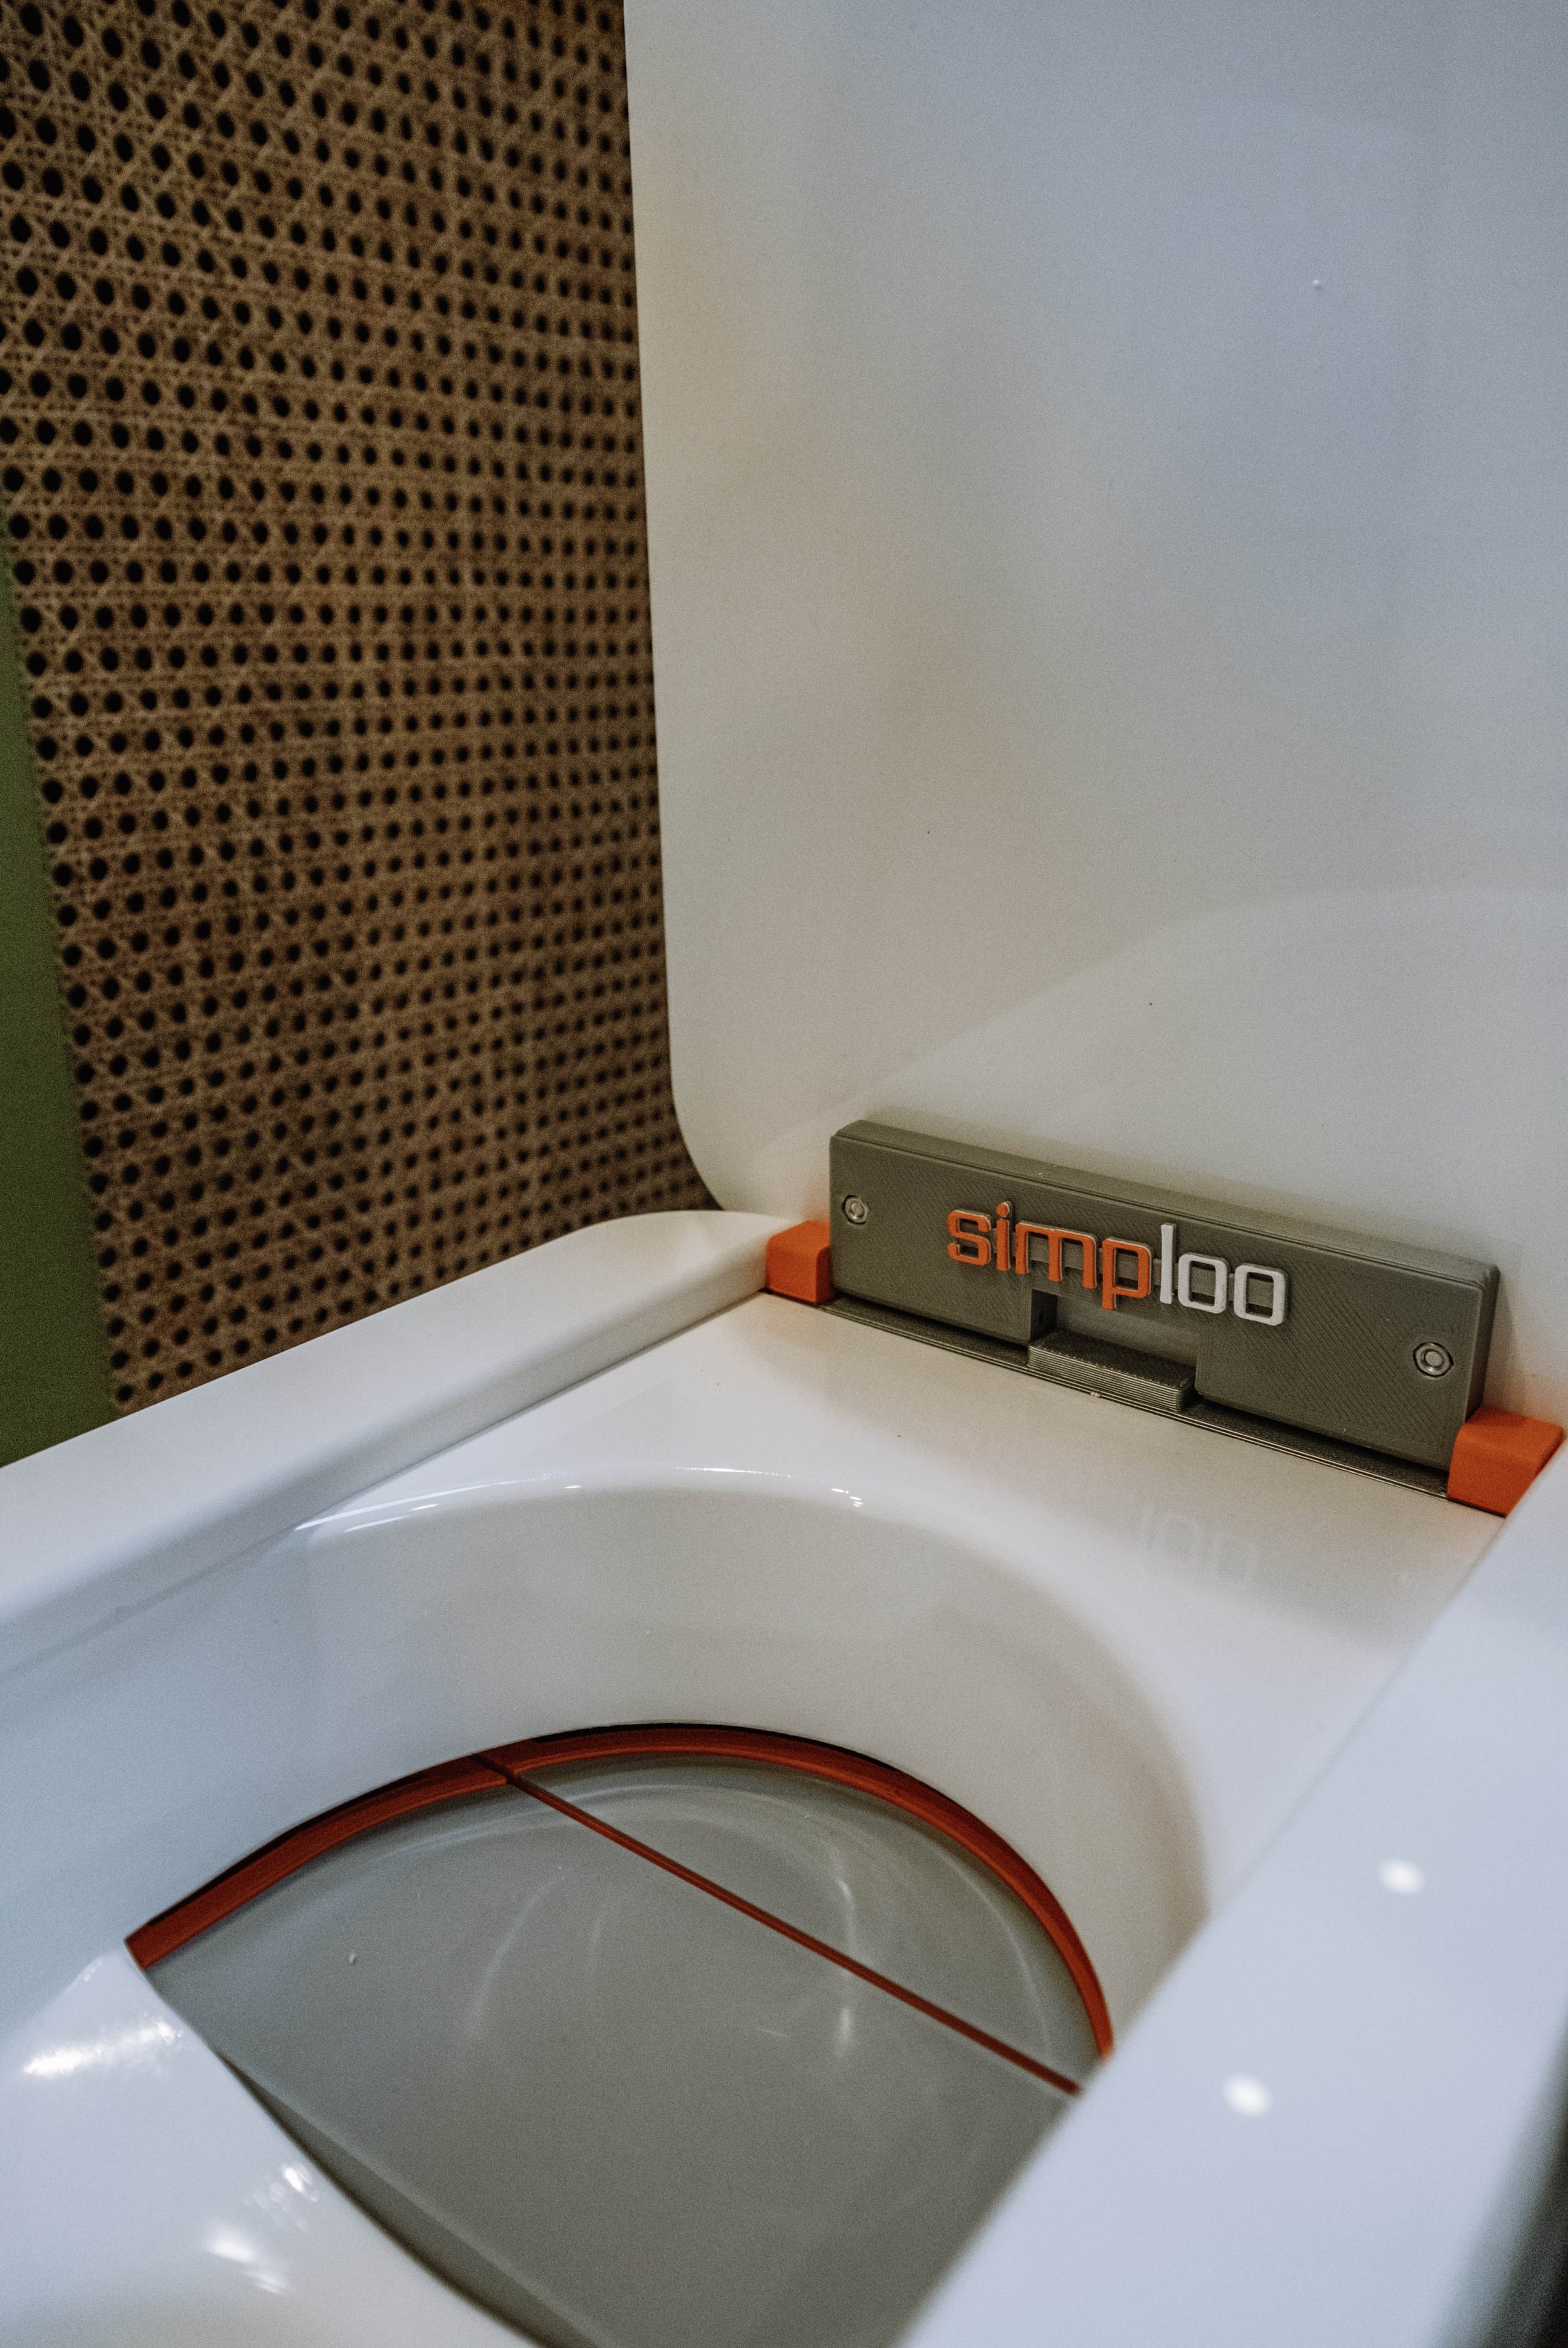
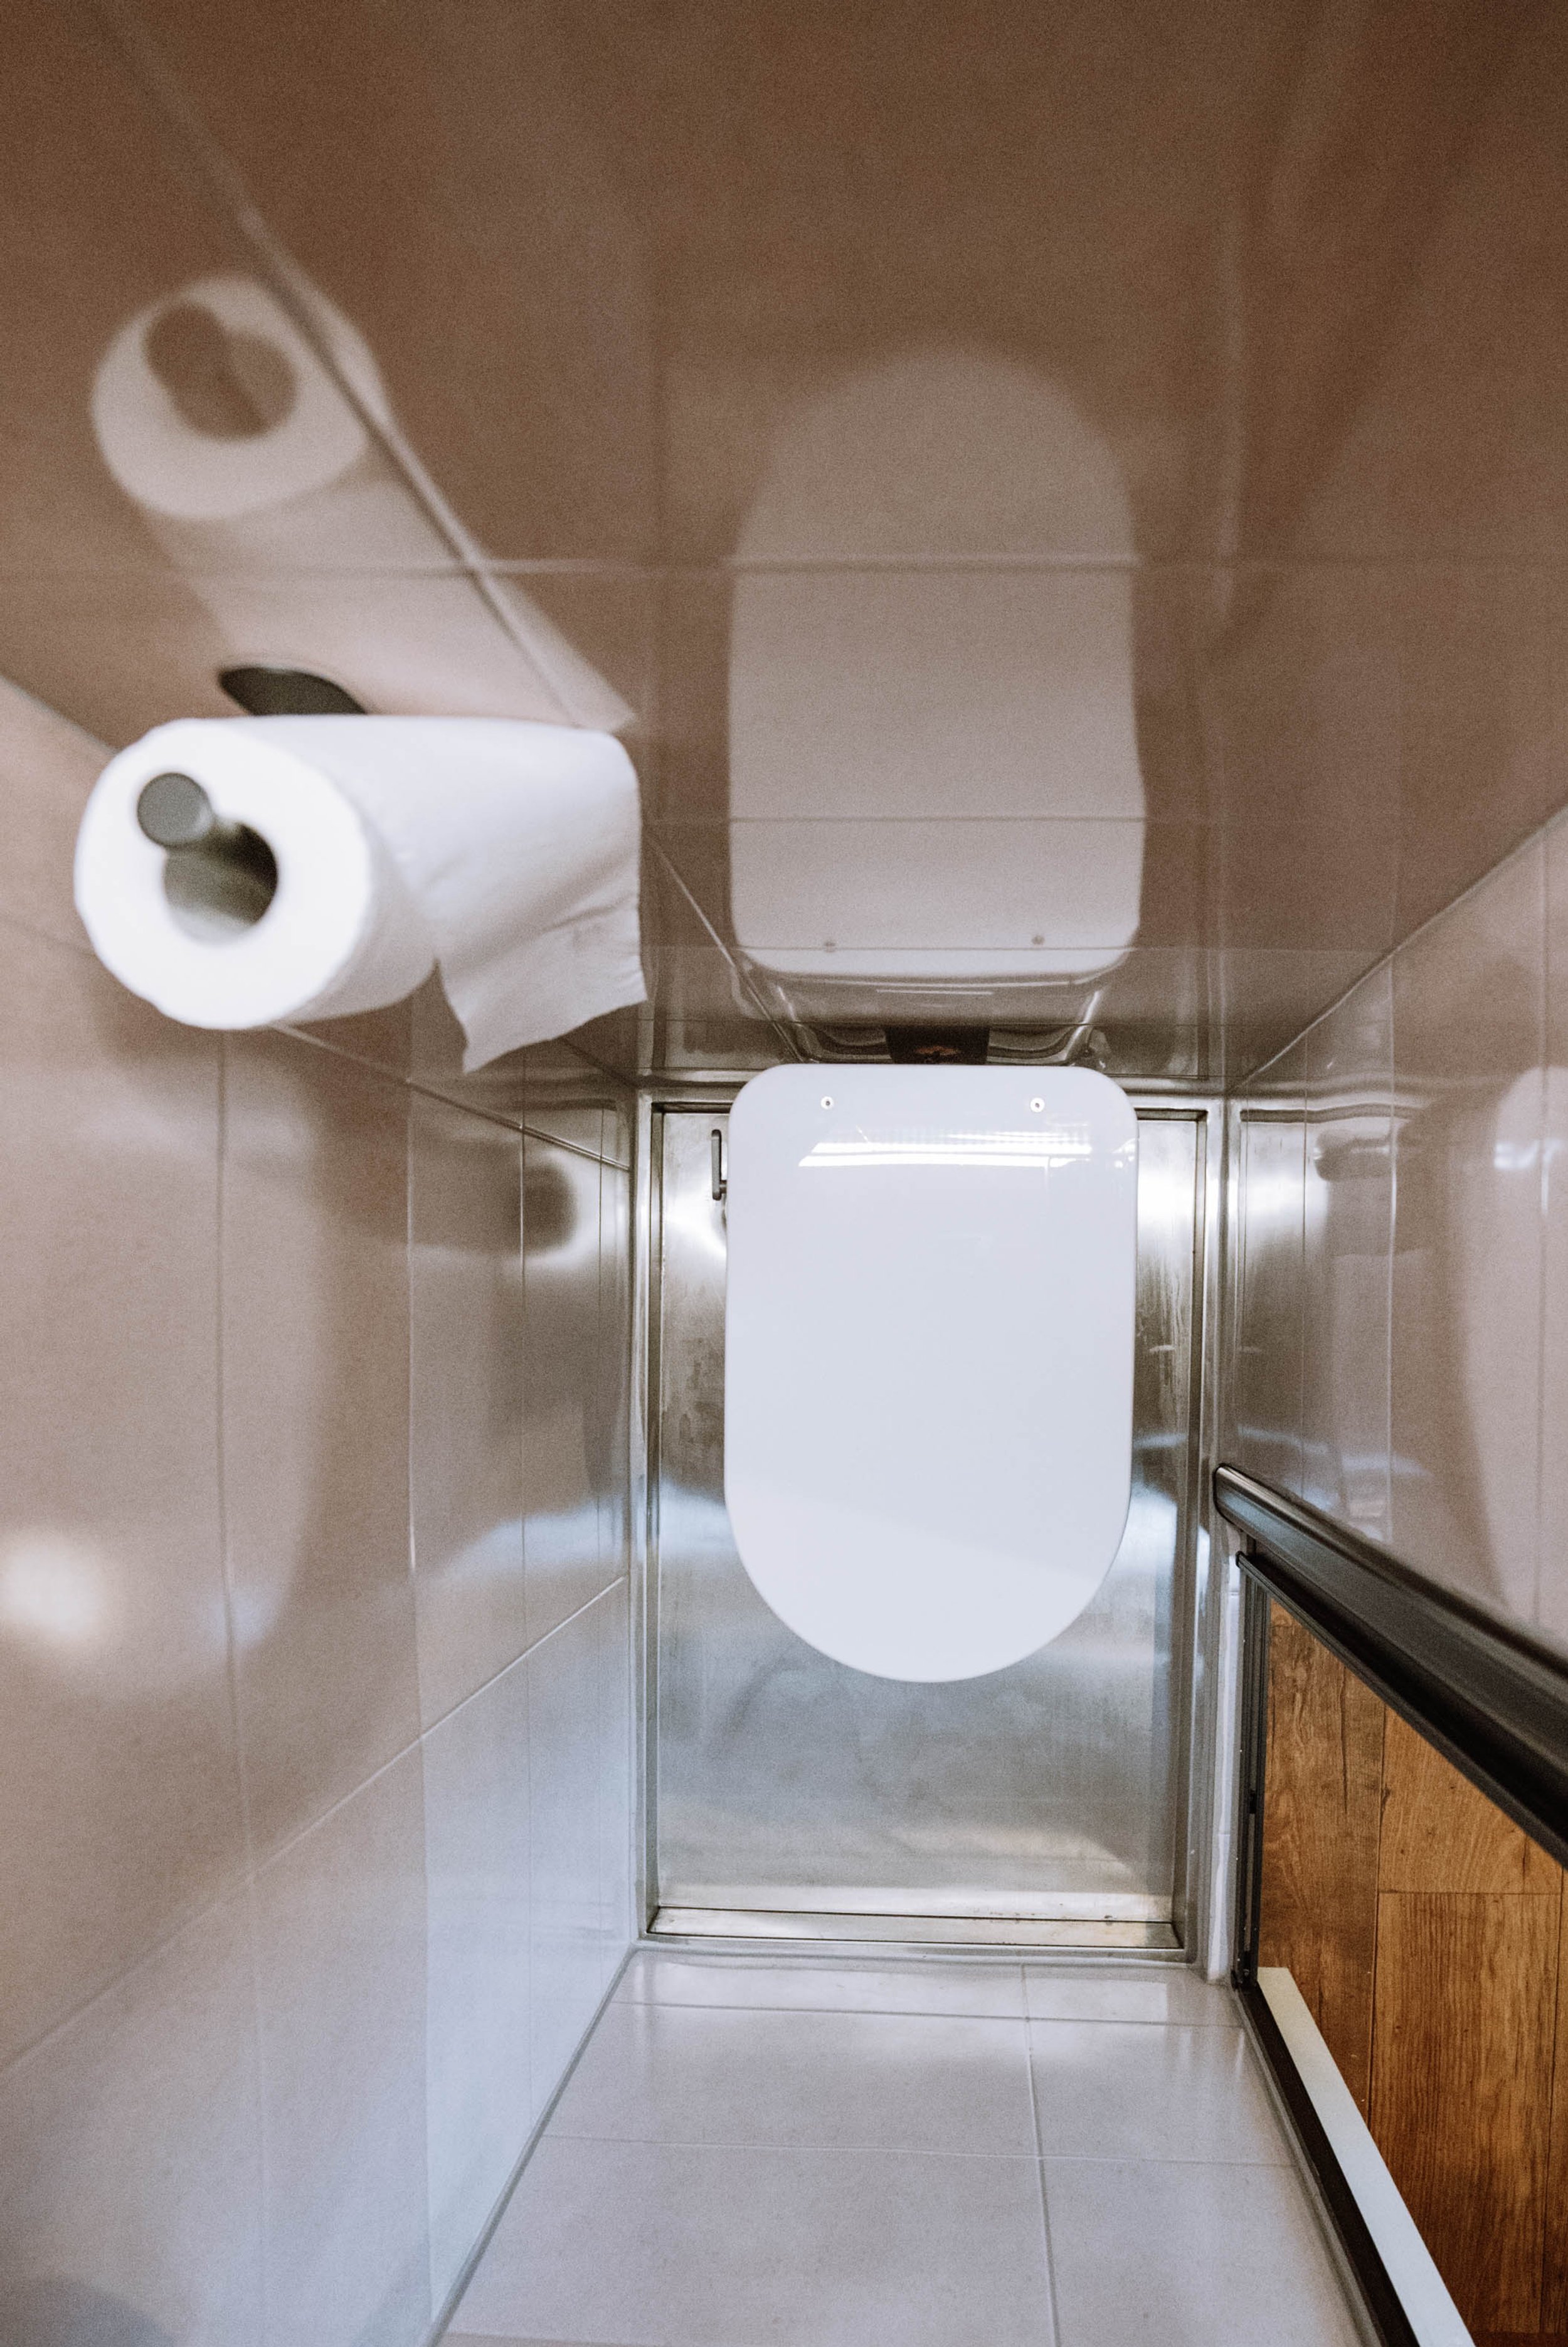
The Simploo
Let's talk toilets. The Simploo compost toilet is a game-changer – easy to clean, eco-friendly, and no fuss. It's the kind of thing you never knew you needed until you have it. For the last two and a half years we were using our home made wooden compost toilet and let me tell you, this one is so much easier to clean and it looks so professional in our shiny new bathroom!
Reco Surfaces
Reco Surfaces' waterproof panels are a lifesaver. We went for the tile panels and they look so real you'd swear they were straight out of a luxury spa. They are a lot lighter than regular tiles and all you need to do is cut them to size, stick them down with the recommended adhesive and then seal around the edges.

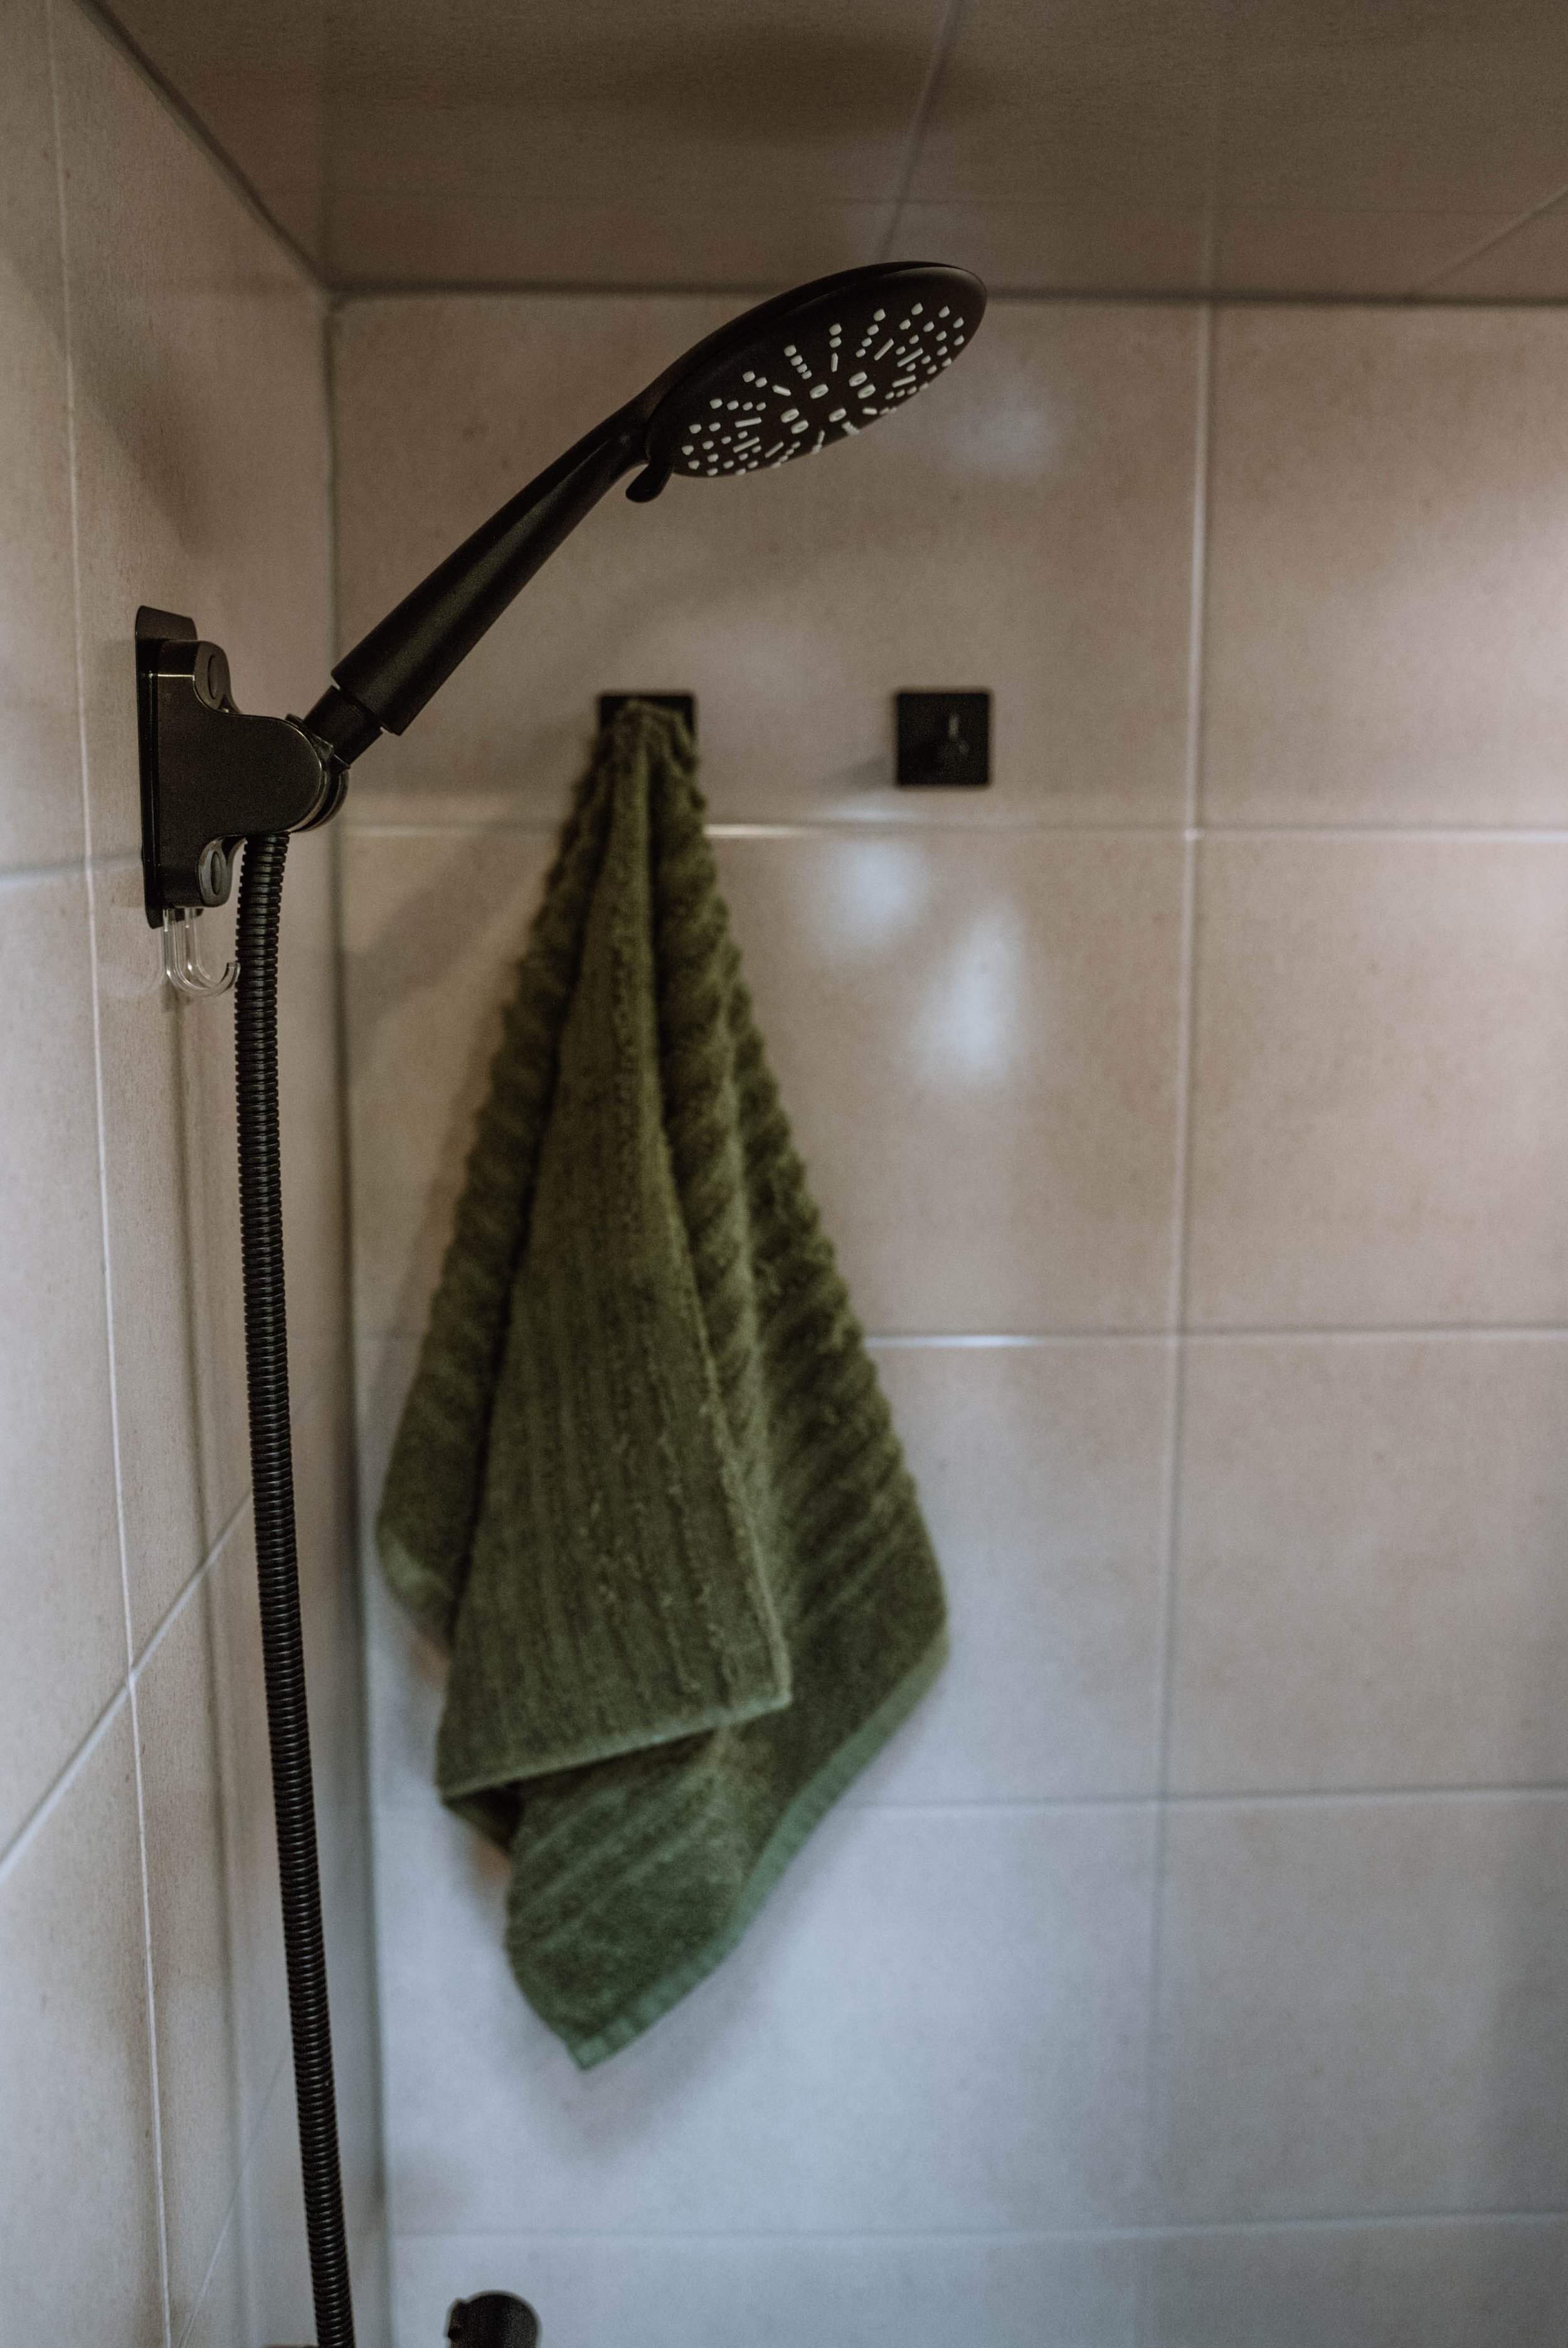
Romer World Shower Tray
We went back and forth between plastic shower trays and making our own out of ply. But then we saw these stainless steel ones and that was it.
Romerworld is an off grid conversion company that specialises in creating beautifully bespoke campers, boats and tiny homes. They also offer a fully customisable stainless shower tray service, providing you with an extremely high quality, bespoke alternative to the low quality plastic and resin trays found online. Not only will these guys fabricate your tray to any shape and size but you can also decide exactly where you'd like your drain to be located. They also offer a powder coating service which means you can colour your tray to match your interior. If you want to contact them or have any questions you can reach out to Jerome via phone or email (details below) you can also give them a follow on Instgram.
07707898589 // info@romerworld.com

Bathroom Accessories

John Guest Plumbing Connections
We tried a few other plumbing connections but the John Guest push fit ones were the best and don’t leak at all! You can get them on amazon or eBay. I won’t list links because your plumbing set up is likely very different from ours.
Living Area + Kitchen
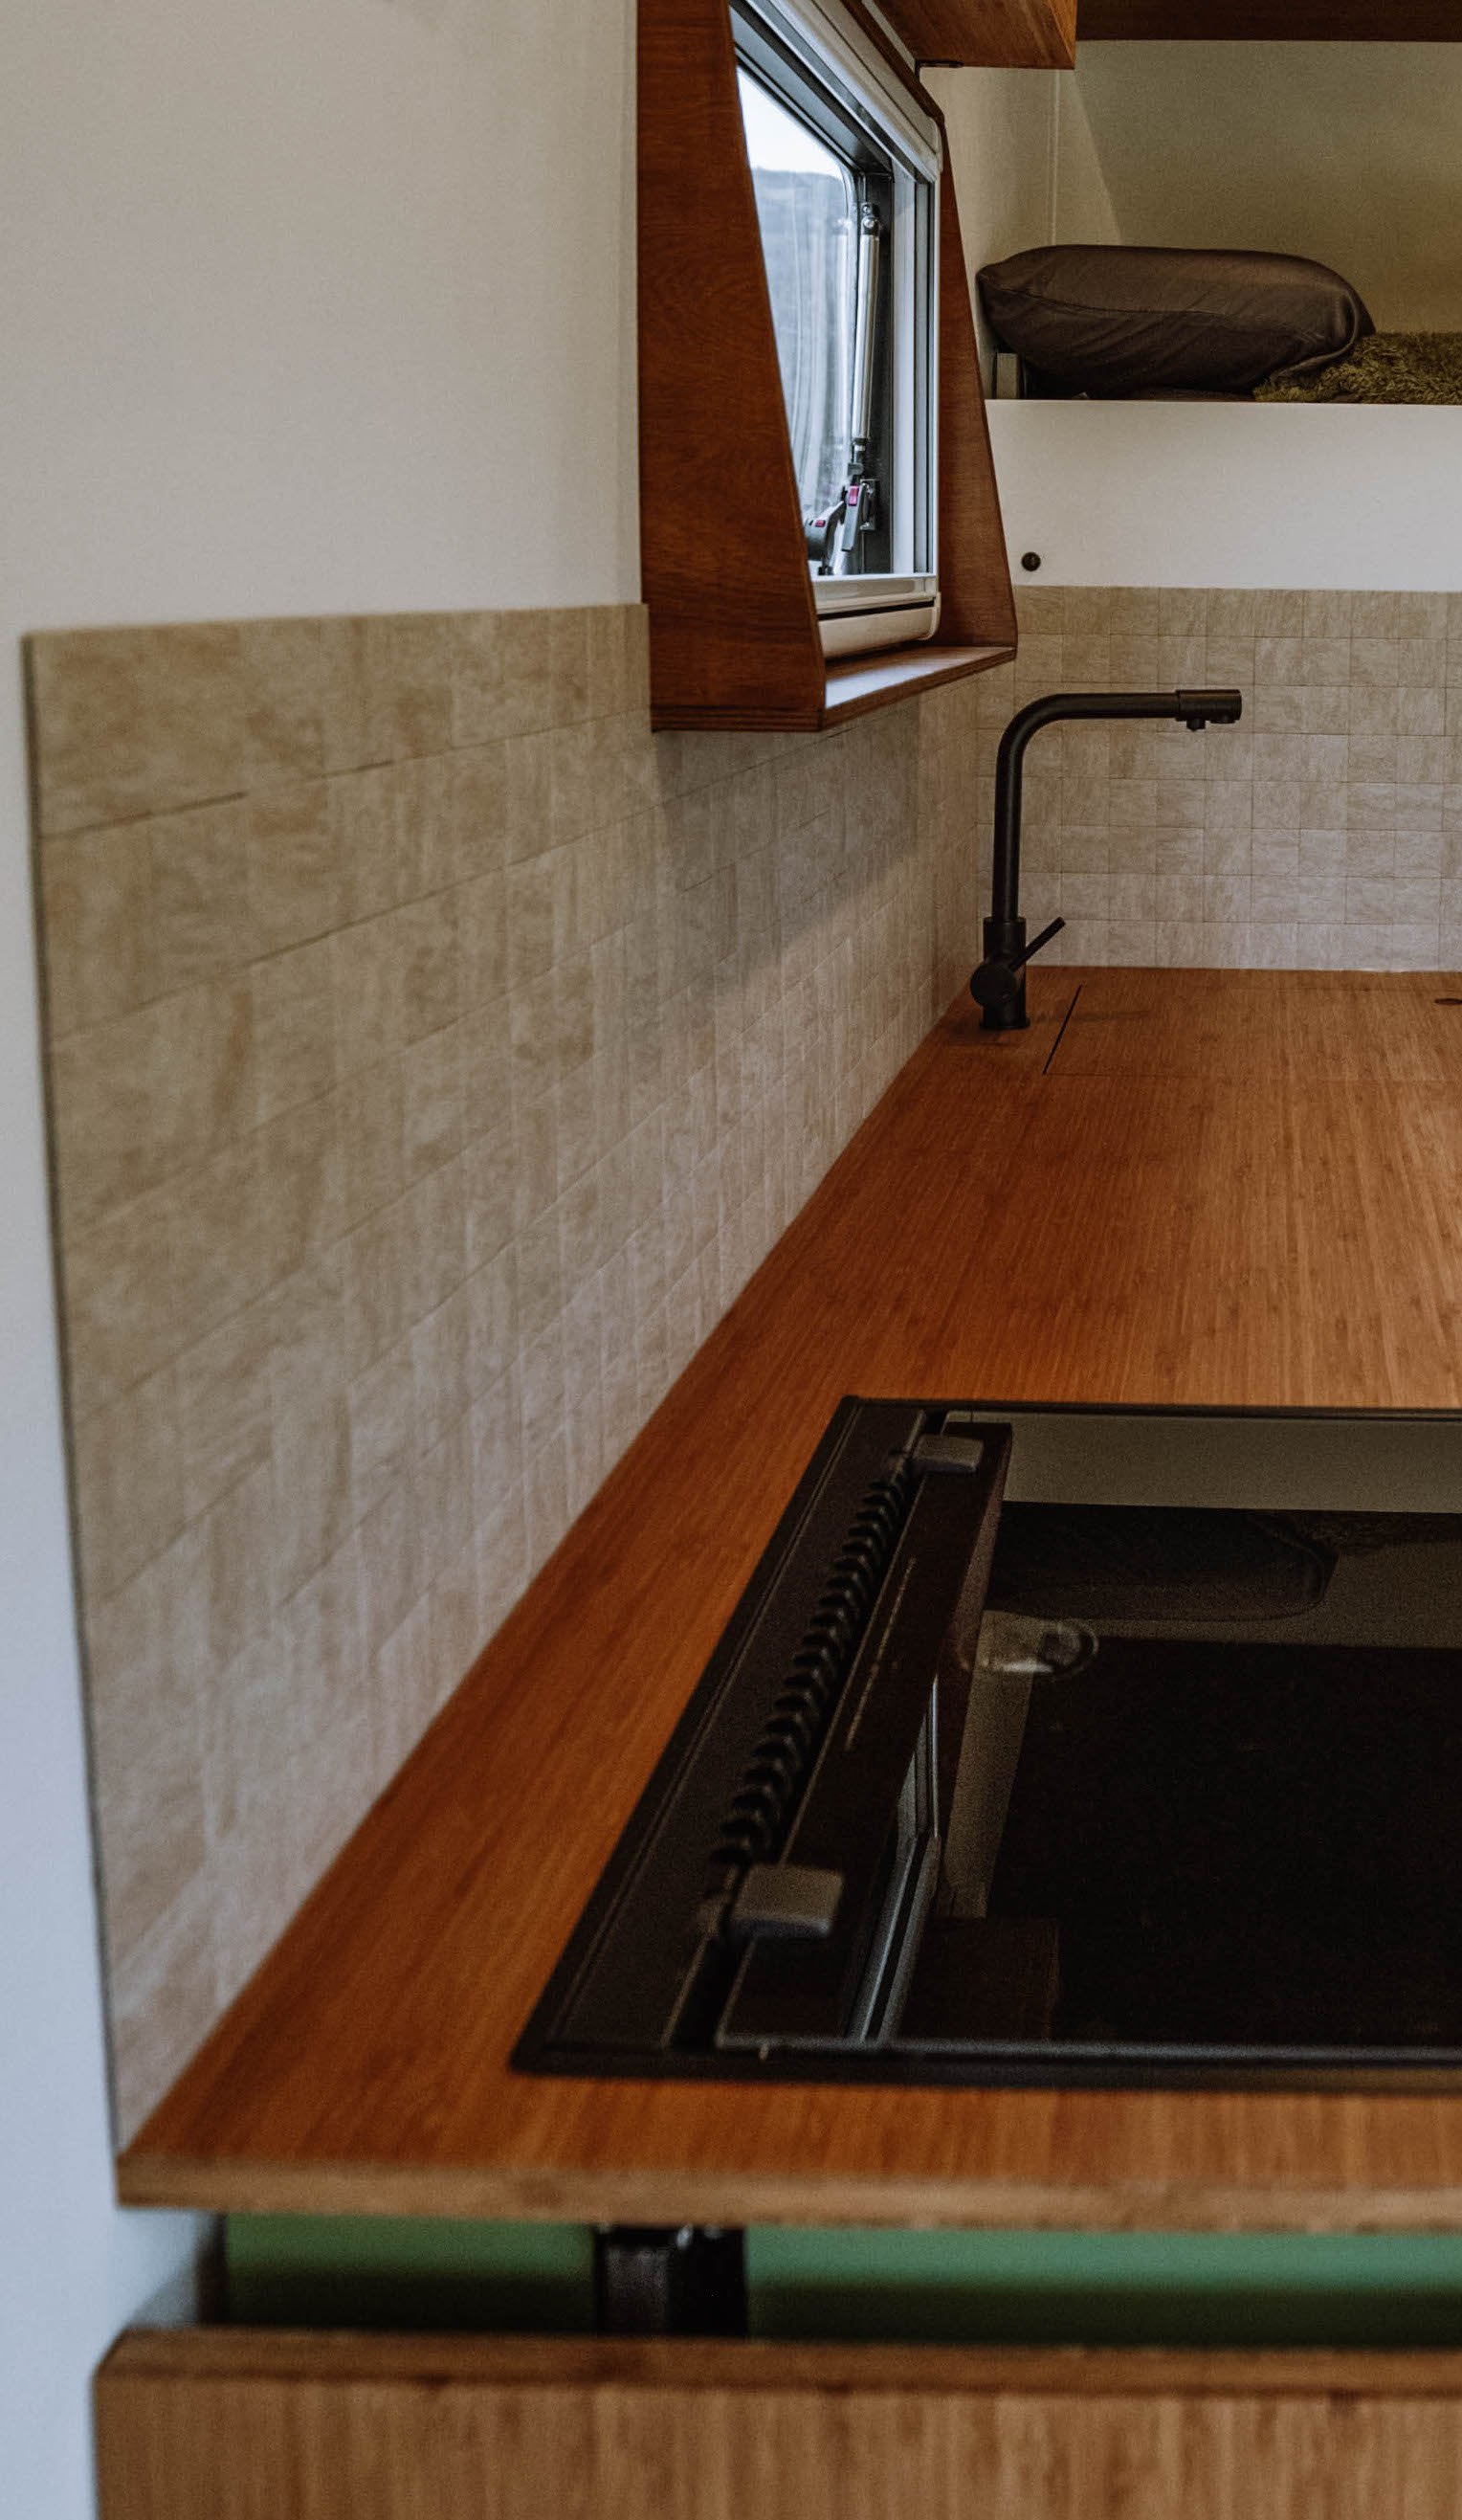
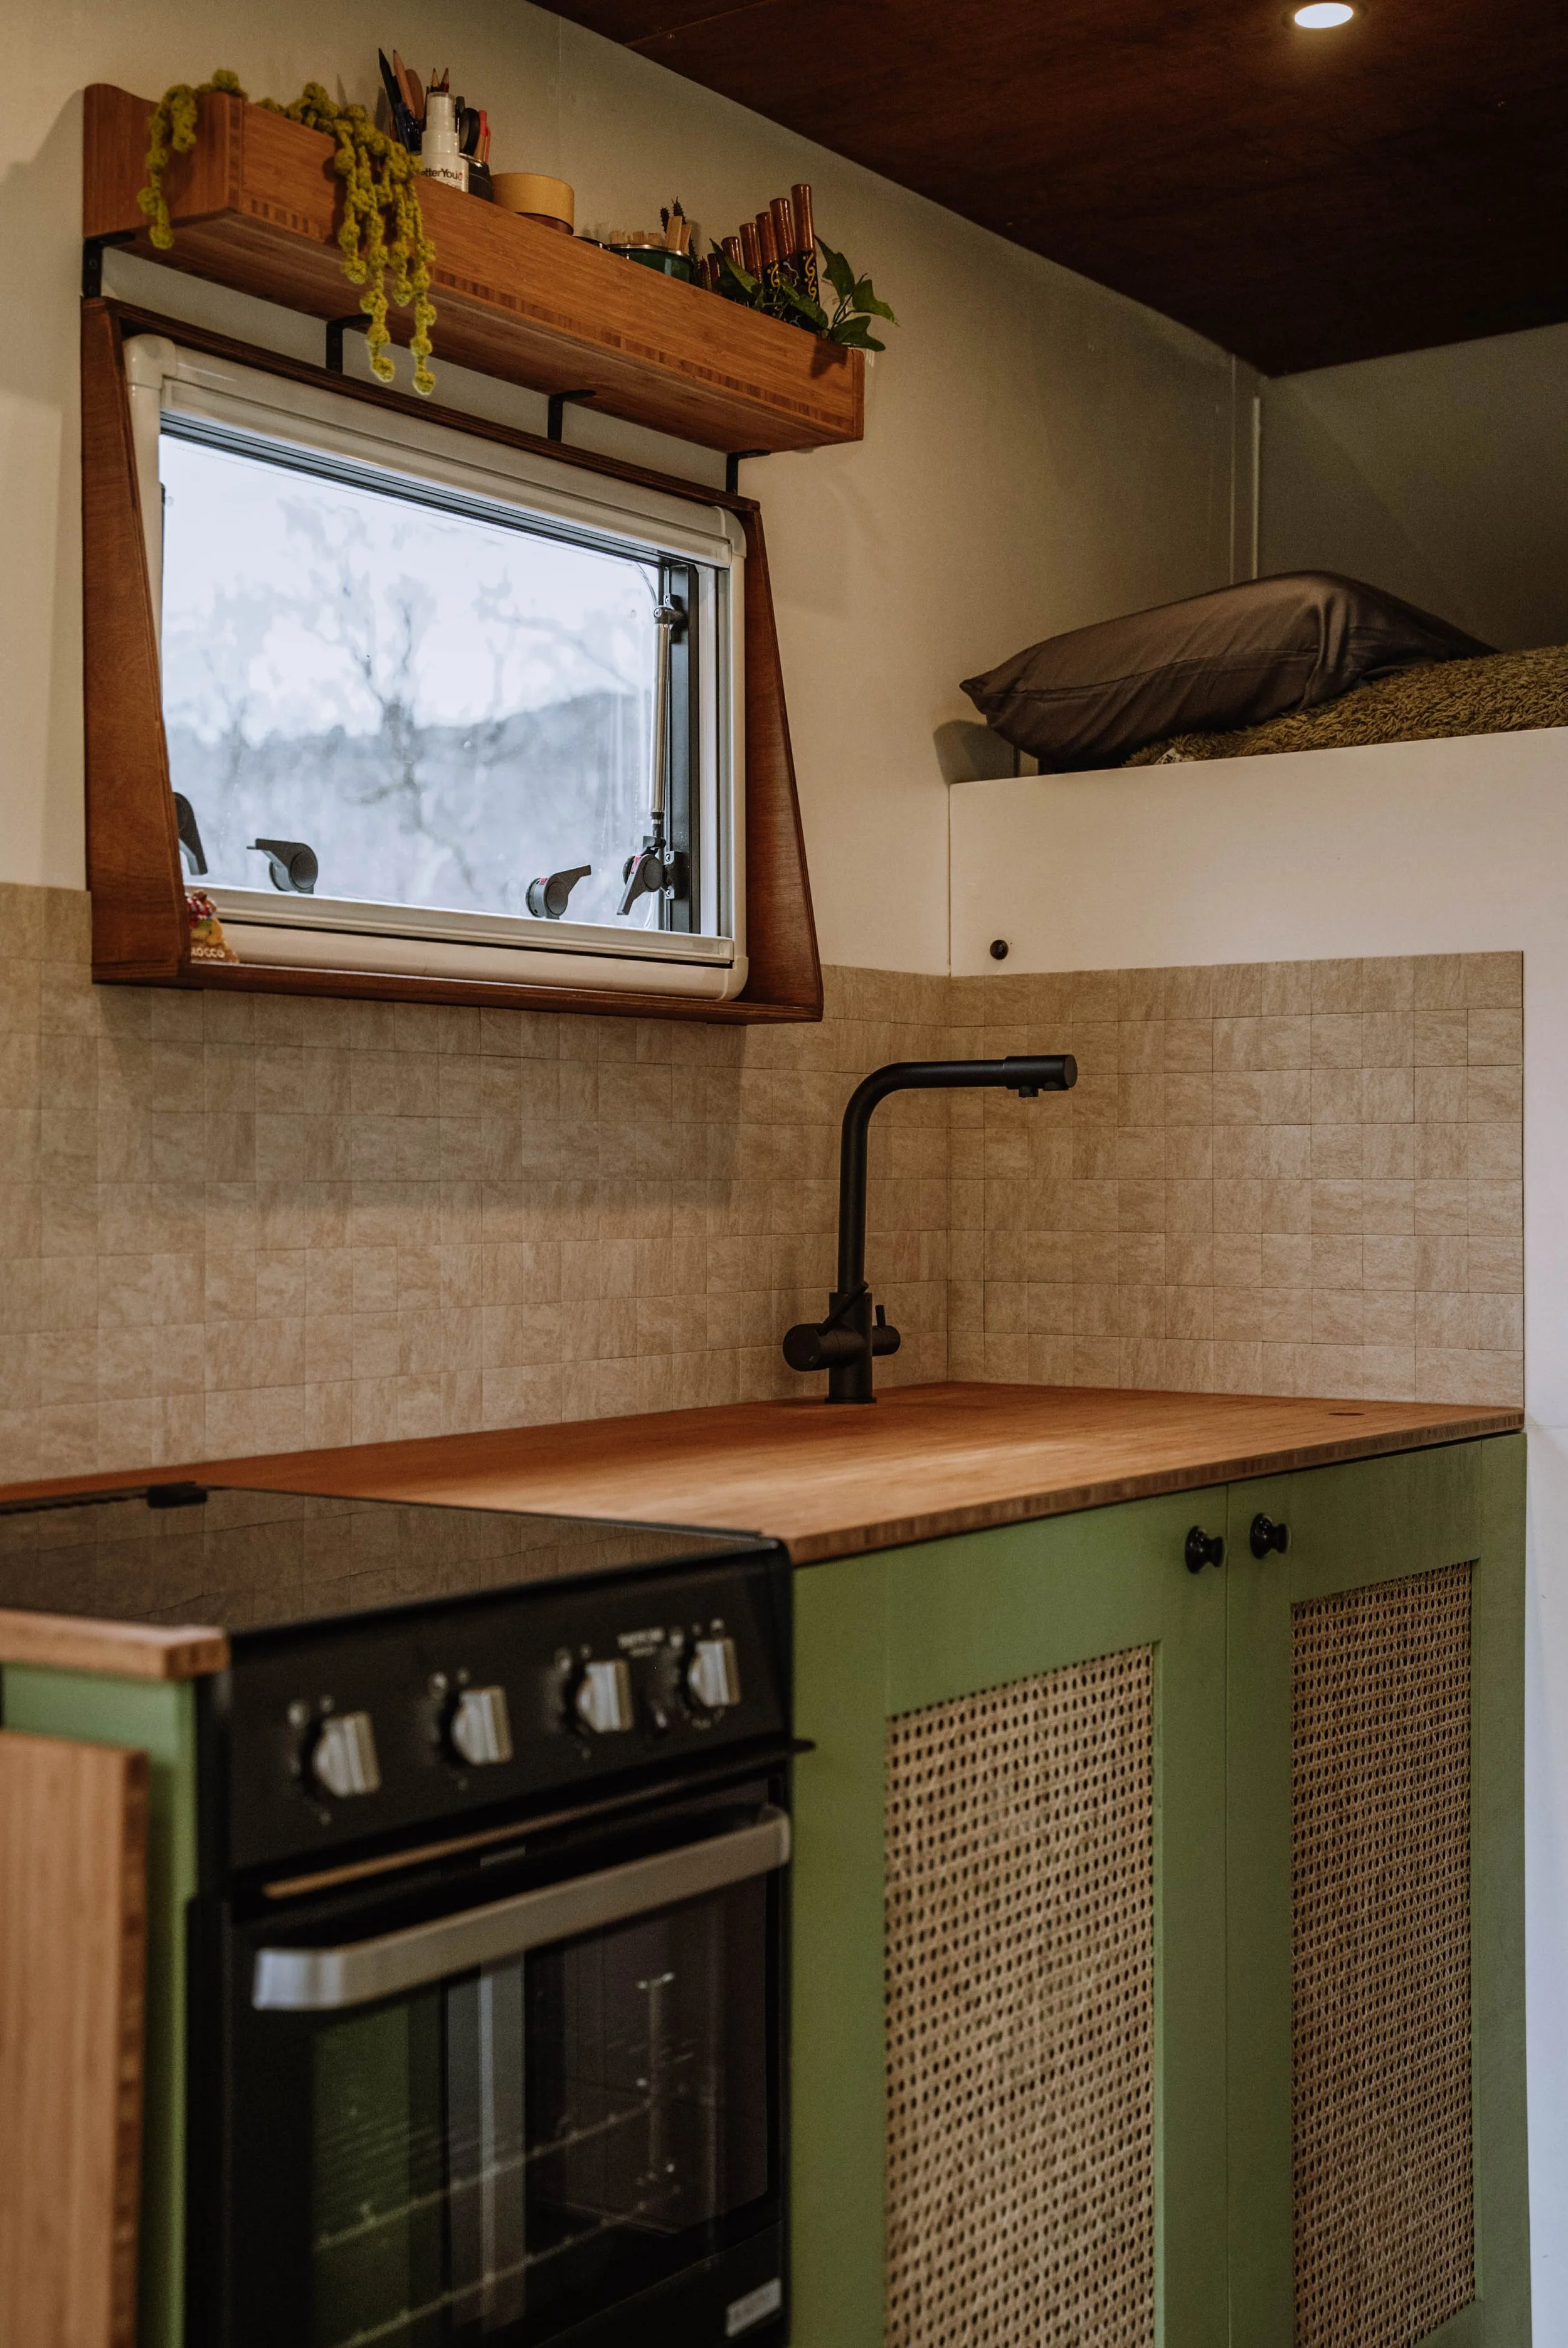
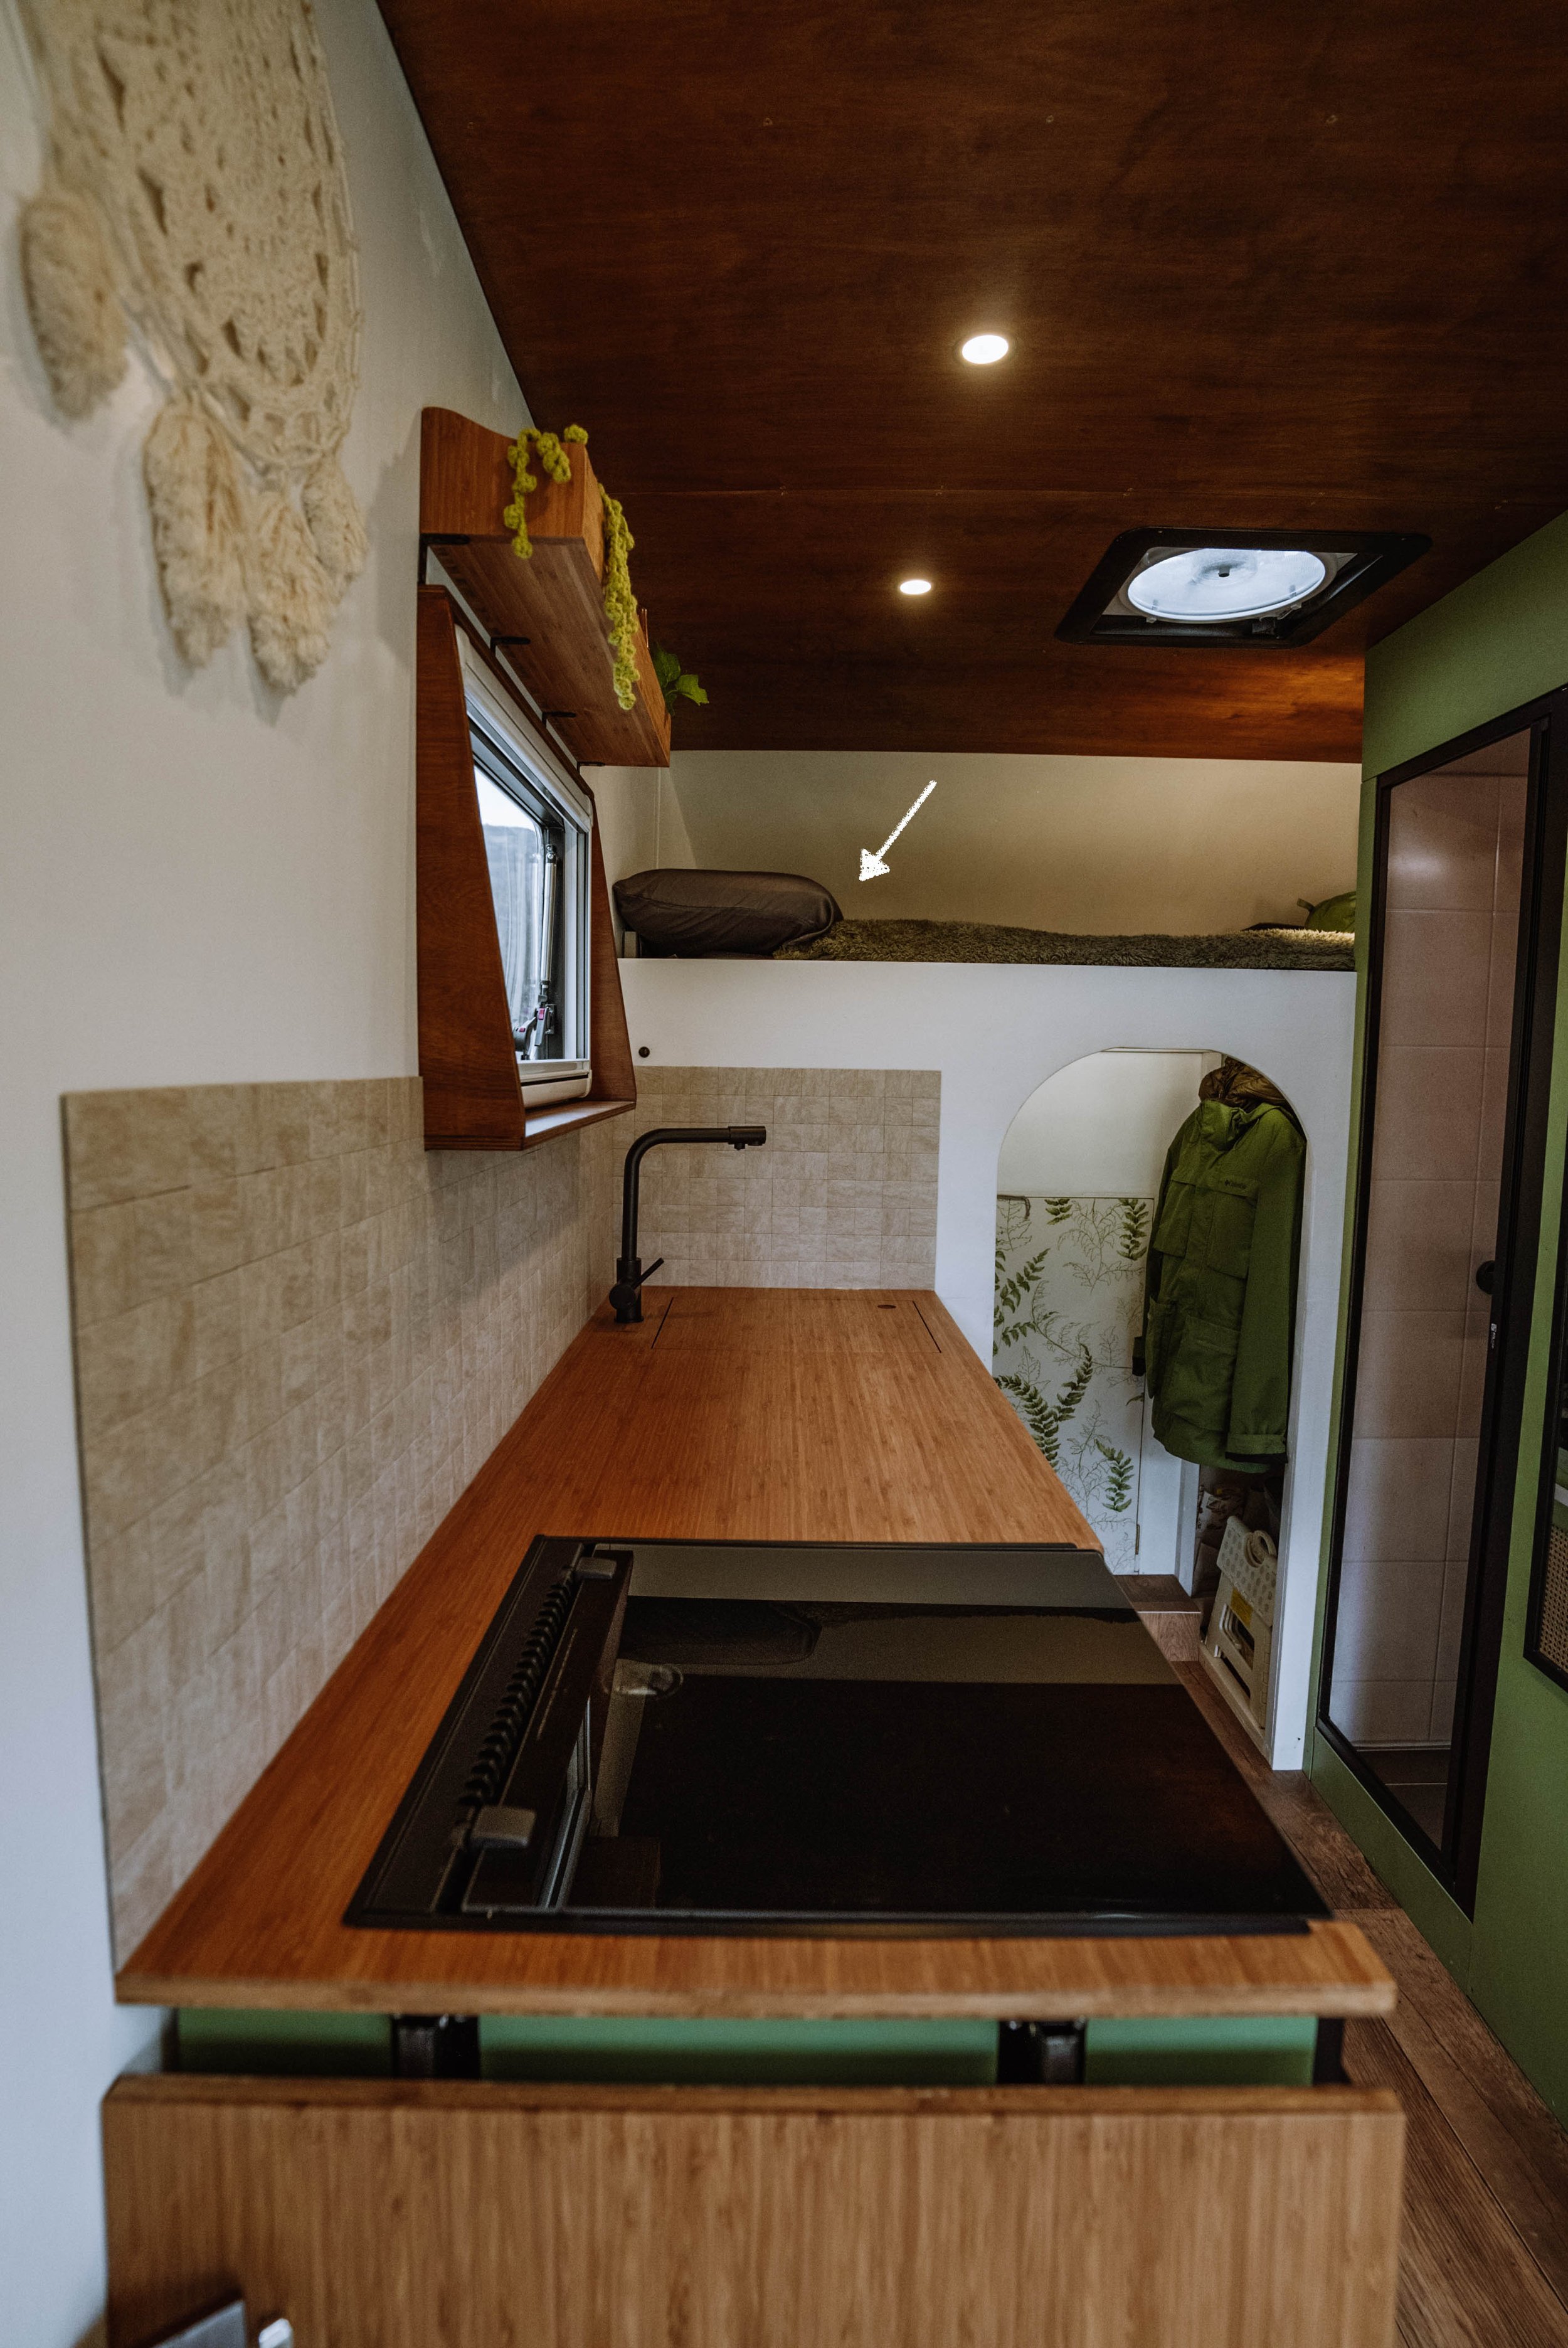
Moso Bamboo Surfaces
Lightweight and eco-friendly? Yes, please. Bamboo ply was so easy to work with and it looks perfect as a worktop! Exactly the minimalist, natural look we were going for. We went for the 16mm ply from Moso and it’s absolutely beautiful! I’m so happy we went for this. To finish it off I used Osmo Top Oil and it really brought out the colour and grain.
I’m so glad that we found www.mosobamboosurfaces.co.uk, it’s definitely one of the first things you notice as you enter the van!
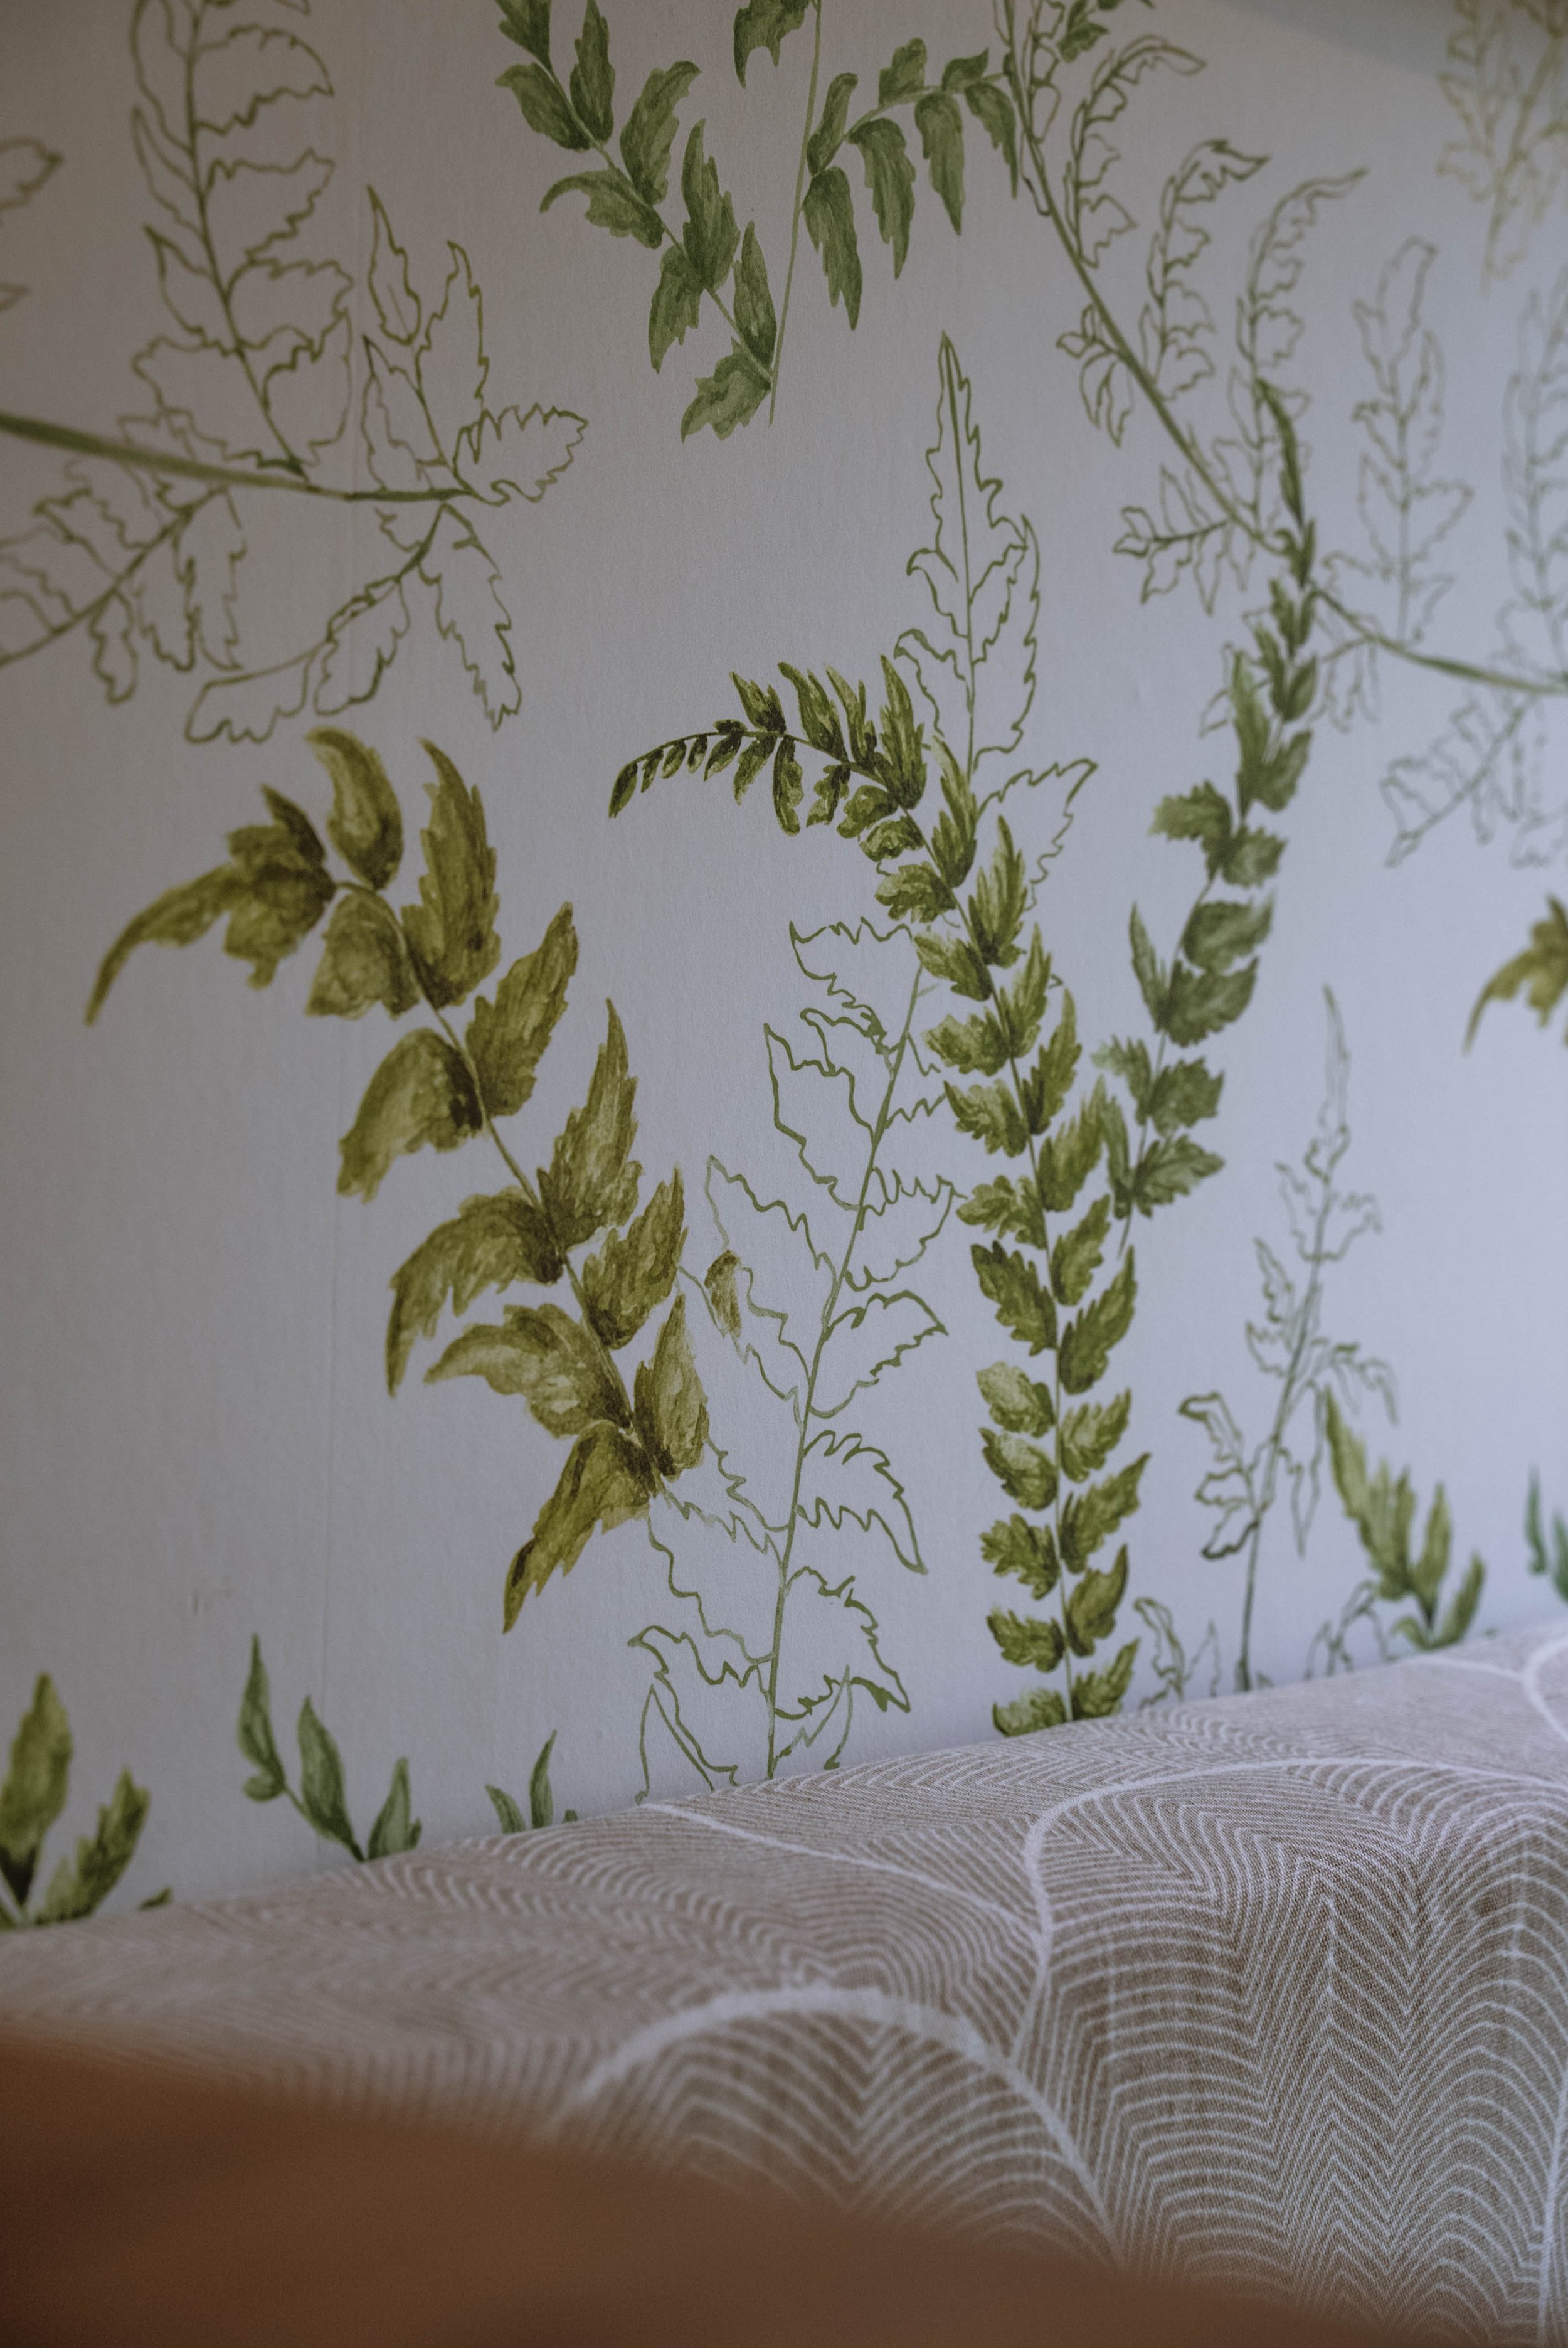
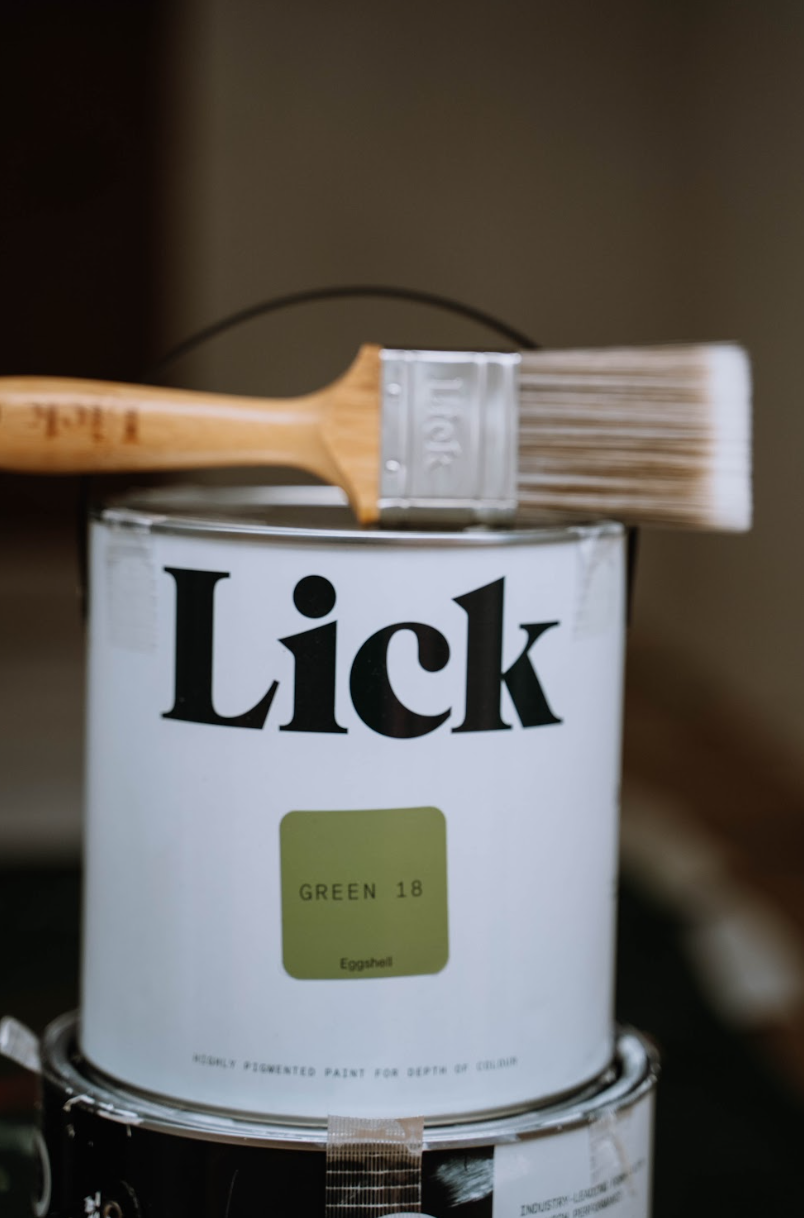
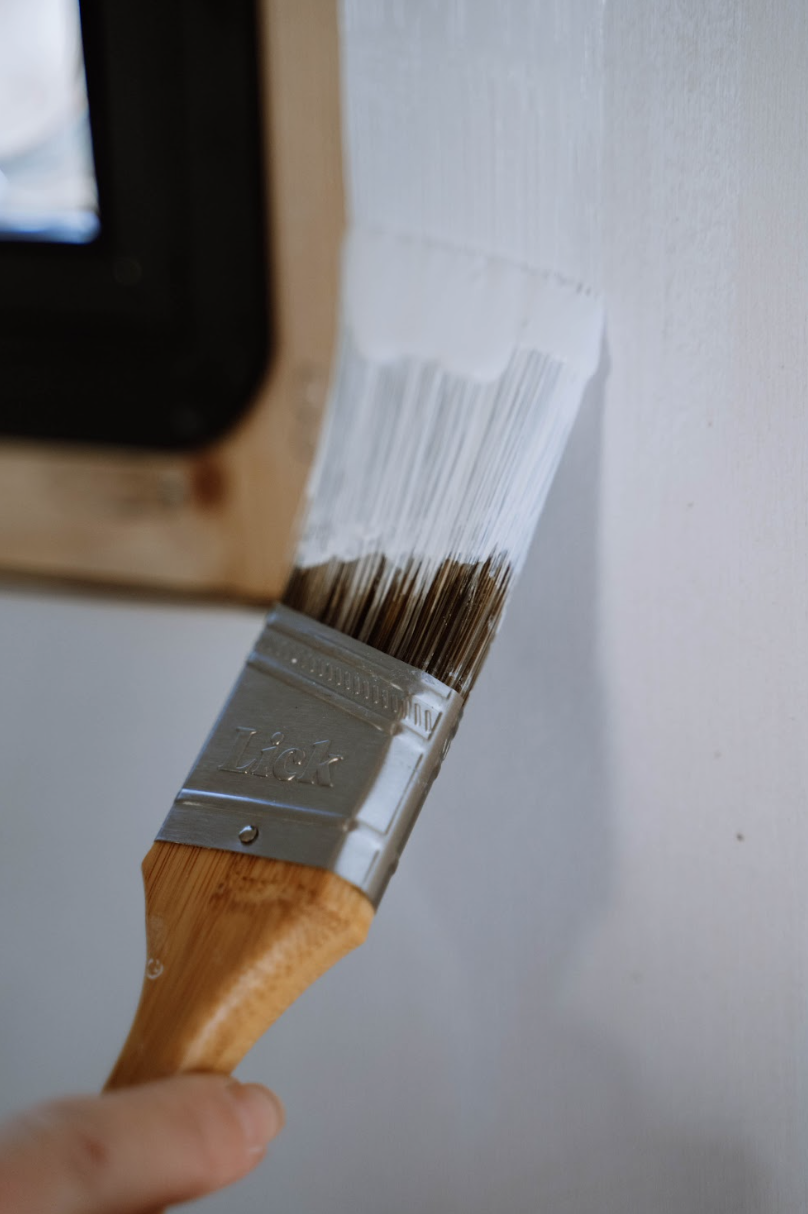
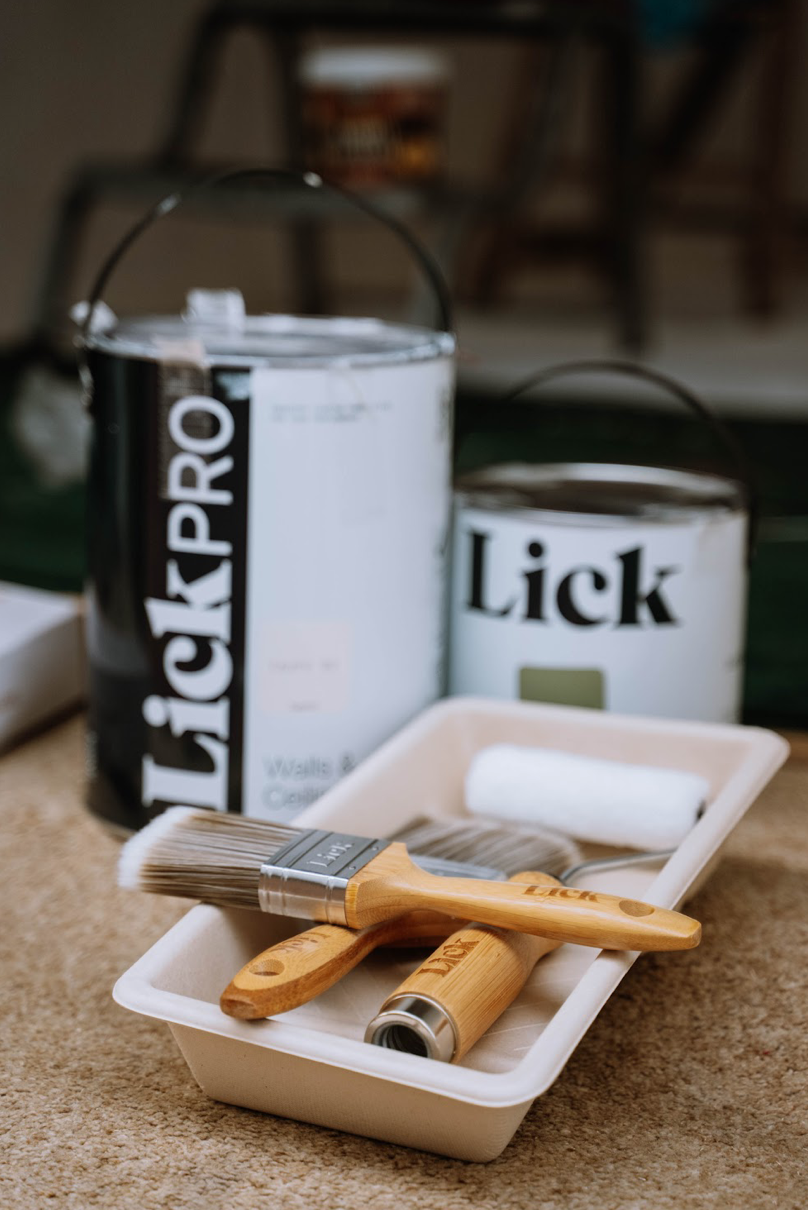
Lick Paint
Who says camper van walls have to be boring? The best thing about converting your own is making it completely unique to you. Lick offers so many beautiful natural colours of paint and aesthetic wallpapers that have added a pop of personality to our little home. As soon as I saw this fern wallpaper I knew I had to have it.
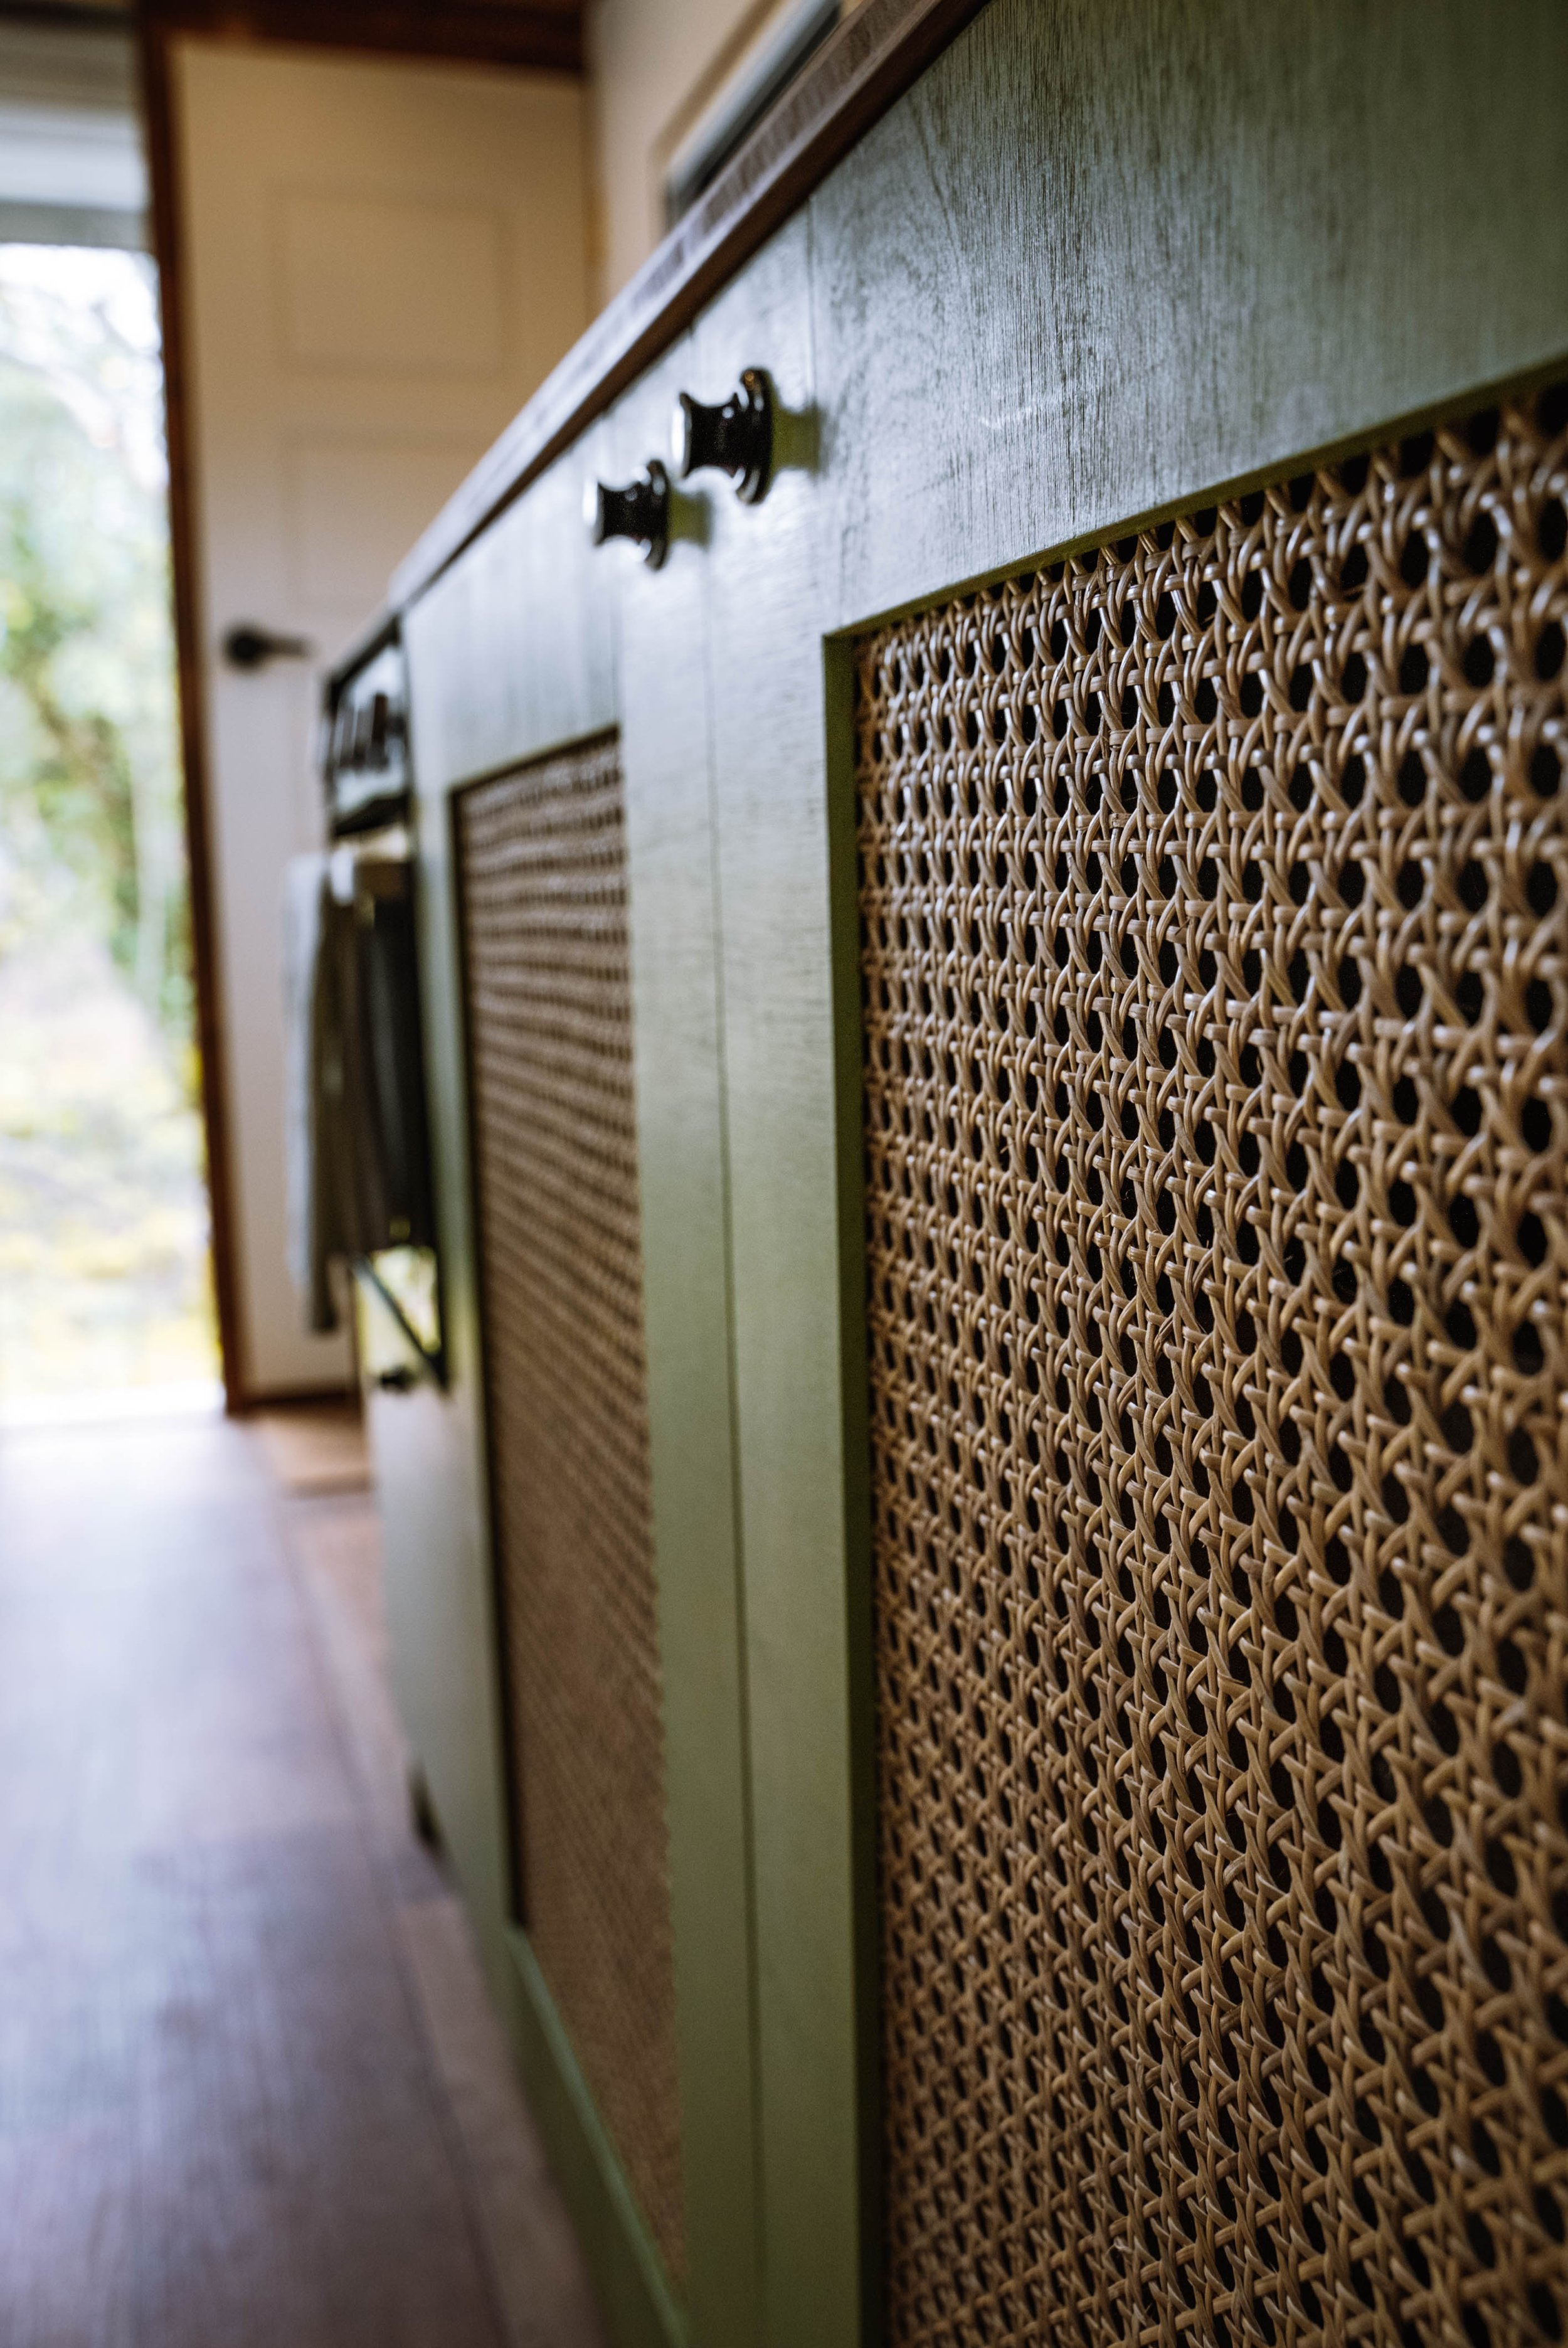
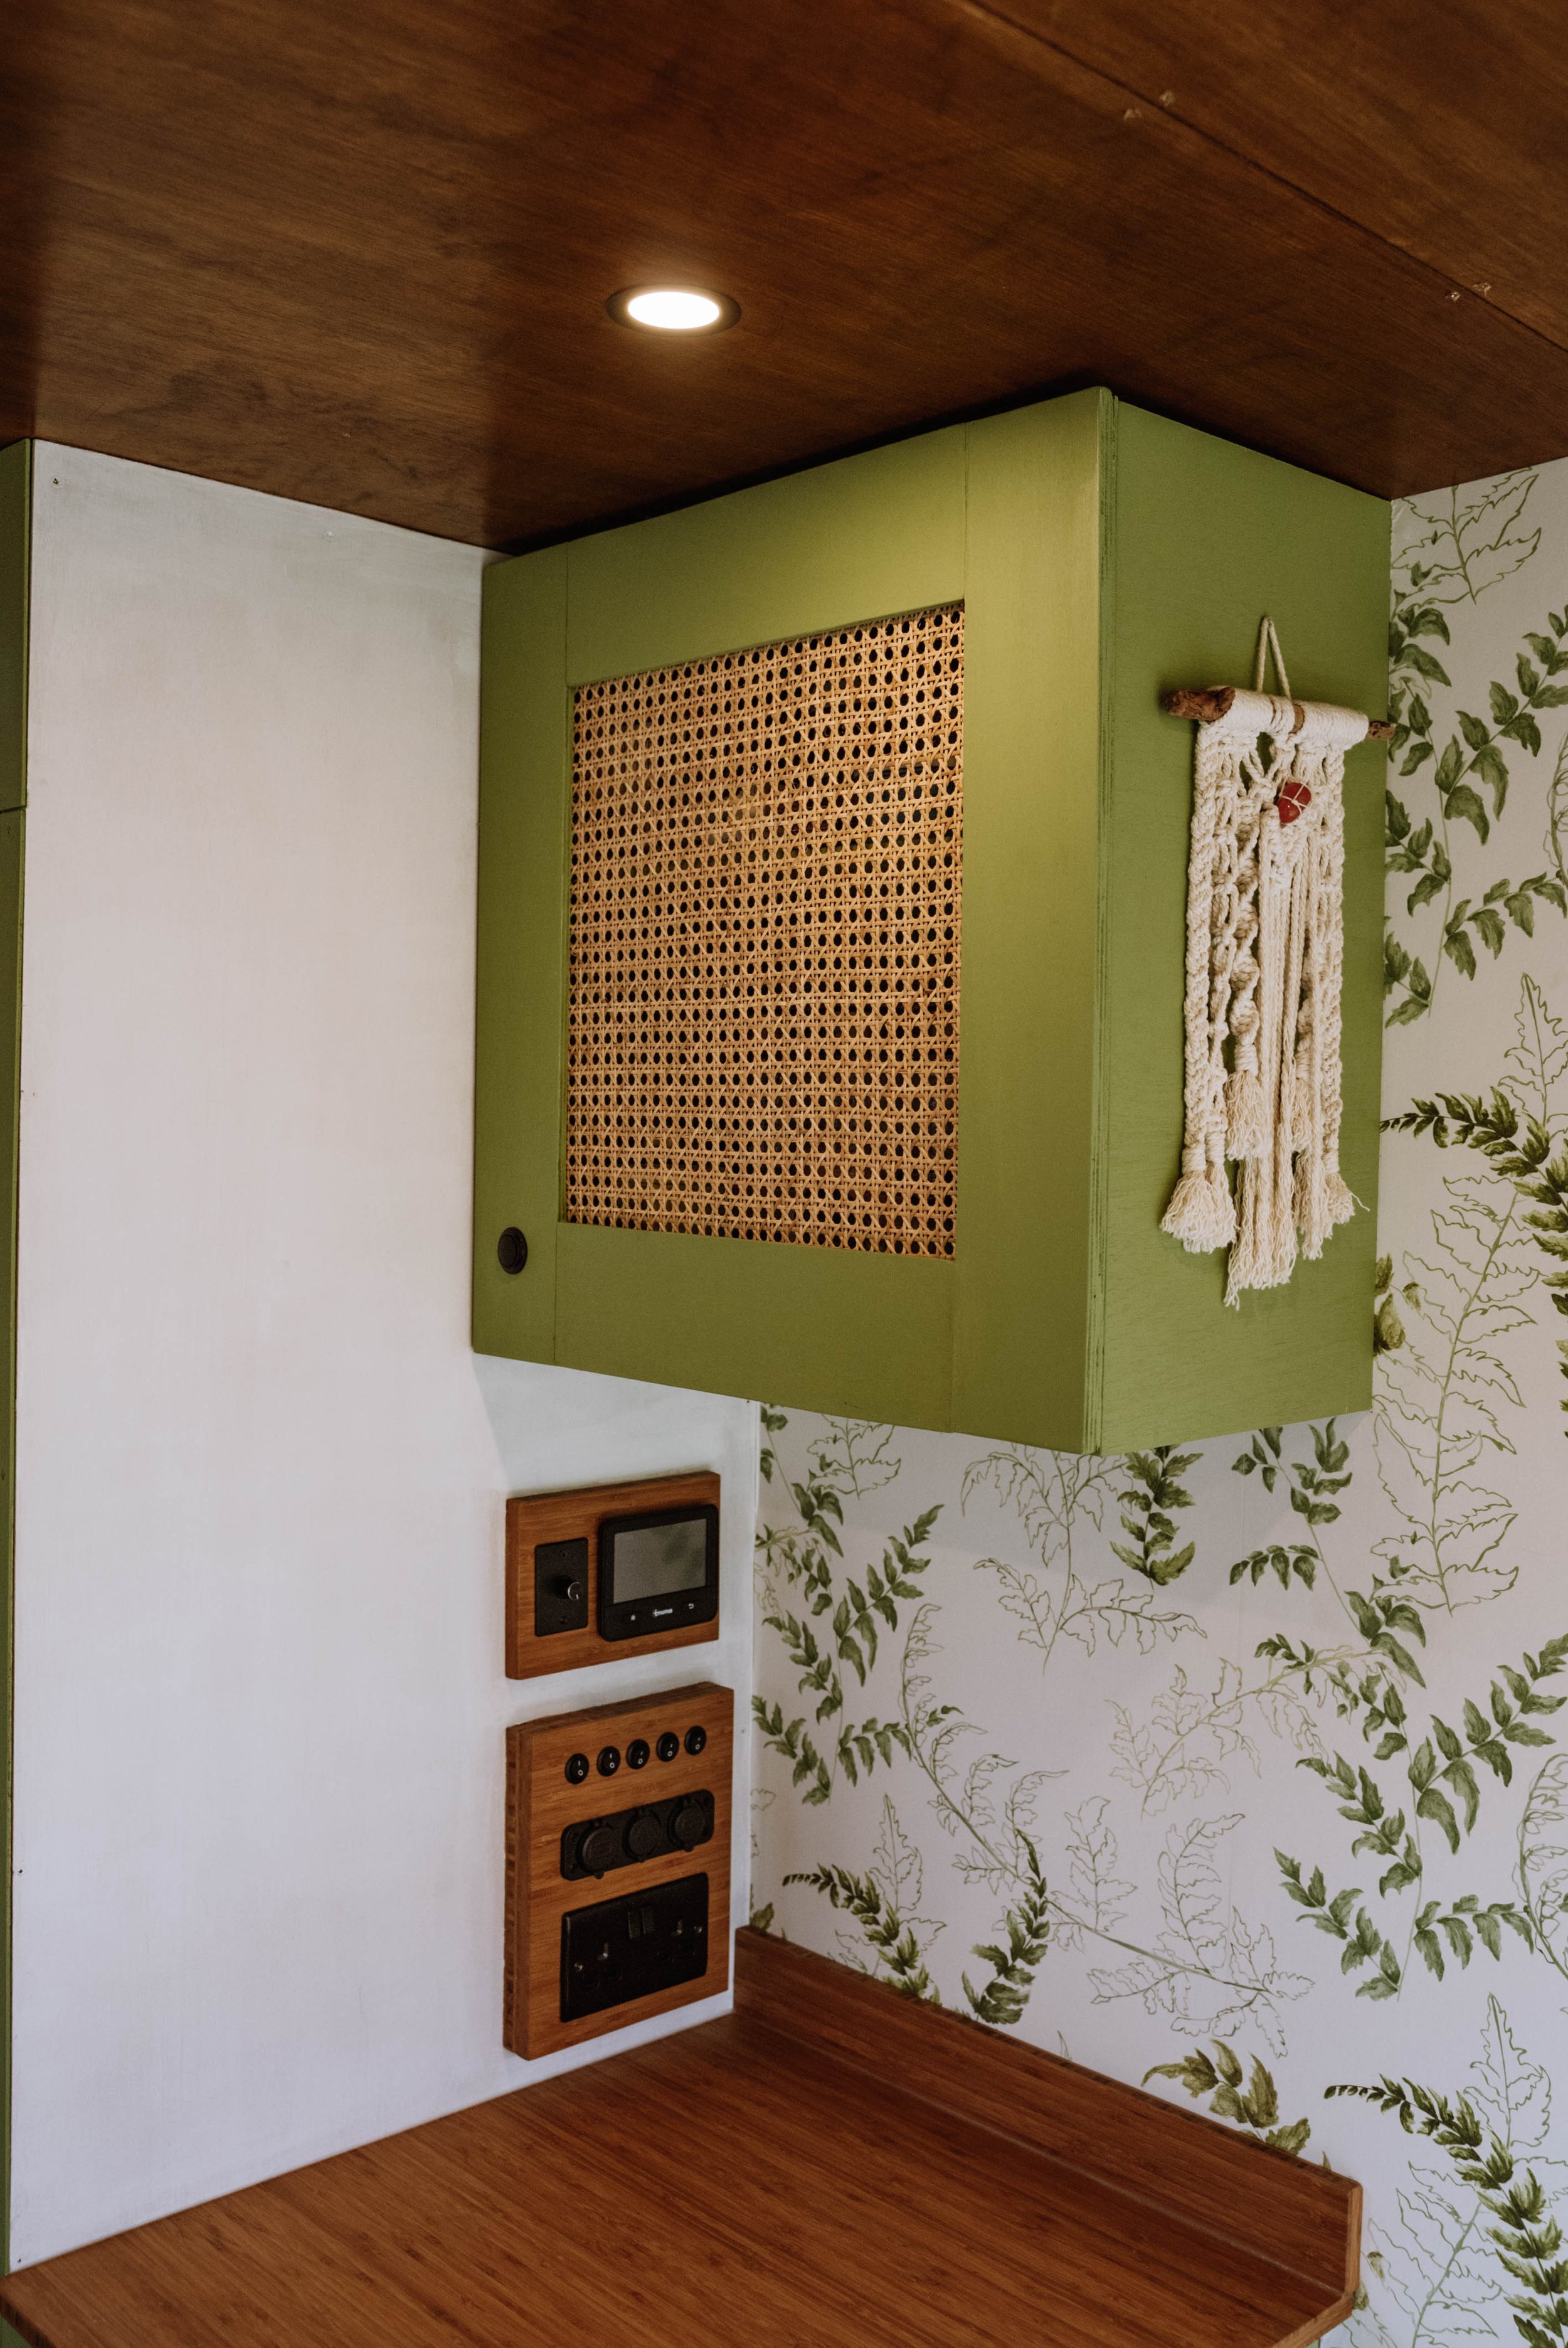
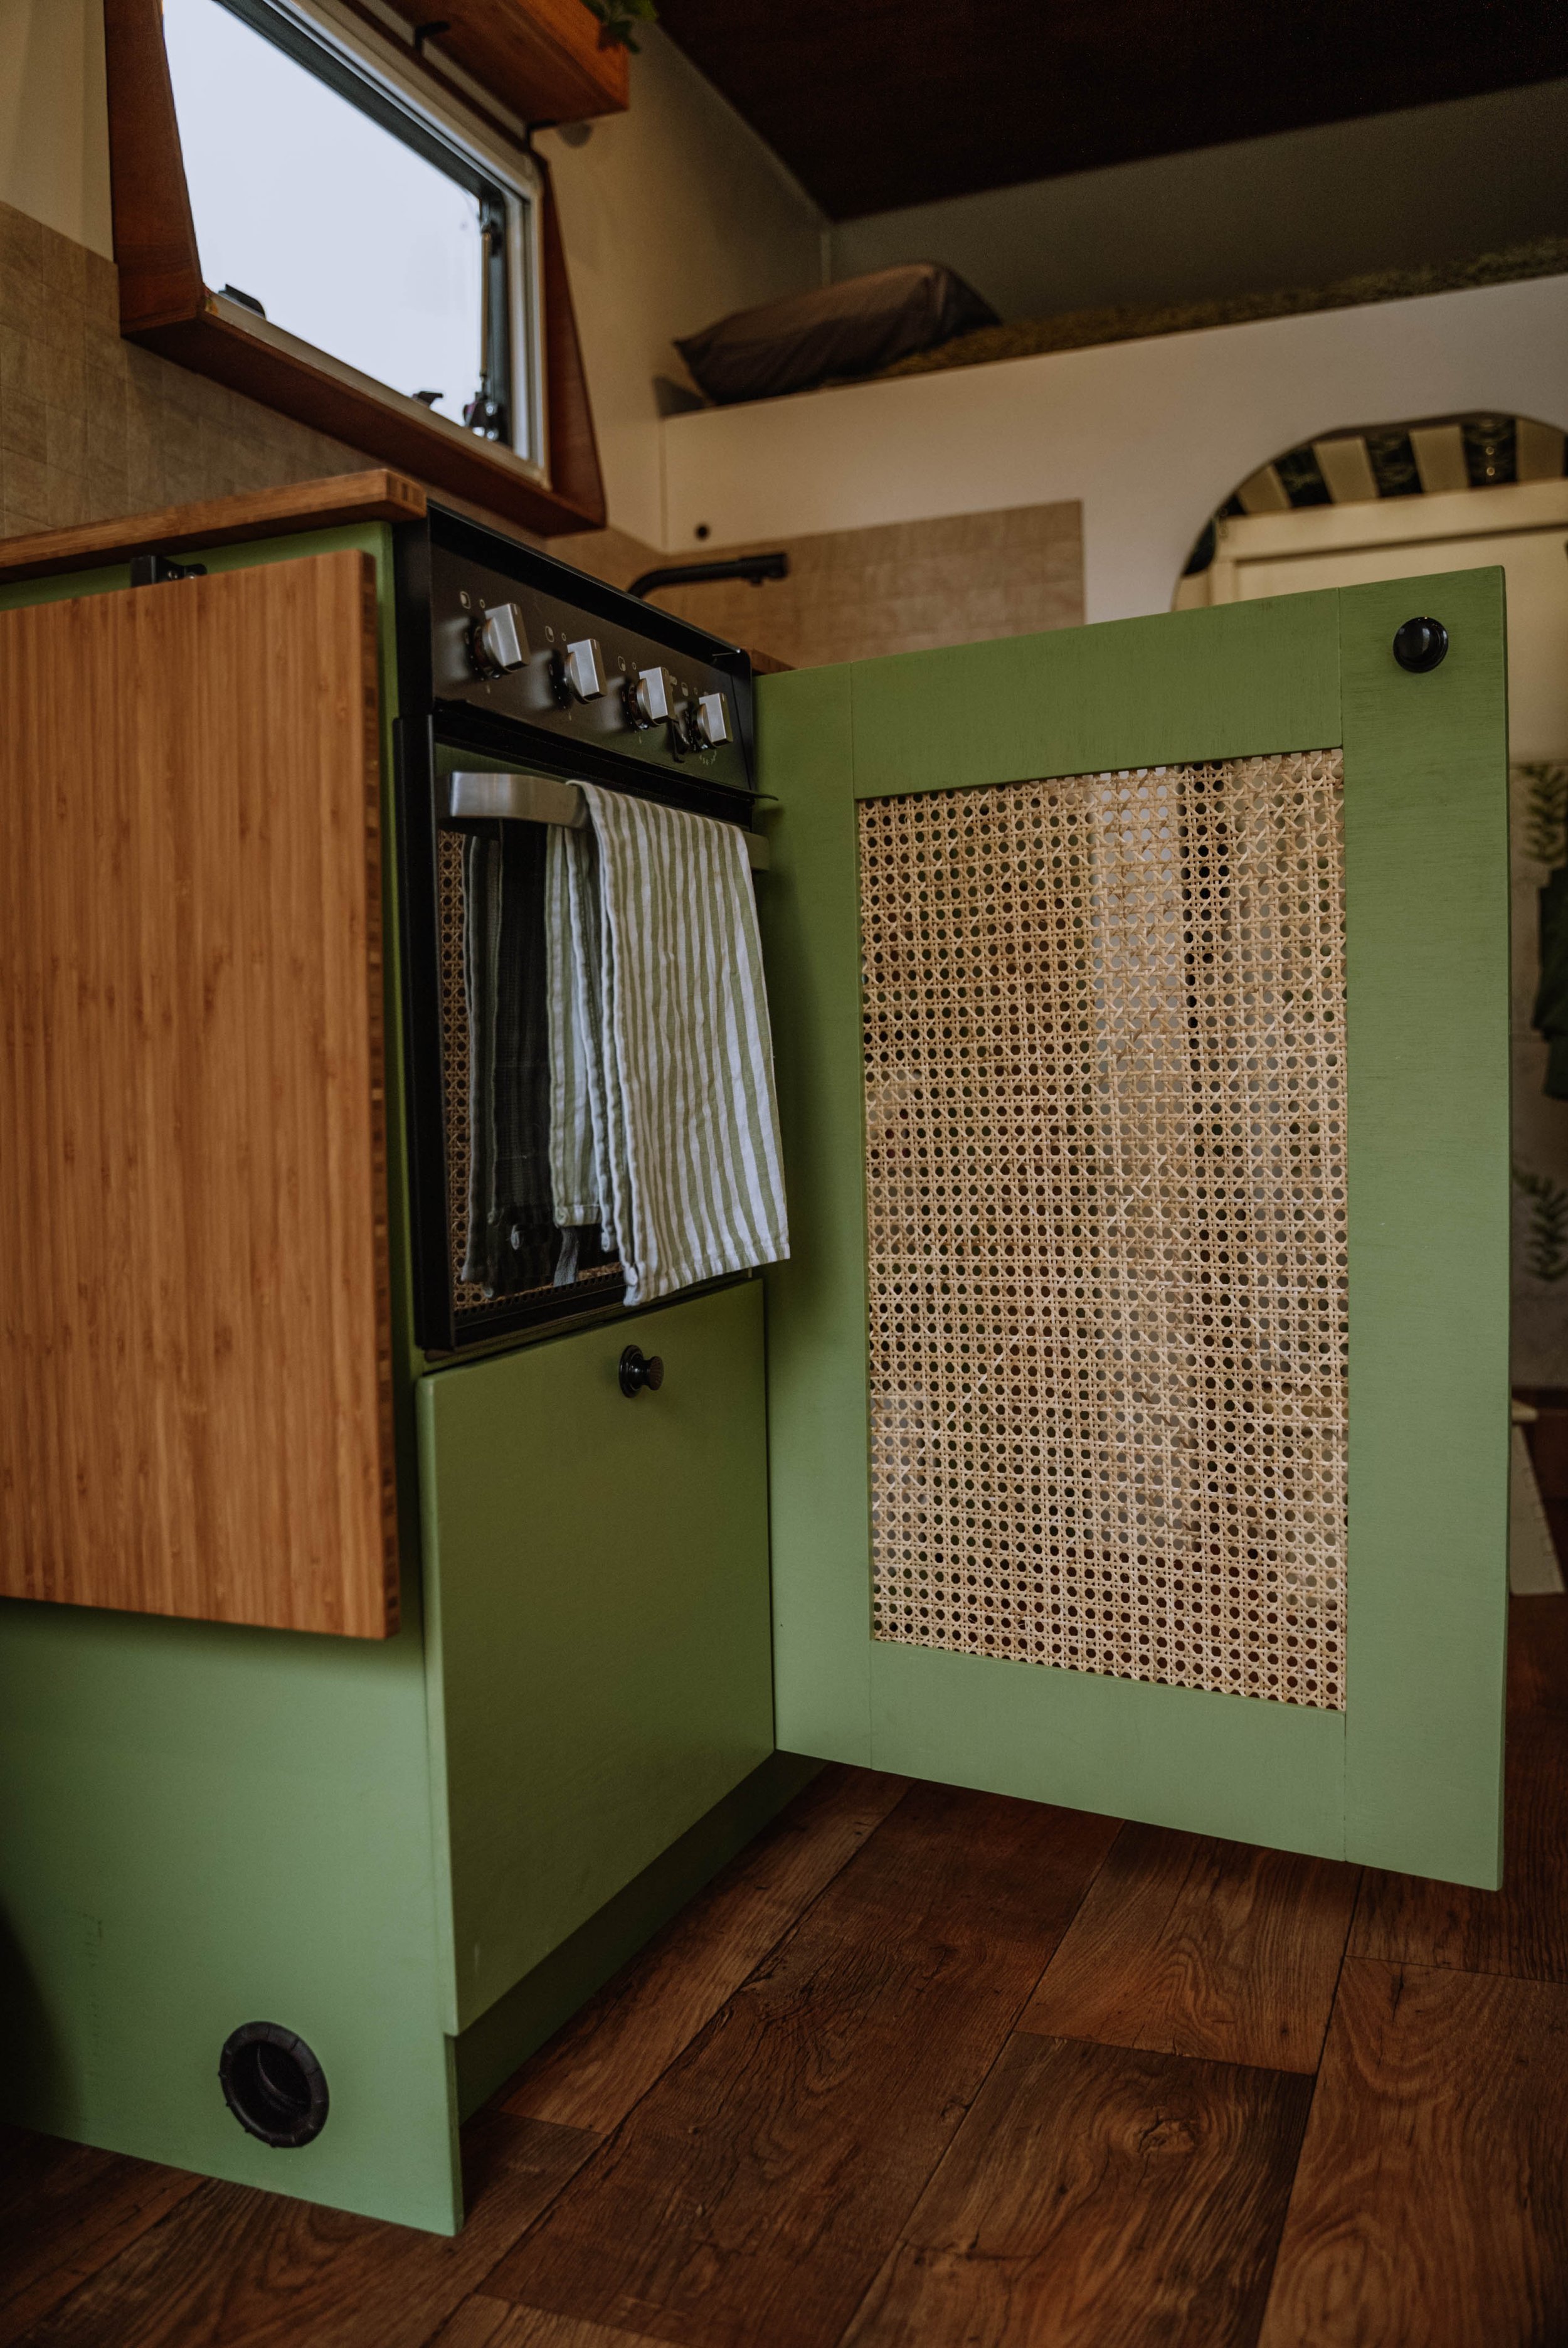
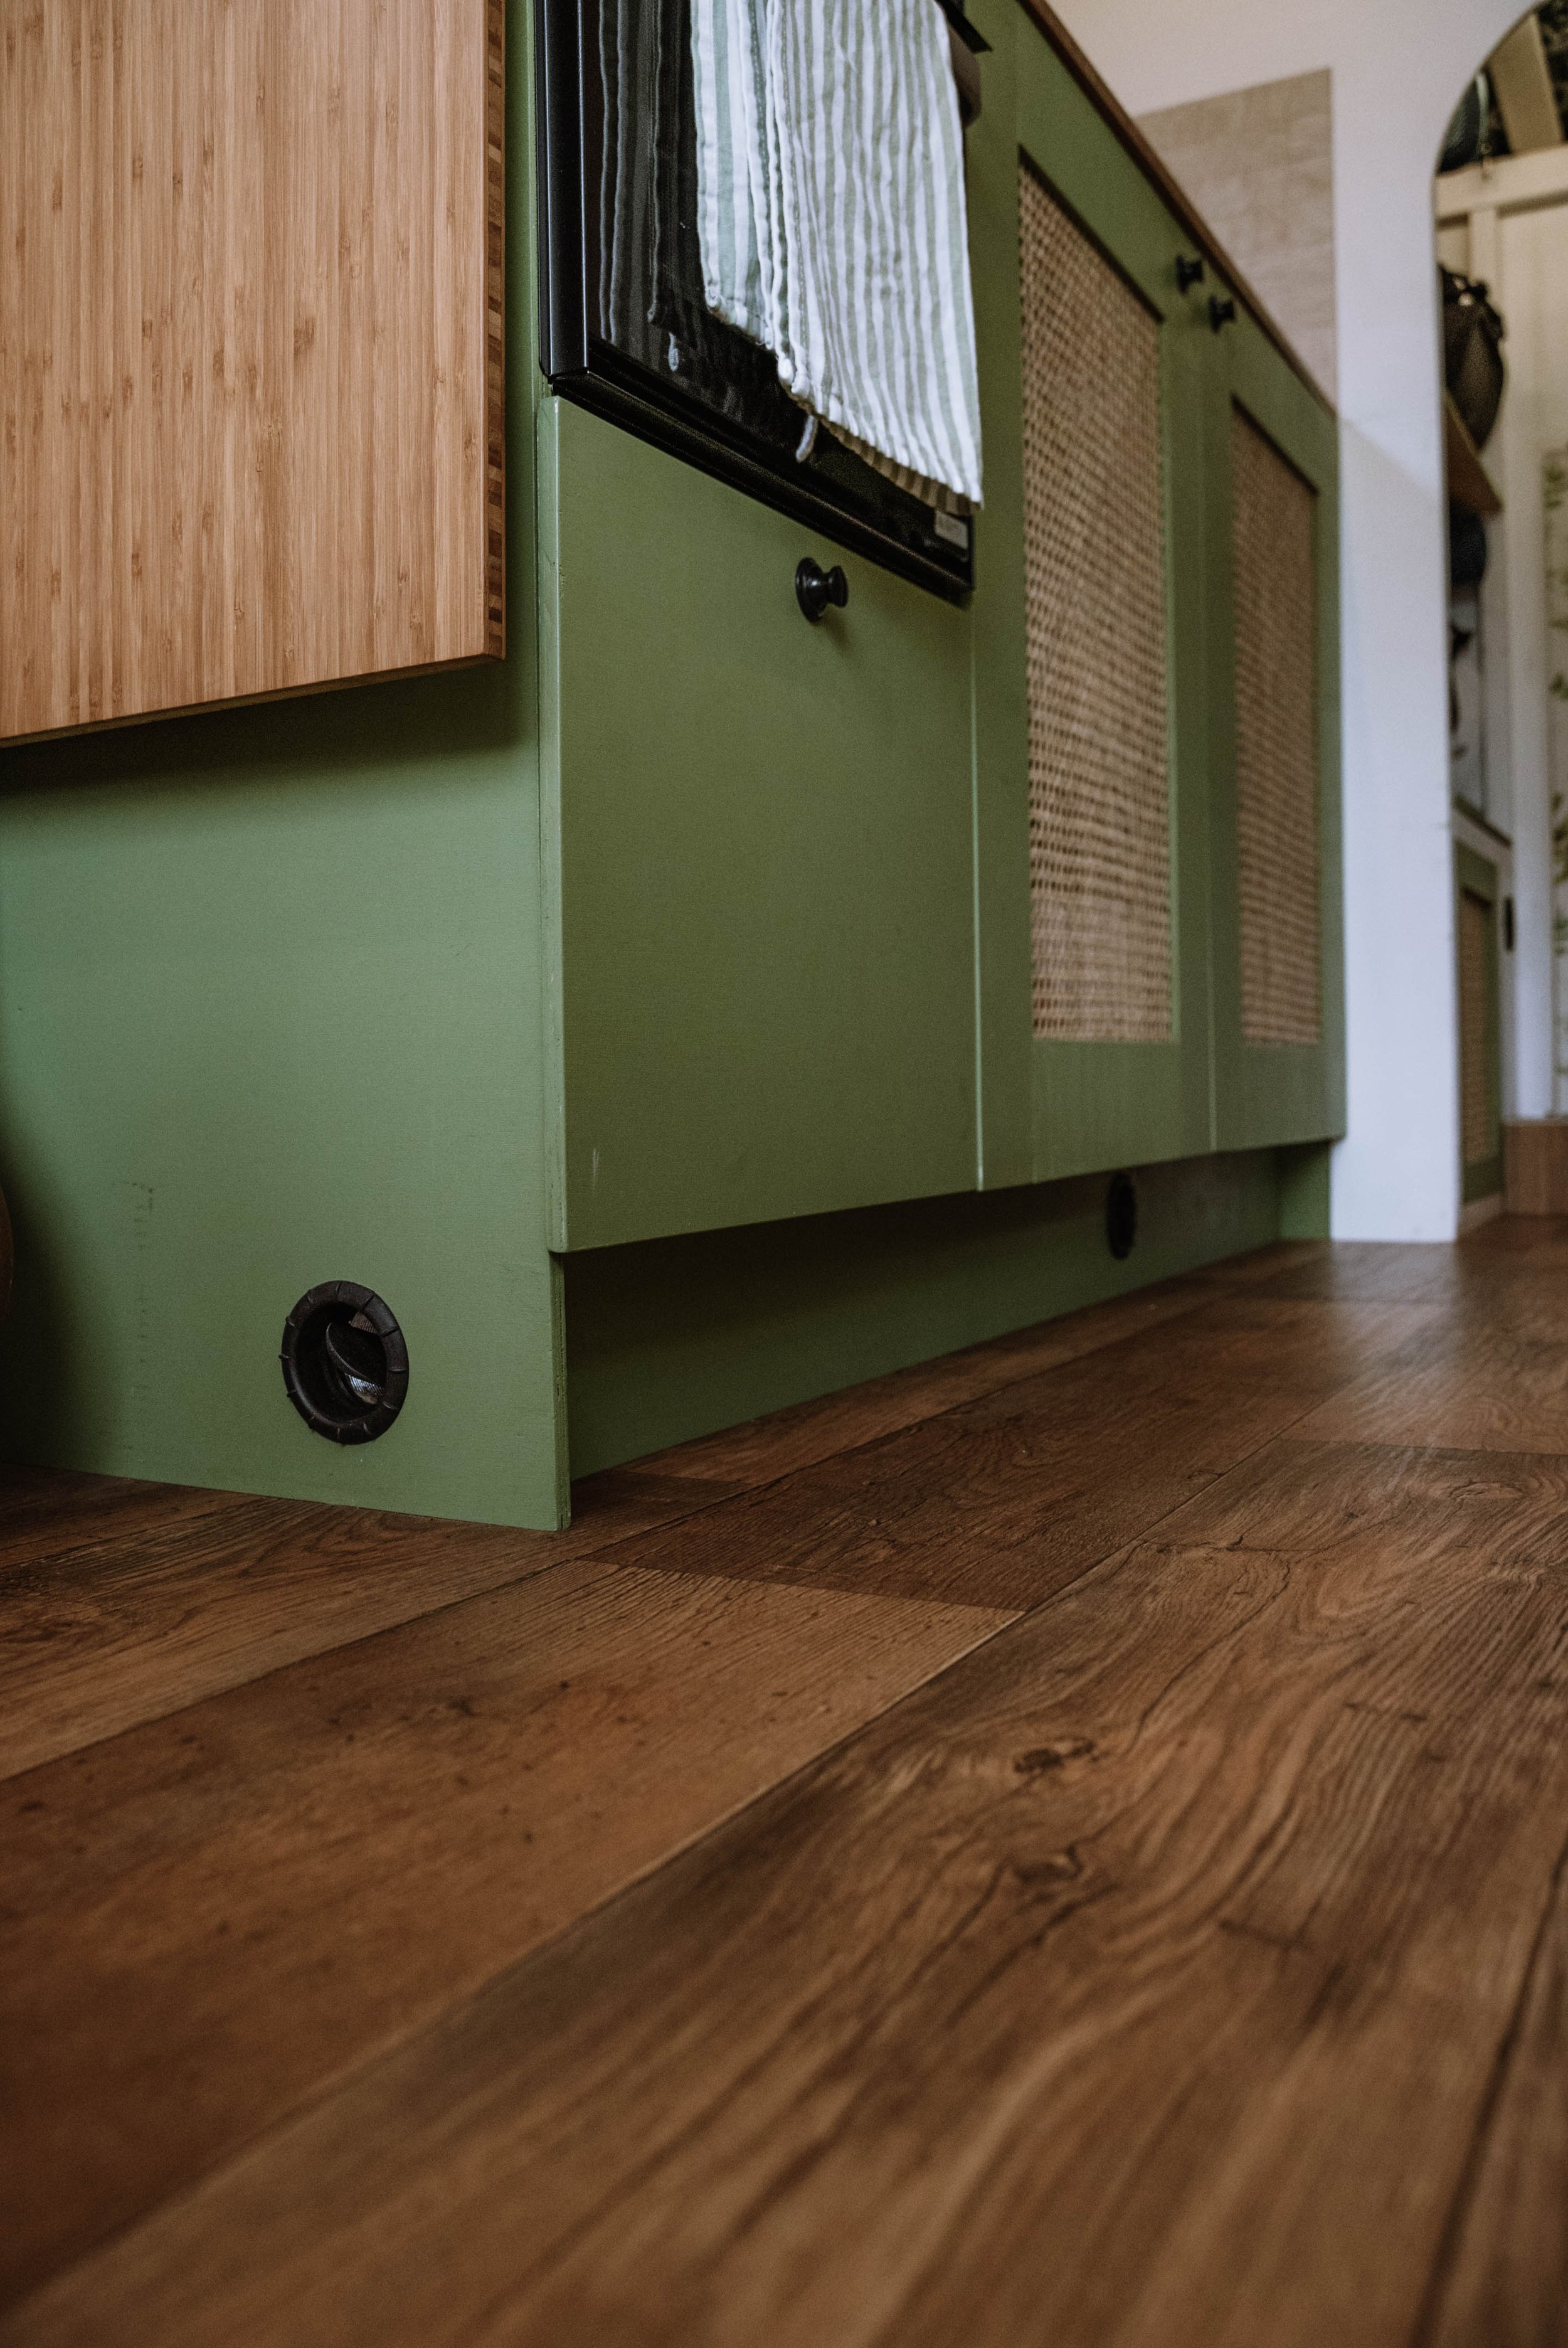
Cane Webbing
The reason we went for cane webbing was to keep the weight at a minimum. Another benefit is air circulation and of course how nice it looks! Make sure you buy one that is “natural” rather than plastic for a more rustic, authentic look.
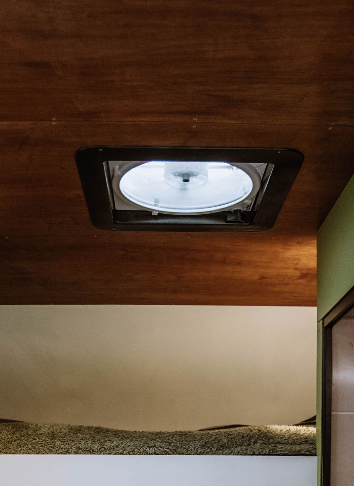
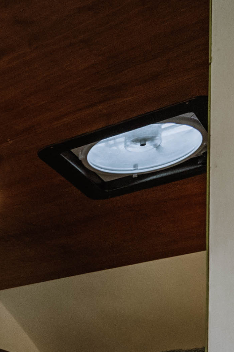
MaxxAir Fan
We got the MaxxAir Fan Deluxe because in our last van we suffered with noise of the single speed Fiamma 28. So we decided to treat ourselves and it’s WORTH IT. I decided to paint the flange black because when I get an idea into my head I just have to do it, and just look at how cool it looks.
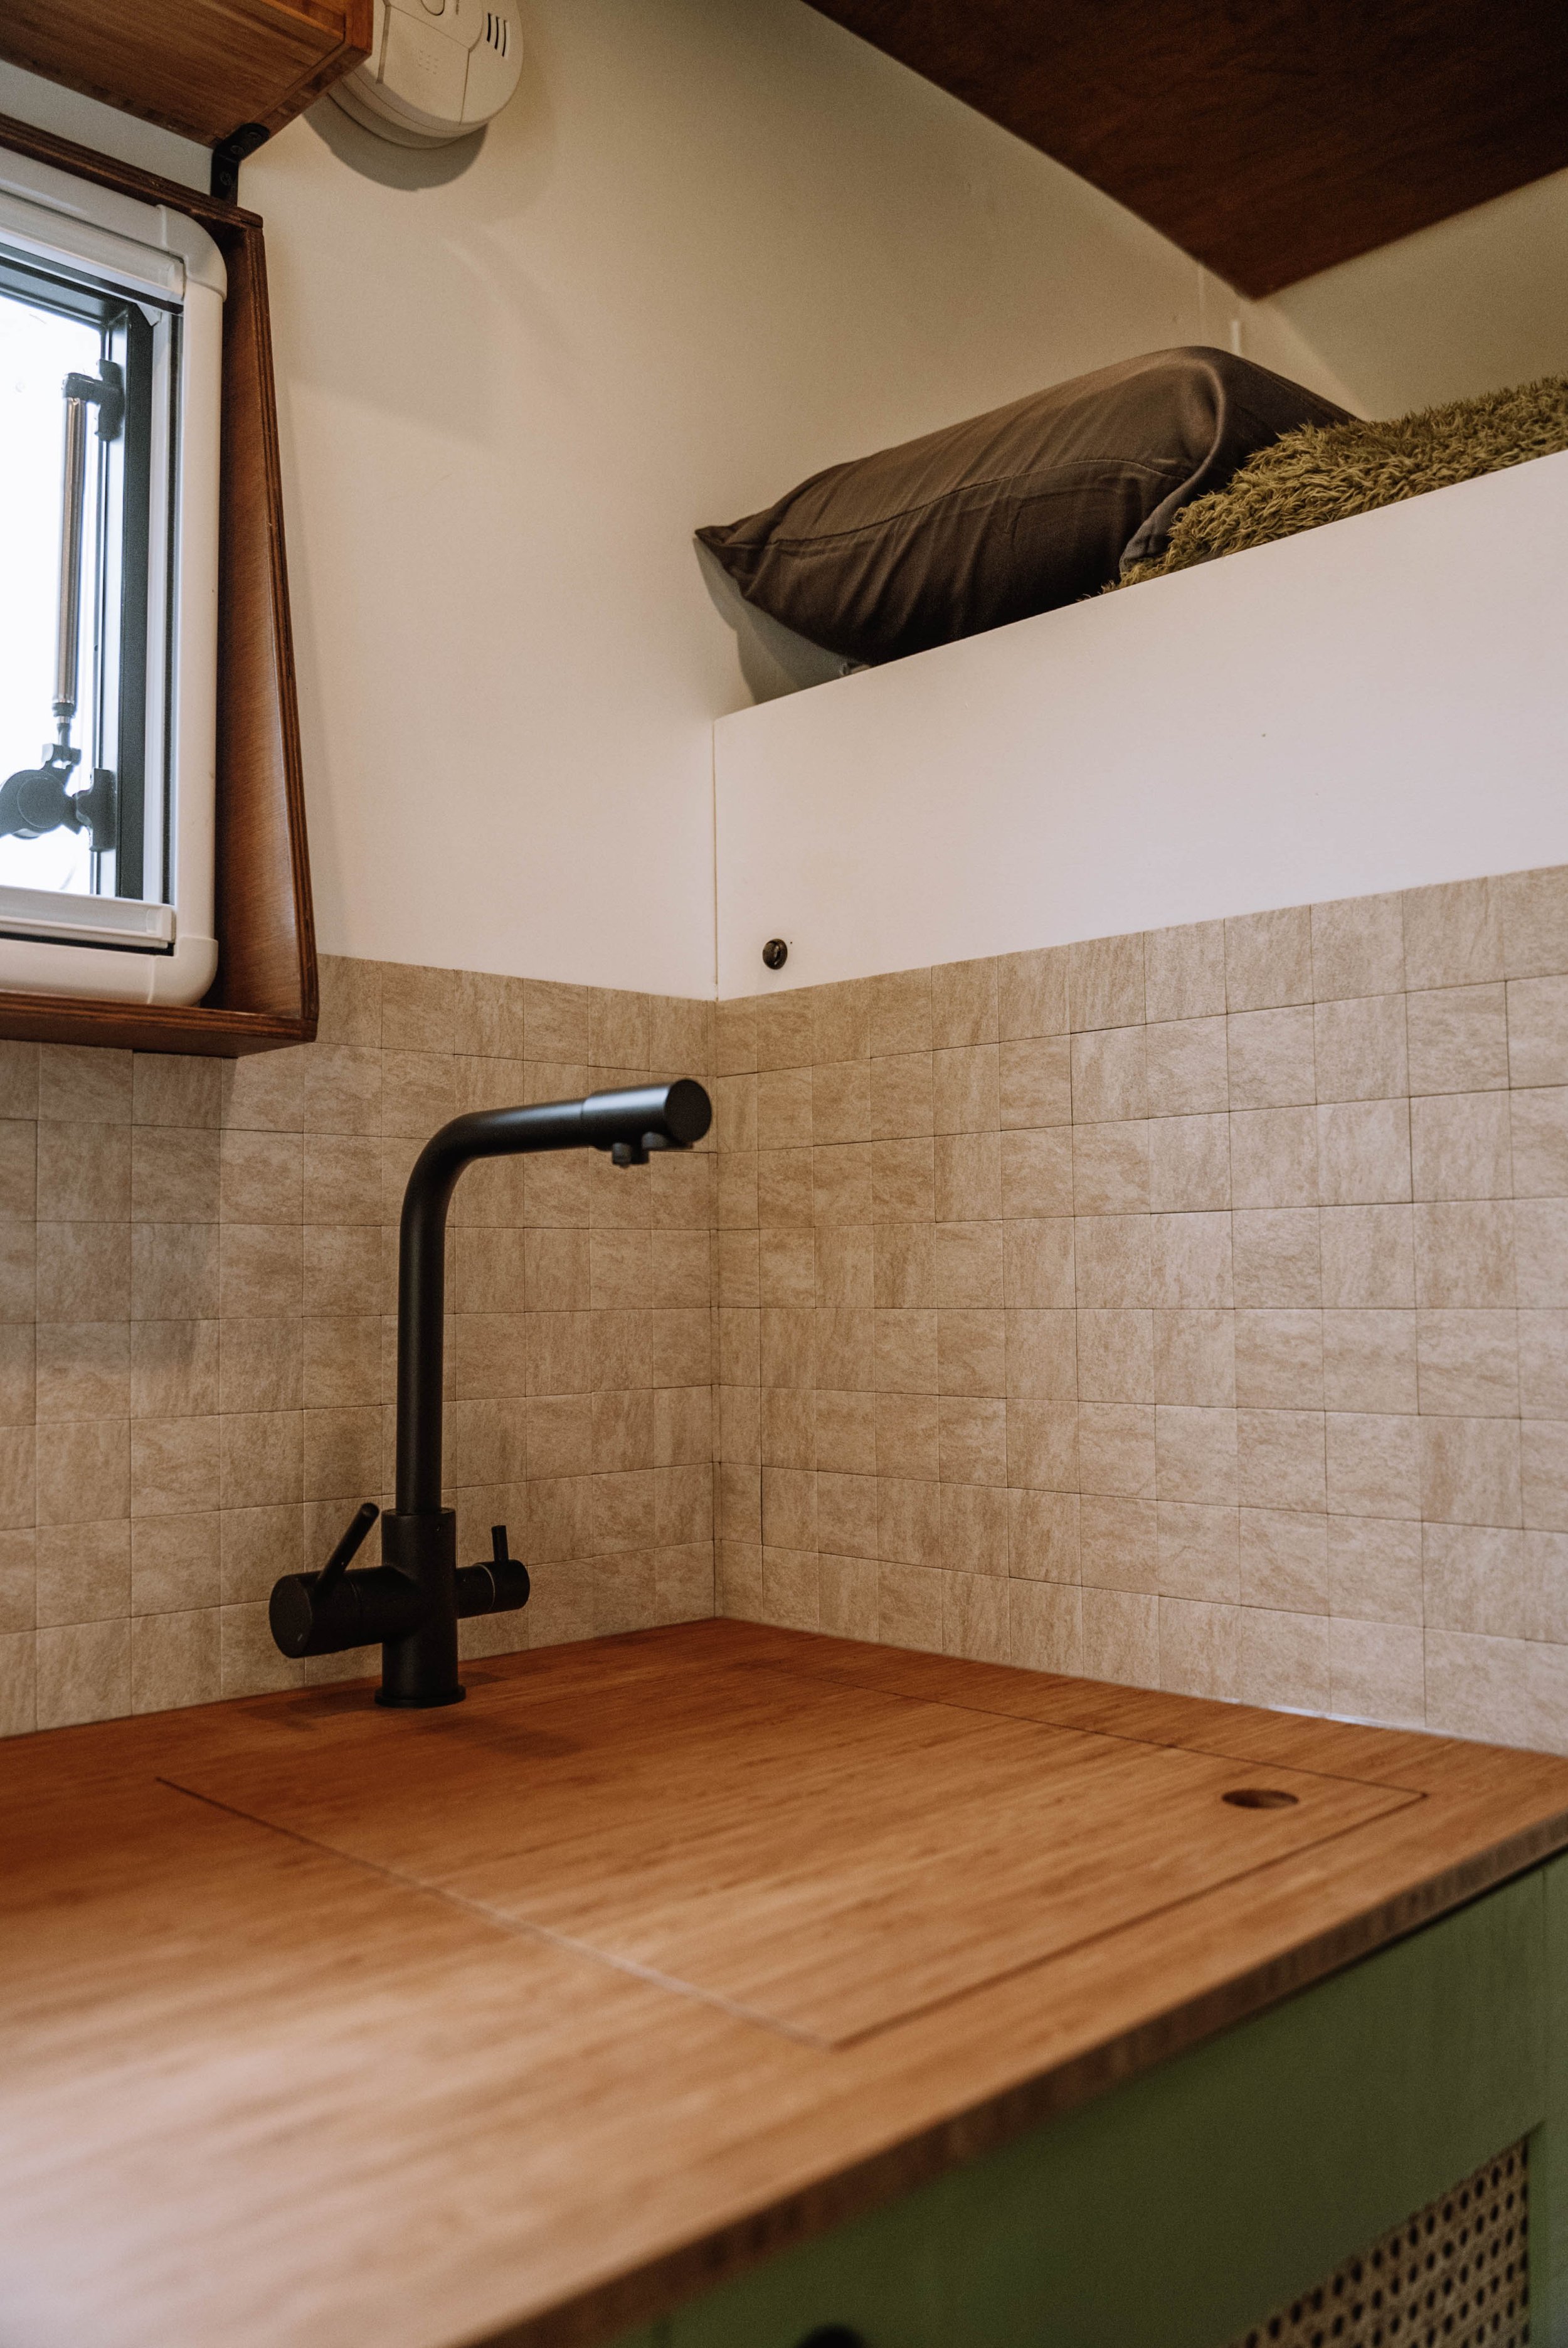
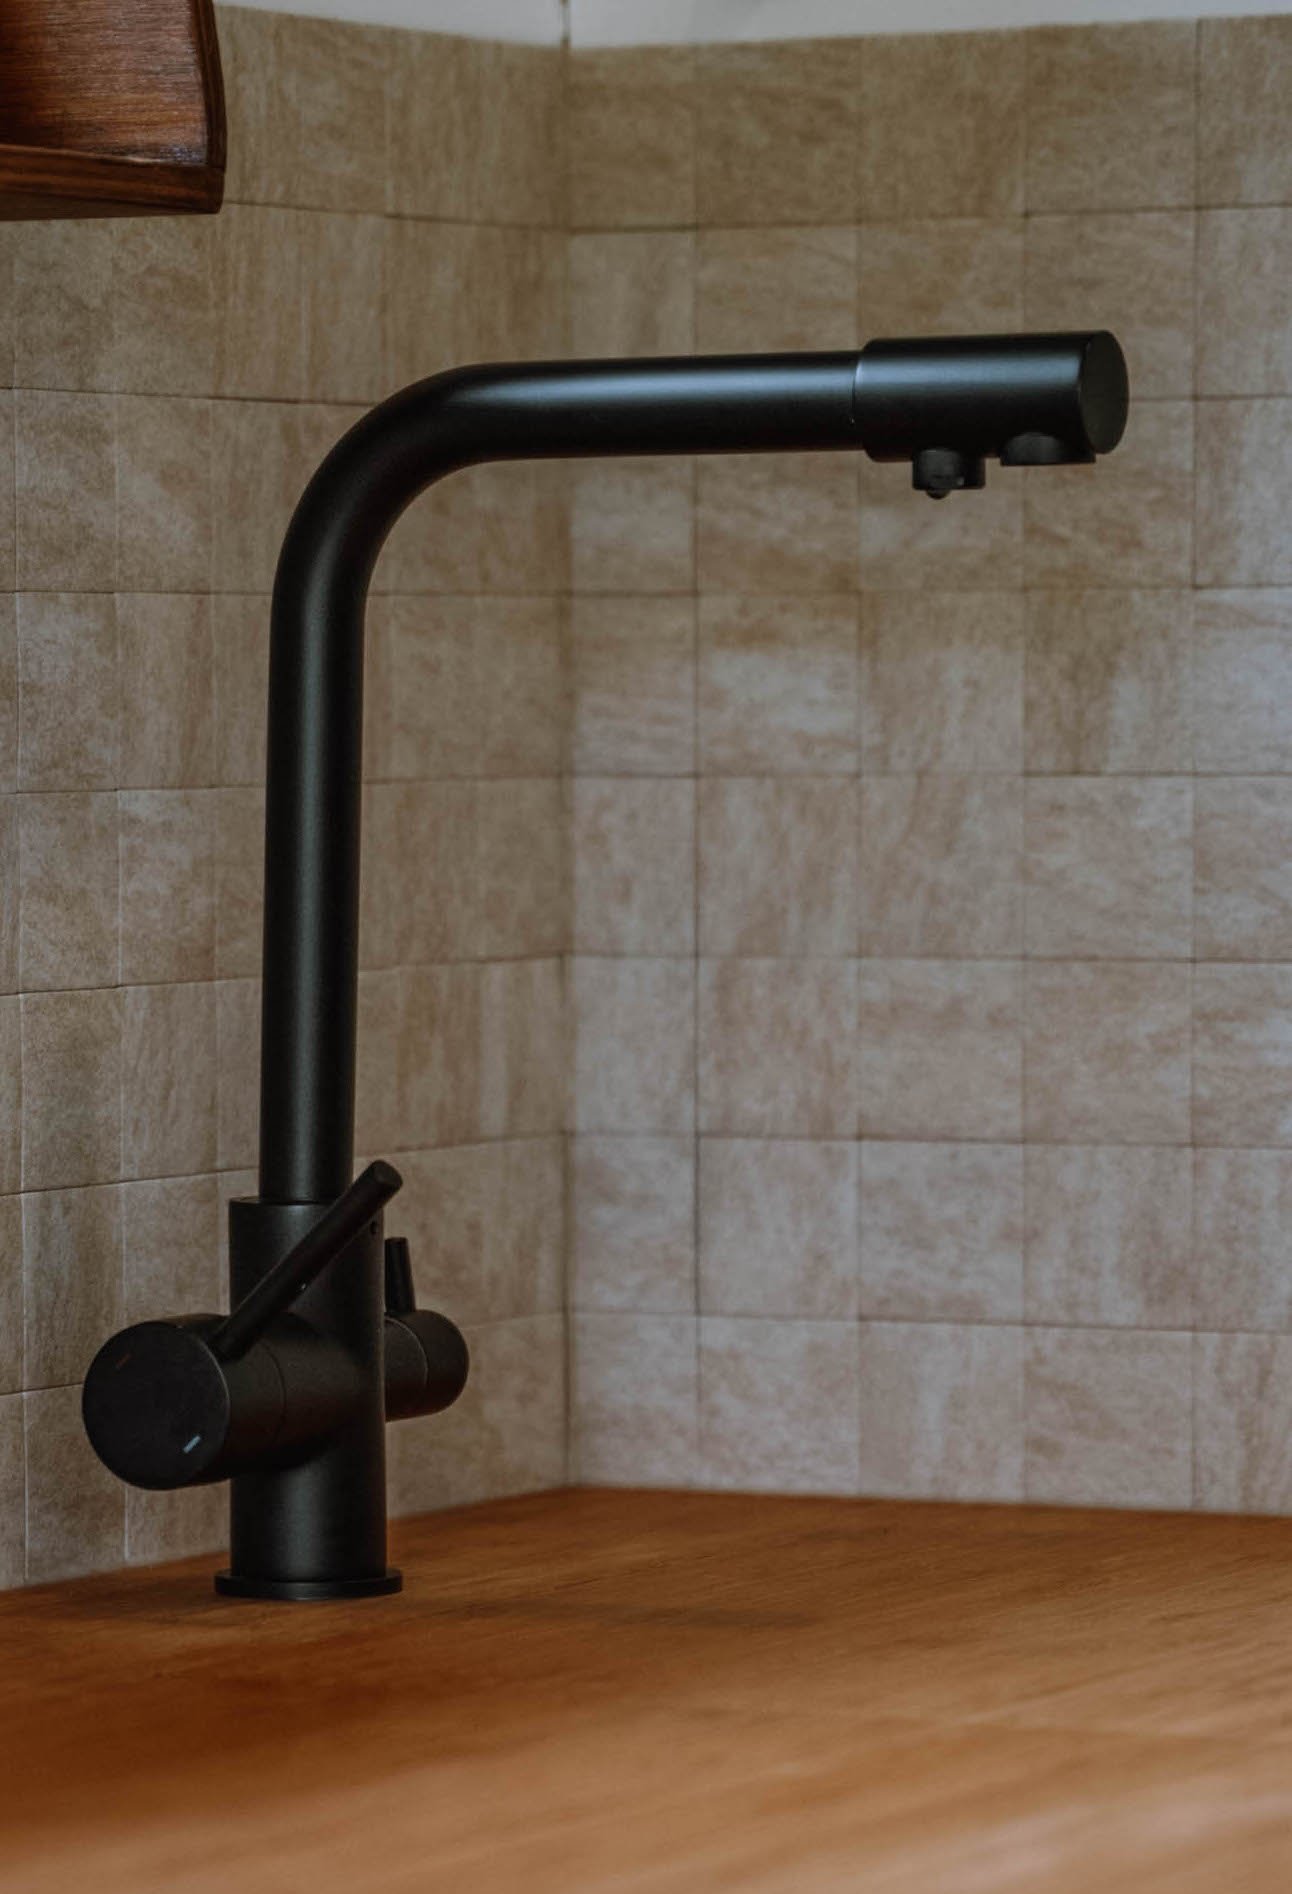
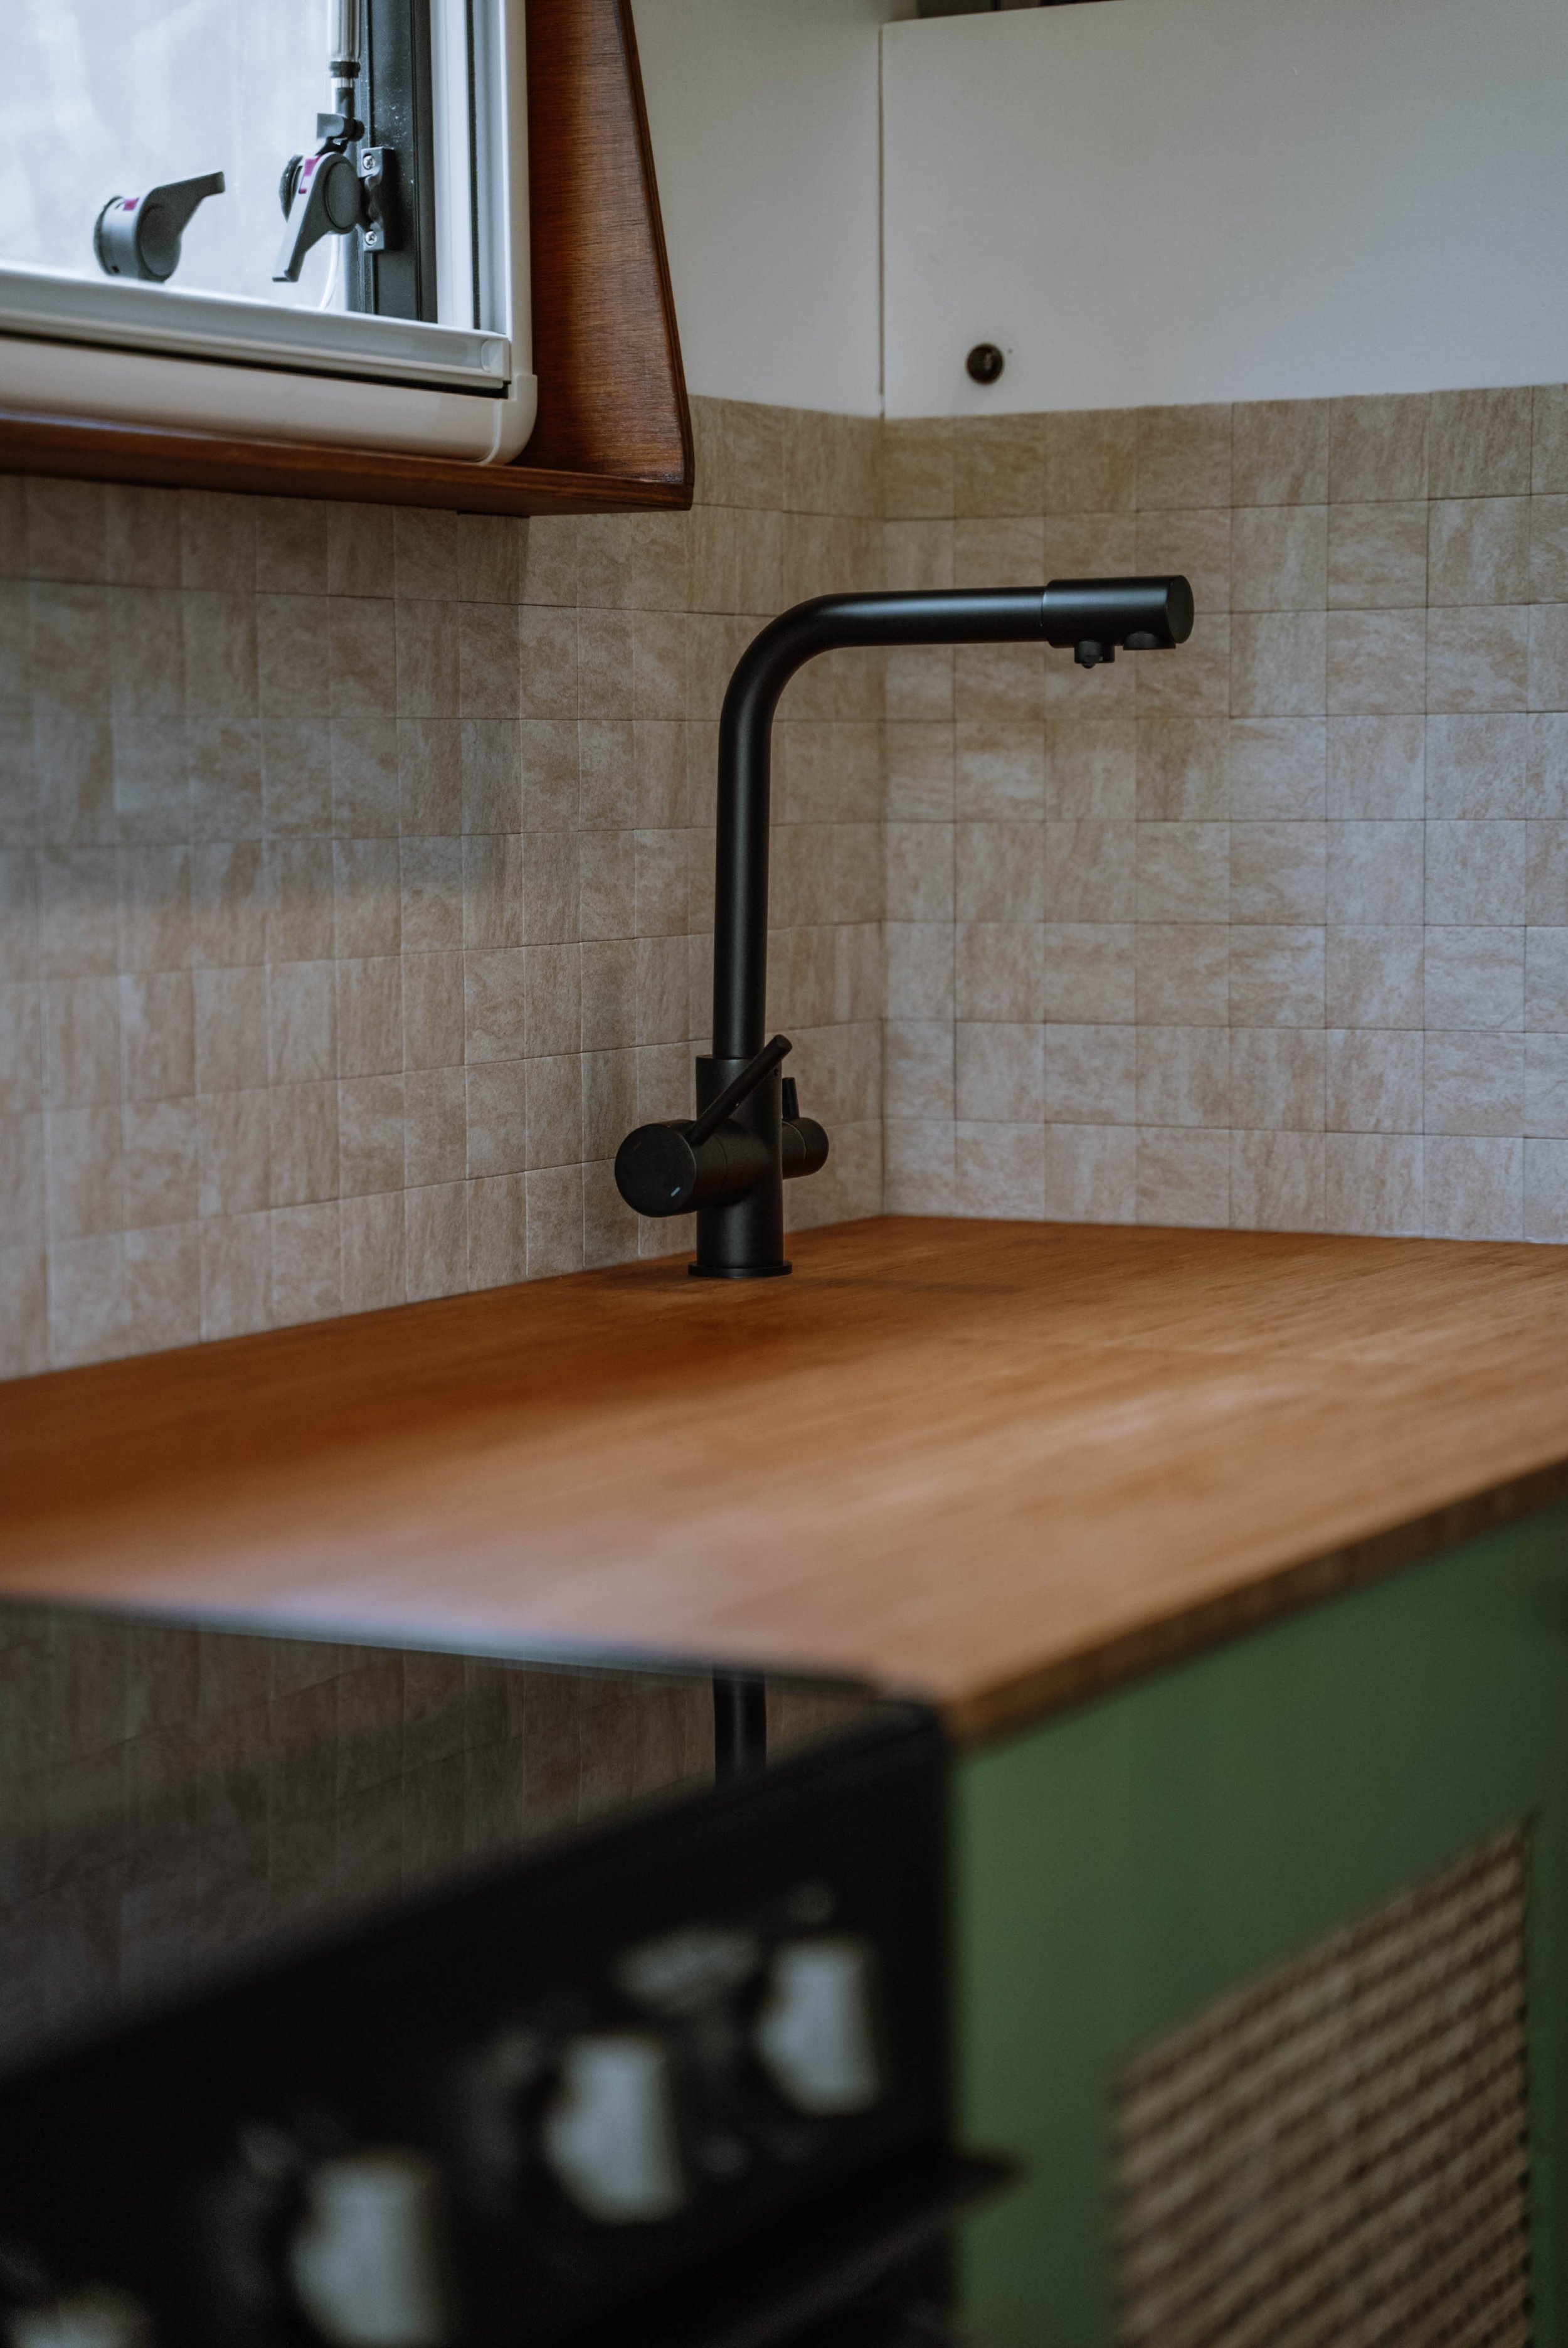
Kitchen Tap
If you look closely you might notice that this tap has two spouts and a handle on each side! One is for the regular hot and cold water and the other is for filtered water! The small handle on the far side is connected to a water filter (we went for this one) so that we can fill our water anywhere and know that there are no nasties in it. The tap is so sleek and really good quality, we are so impressed with it! You can find it: Here.
To make the water actually come out of the tap we have This Pump, and This Accumulator.
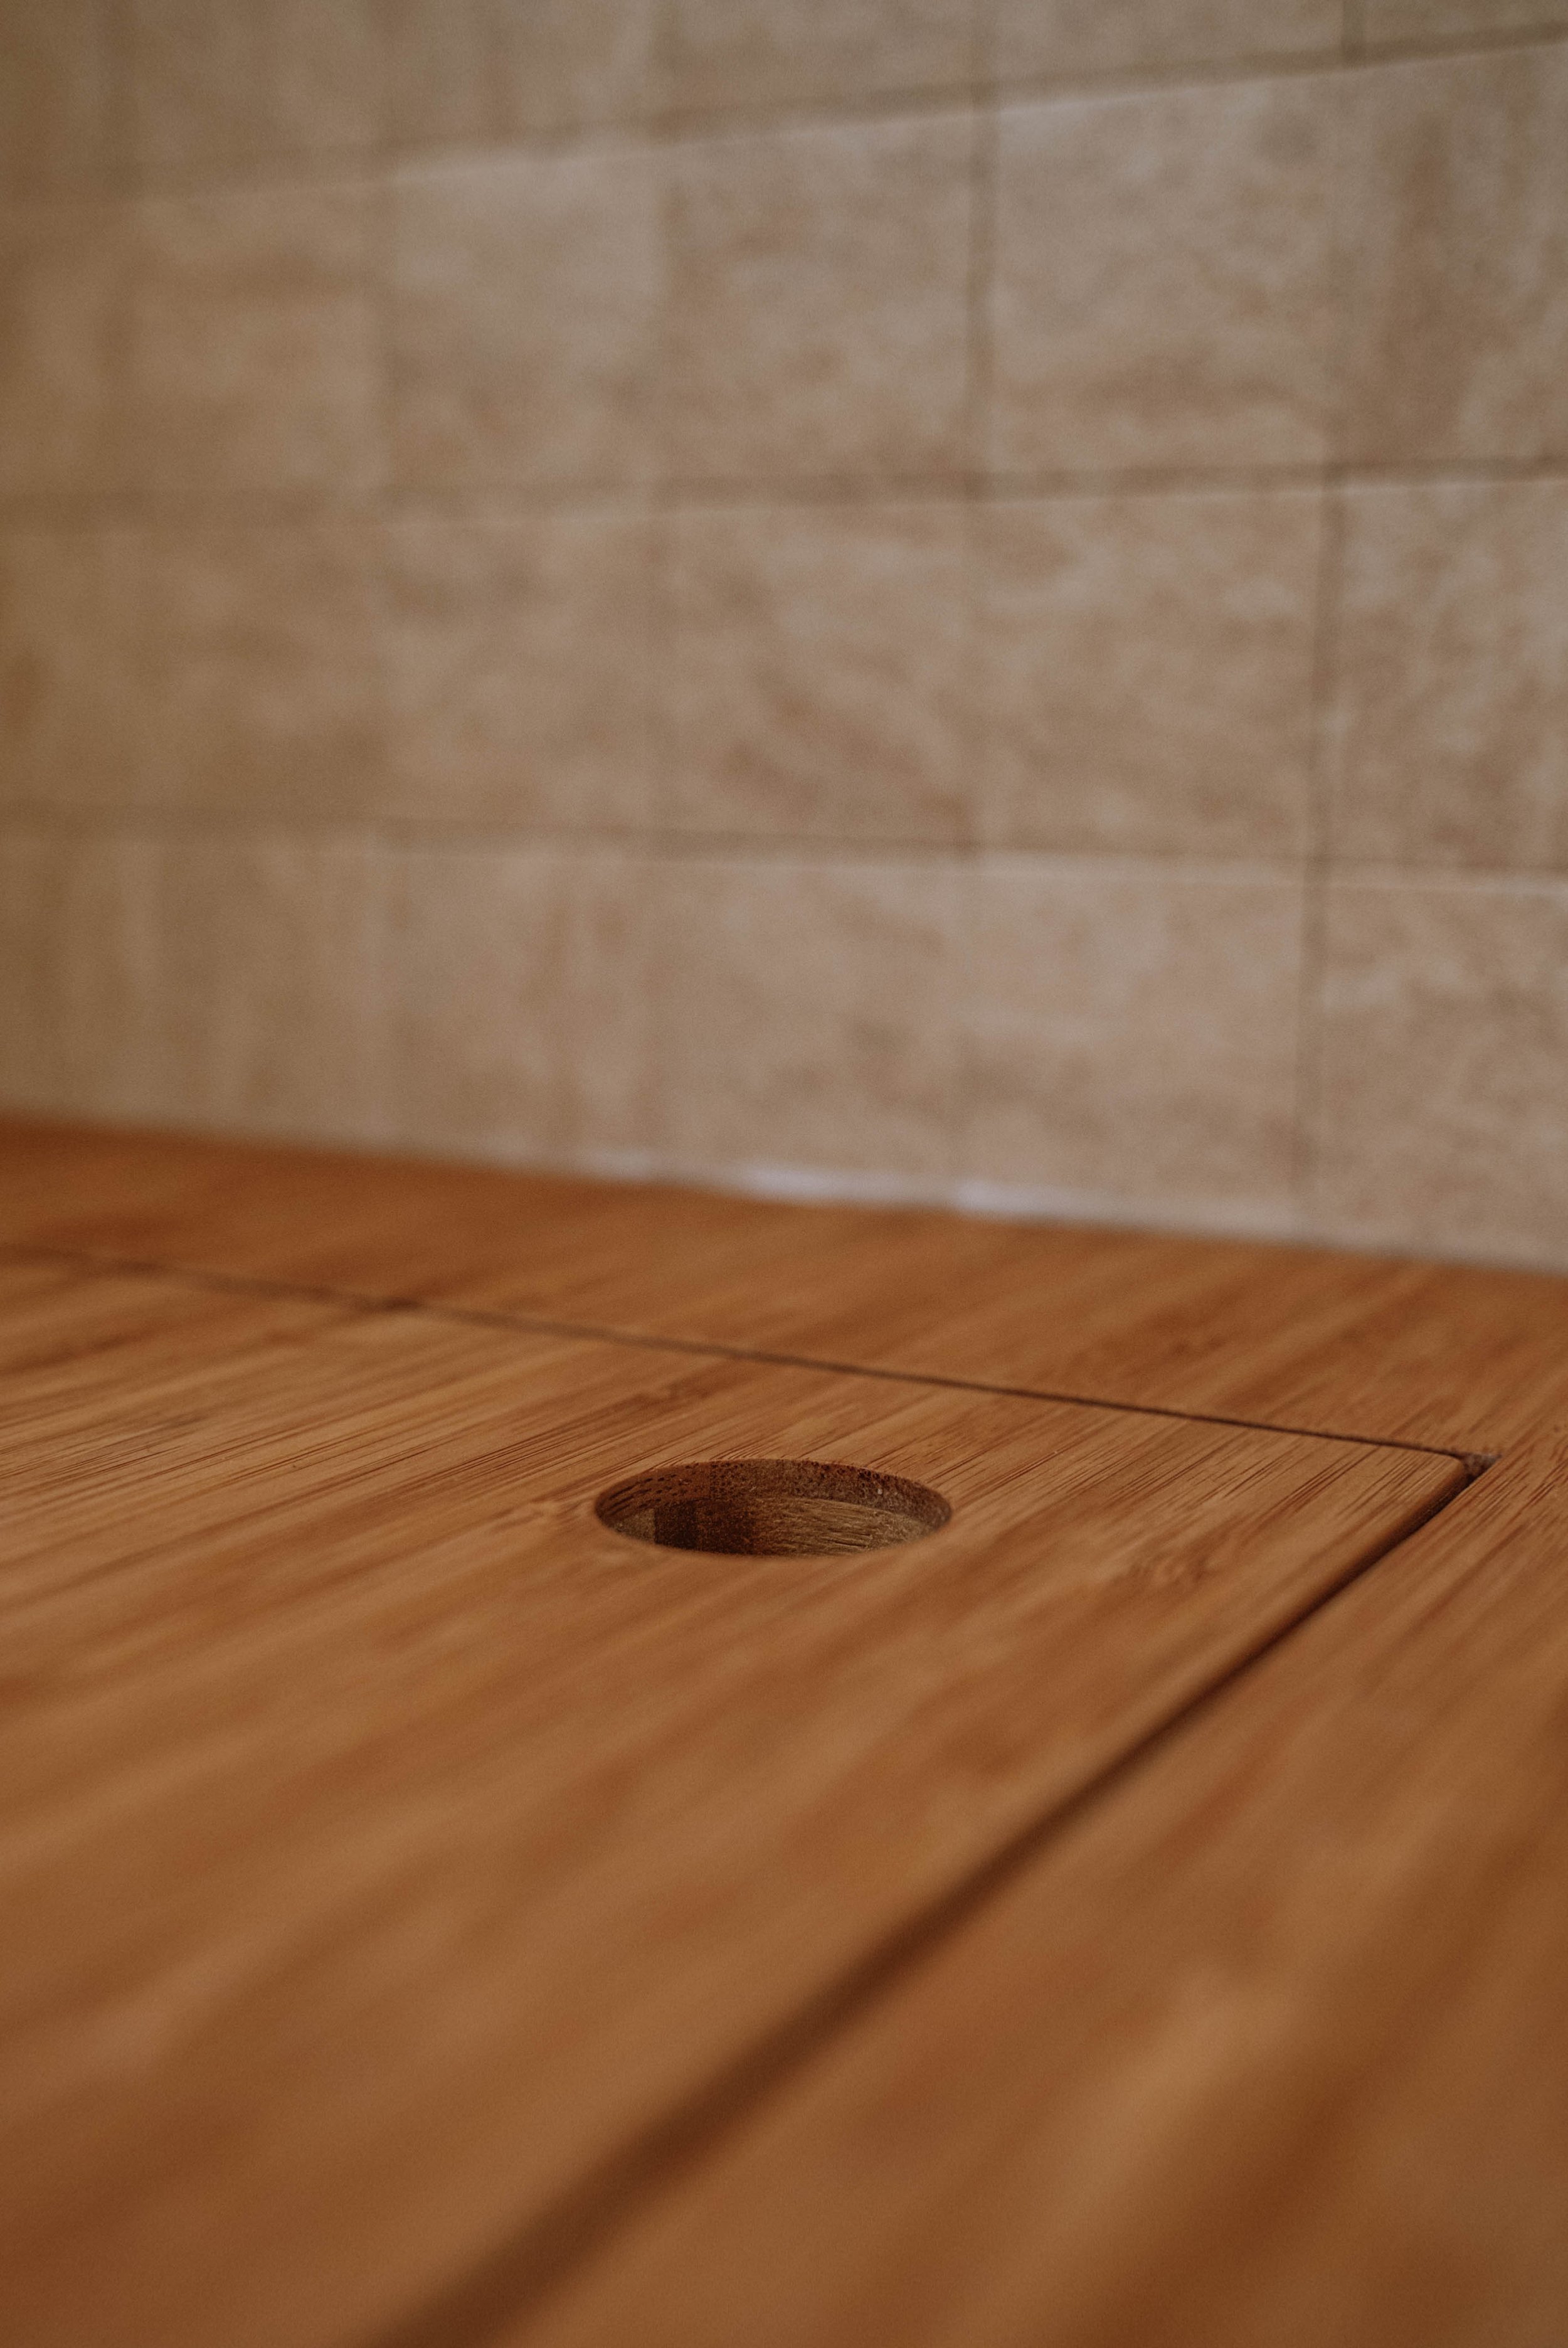
Kitchen Sink
We really wanted to find a lightweight sink that wasn’t the typical silver stainless steel one. So we went for the one linked HERE. We forgot to take pictures because we made such a nice chopping board to sit on top of it. But you can see the pictures in the link and how lovely it looks!
Ply Wood
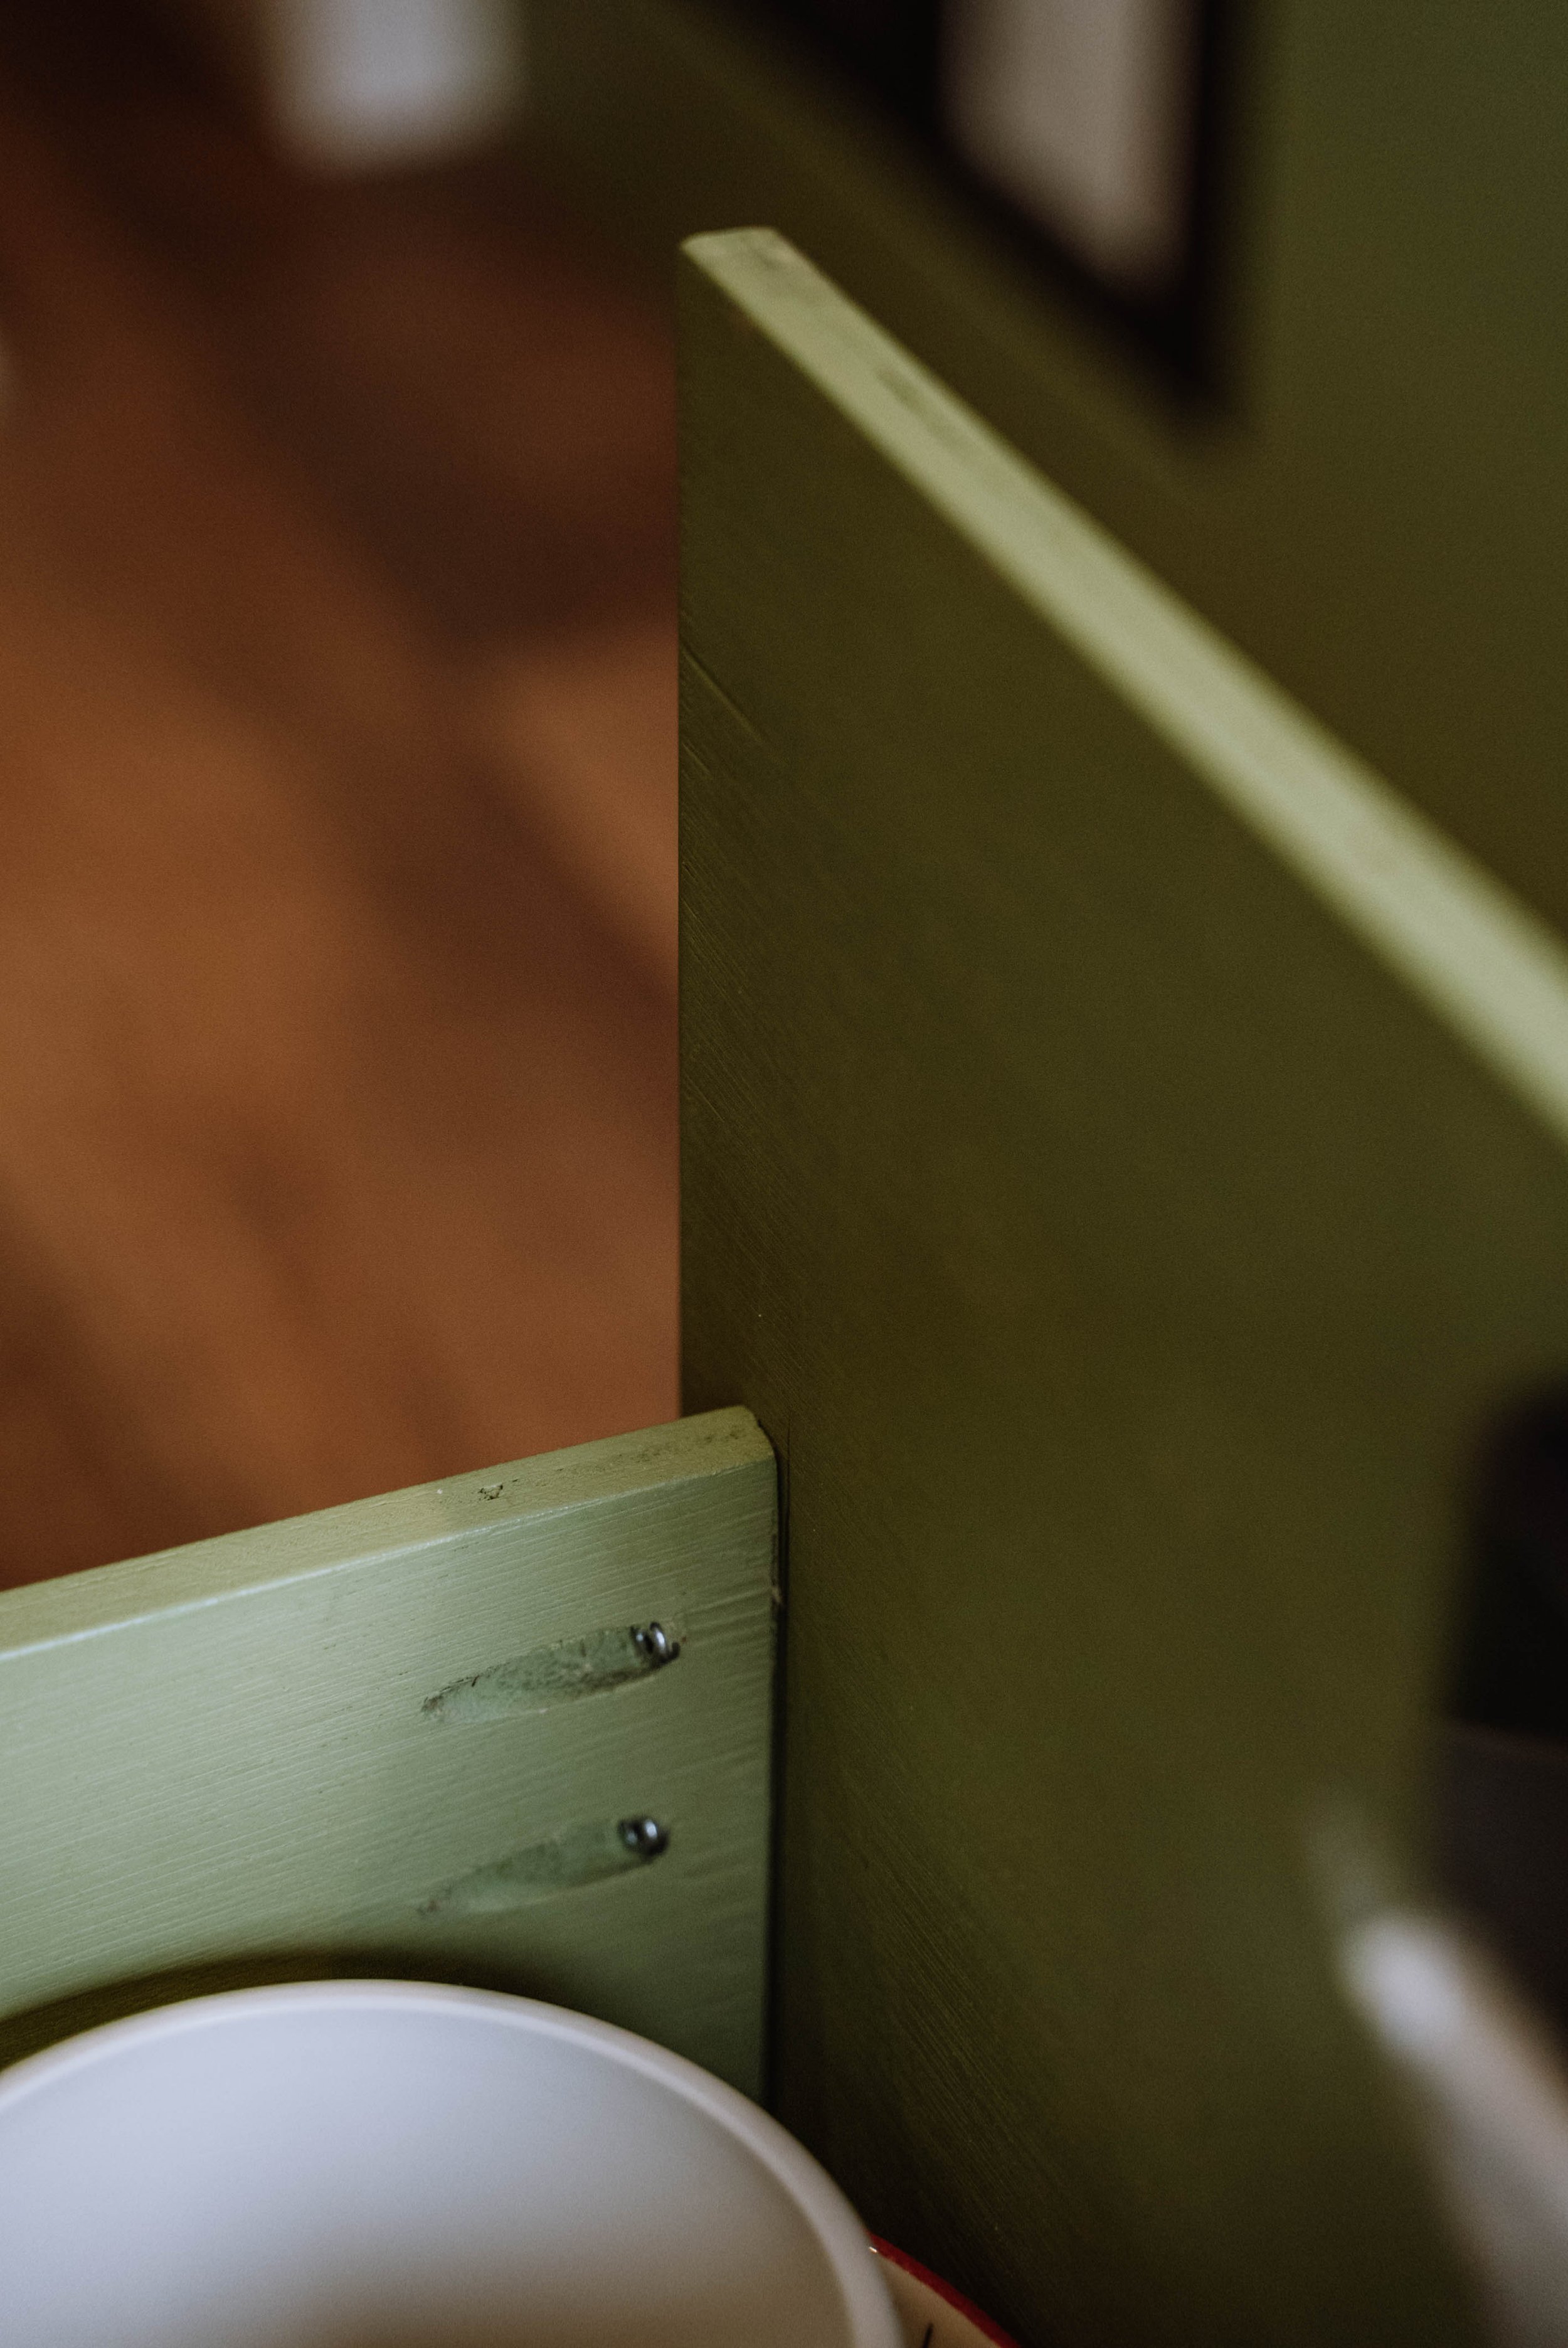
We opted to use poplar ply to cut down on weight. If you want the lightest plywood possible, go for 100% poplar instead of poplar core. It’s a bit more expensive than regular plywood but if you have a weight limit to stick to, it’s worth the extra spend. We used 4 mm on the walls and 12mm for all our cabinets and used pocket holes with wood glue to connect the units together.
Stick On Kitchen Tiles
We decided to go for stick on tiles because they are lightweight and really easy to install! These are the ones we got: Click here. The reason we wanted to go for this is because it’s easier to clean than a painted wall and also separates the area and makes it look like a kitchen.

Keeping The Units Shut
On The Move:
The Fridge
Dometic CRX110. We got 110L but most people opt for the 50L one. Which is what we had in our little green van! But now we have so much space in the luton, we put a ginormous fridge in! What a luxury. Our fridge is hidden behind a nice bearthable ventilated cane webbing door.
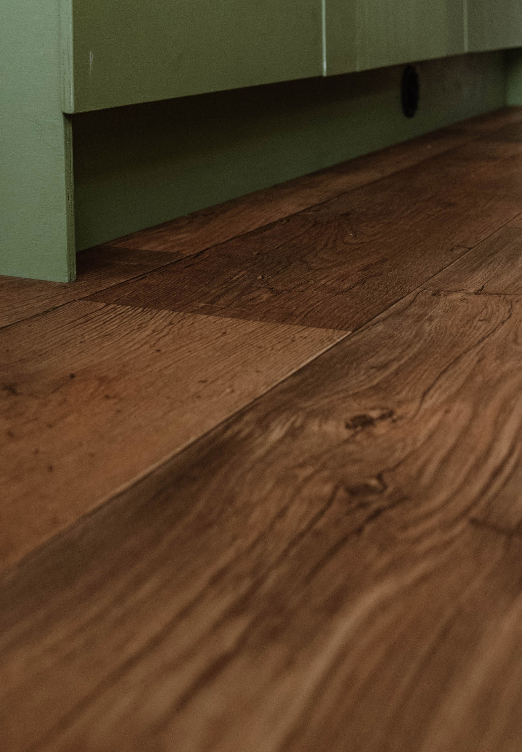
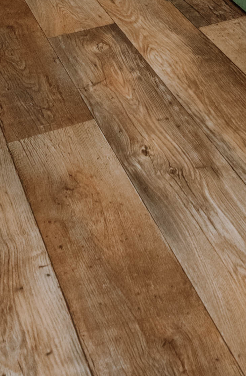
The Floor
For this van and our last conversion we went to a flooring warehouse and found an offcut. This is the most cost effective way of doing it! You might have to visit a few places to find the perfect one! Ours was around £60 and our floor space is giant!

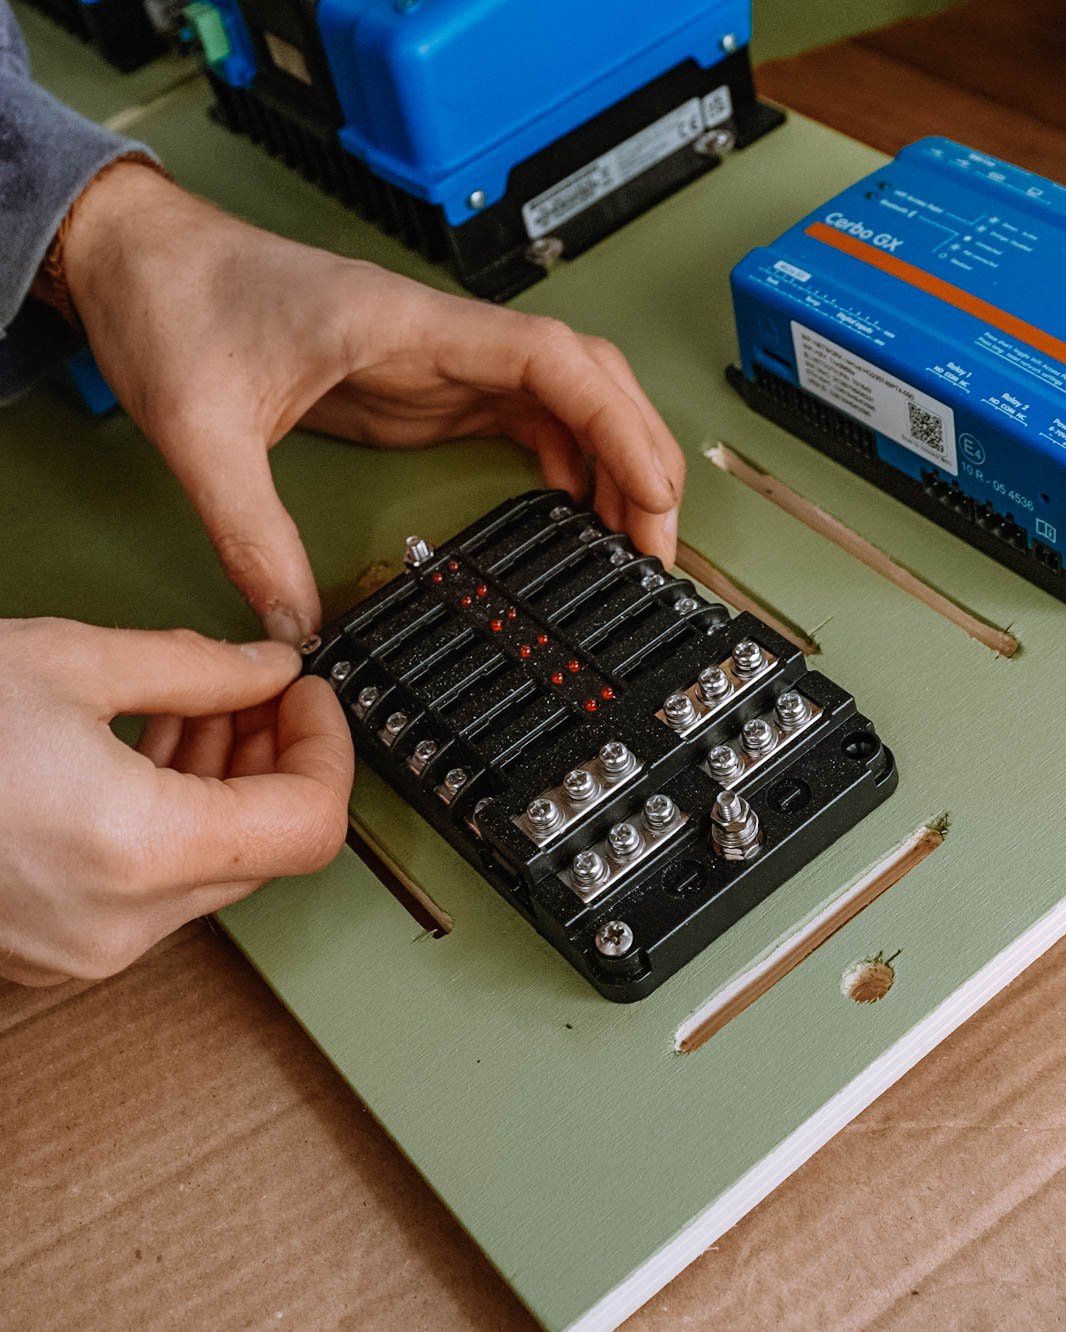
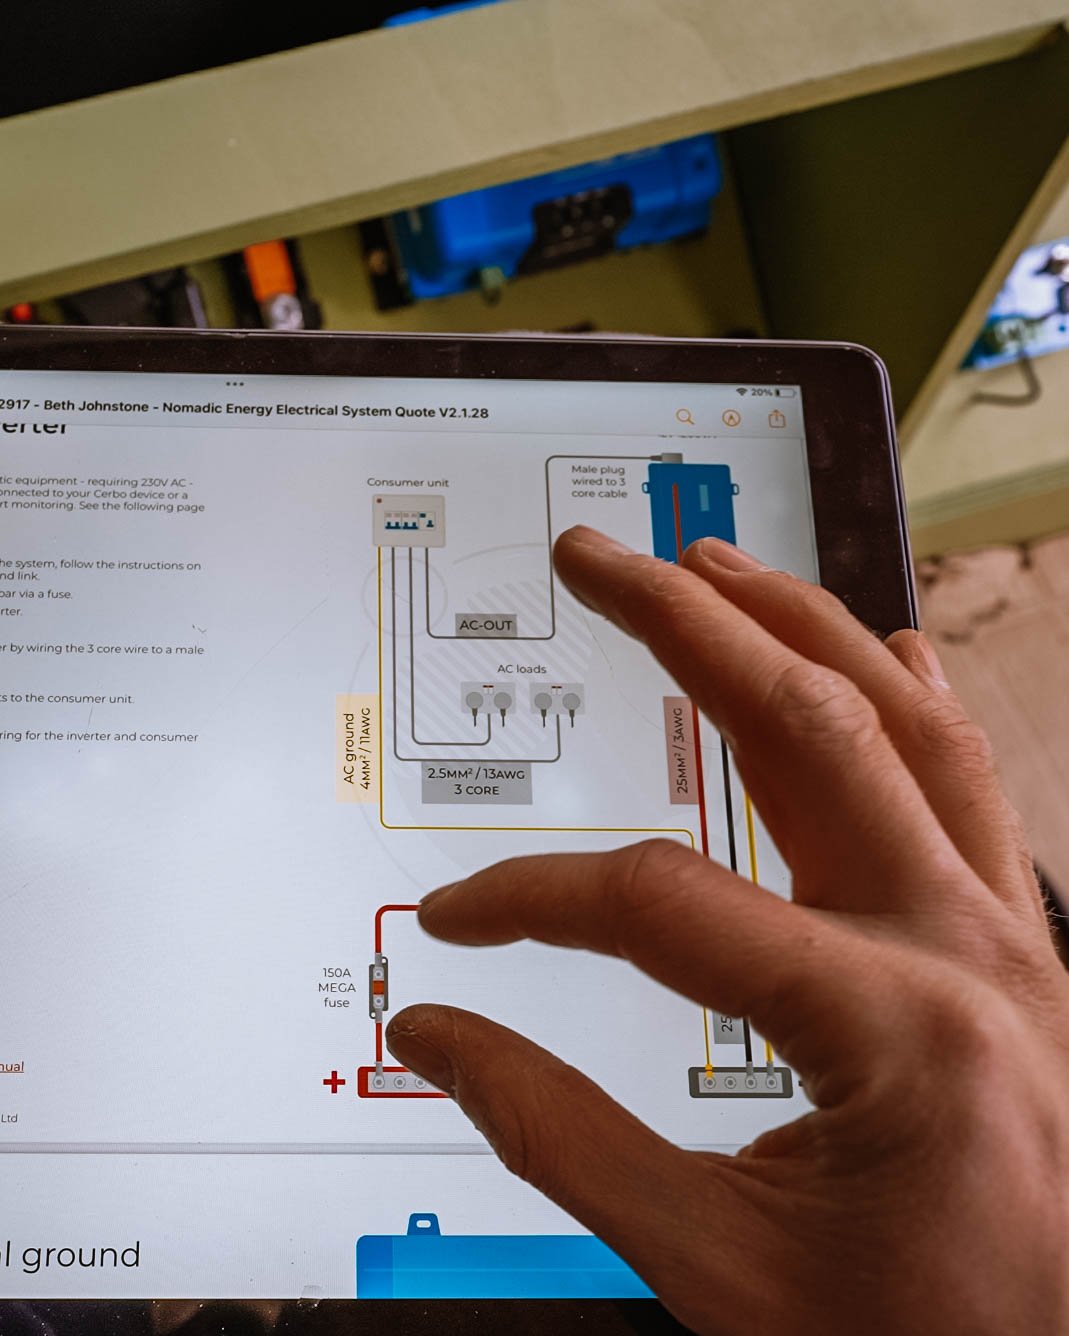
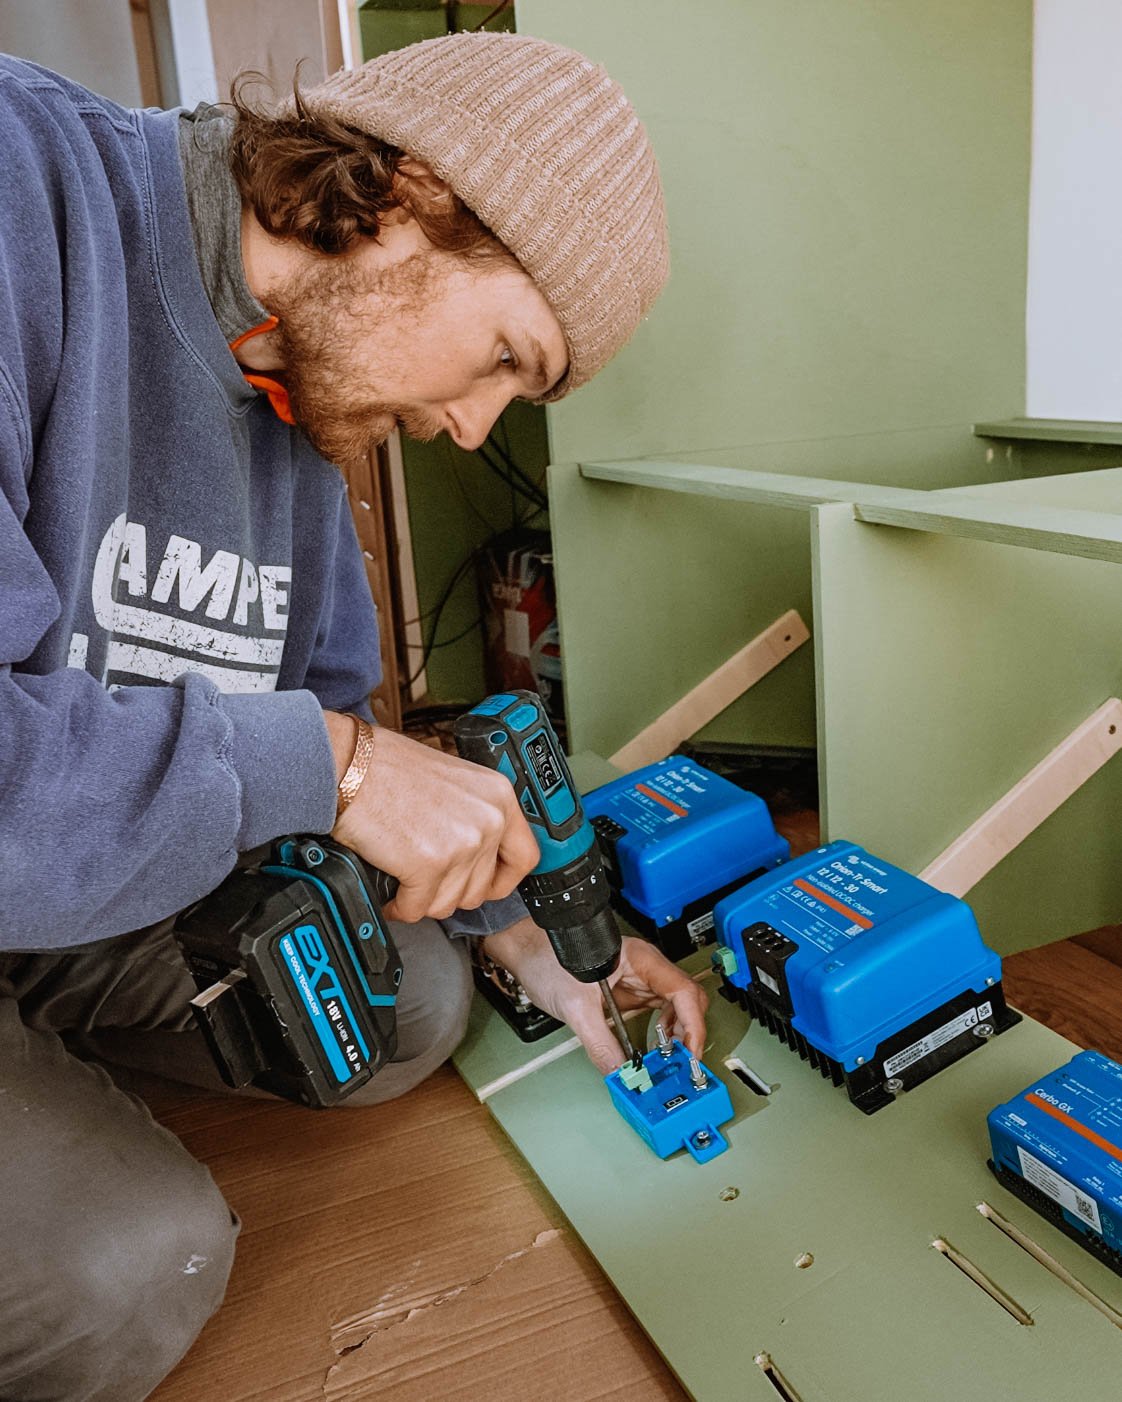
The Electrics
Nohma
Nohma, the brainchild of two climbers who've seamlessly merged their love for maths, marketing, design, engineering, and adventure to form an off-grid camper van electrics company that will make your van conversion a million times easier. With a camper van of their own as the ultimate testing ground and a meticulously crafted van conversion bible in tow, they've honed their expertise to create a service that caters to the unique needs of modern nomads.
Navigating the complexities of off-grid living can be daunting, but Nohma has made it a breeze. Their dedication to understanding individual lifestyles ensures that each customer receives a bespoke electrical system perfectly tailored to their needs. We recently enlisted their services for our own van build, and the results were nothing short of impressive. From consultation to installation, Nohma's professionalism and attention to detail shone through, leaving us with a setup that exceeded our expectations. If you're embarking on a van build and seeking a reliable partner to bring your off-grid dreams to life, Nohma comes highly recommended.
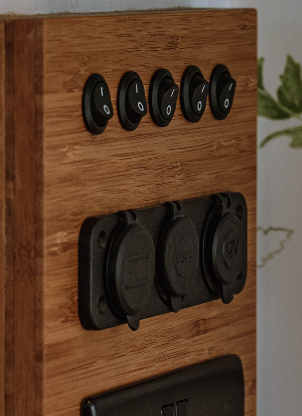
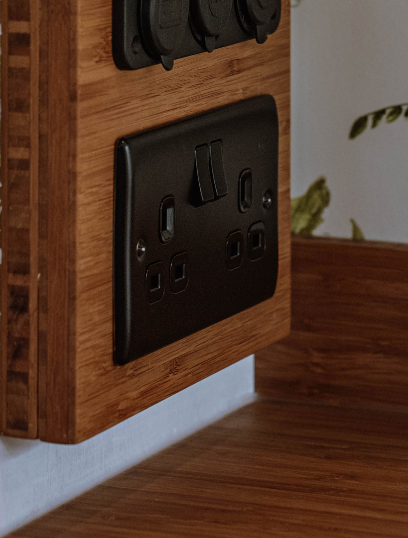
Sockets and Charging Ports
Clearly we decided on matte black accents across our whole build to keep everything cohesive. Knowing we wanted this made it a lot easier when choosing components. The plug sockets we went for were these, and these are the usb and usbc ports we chose. I made the switch board as we had some left over bamboo from our worktops.
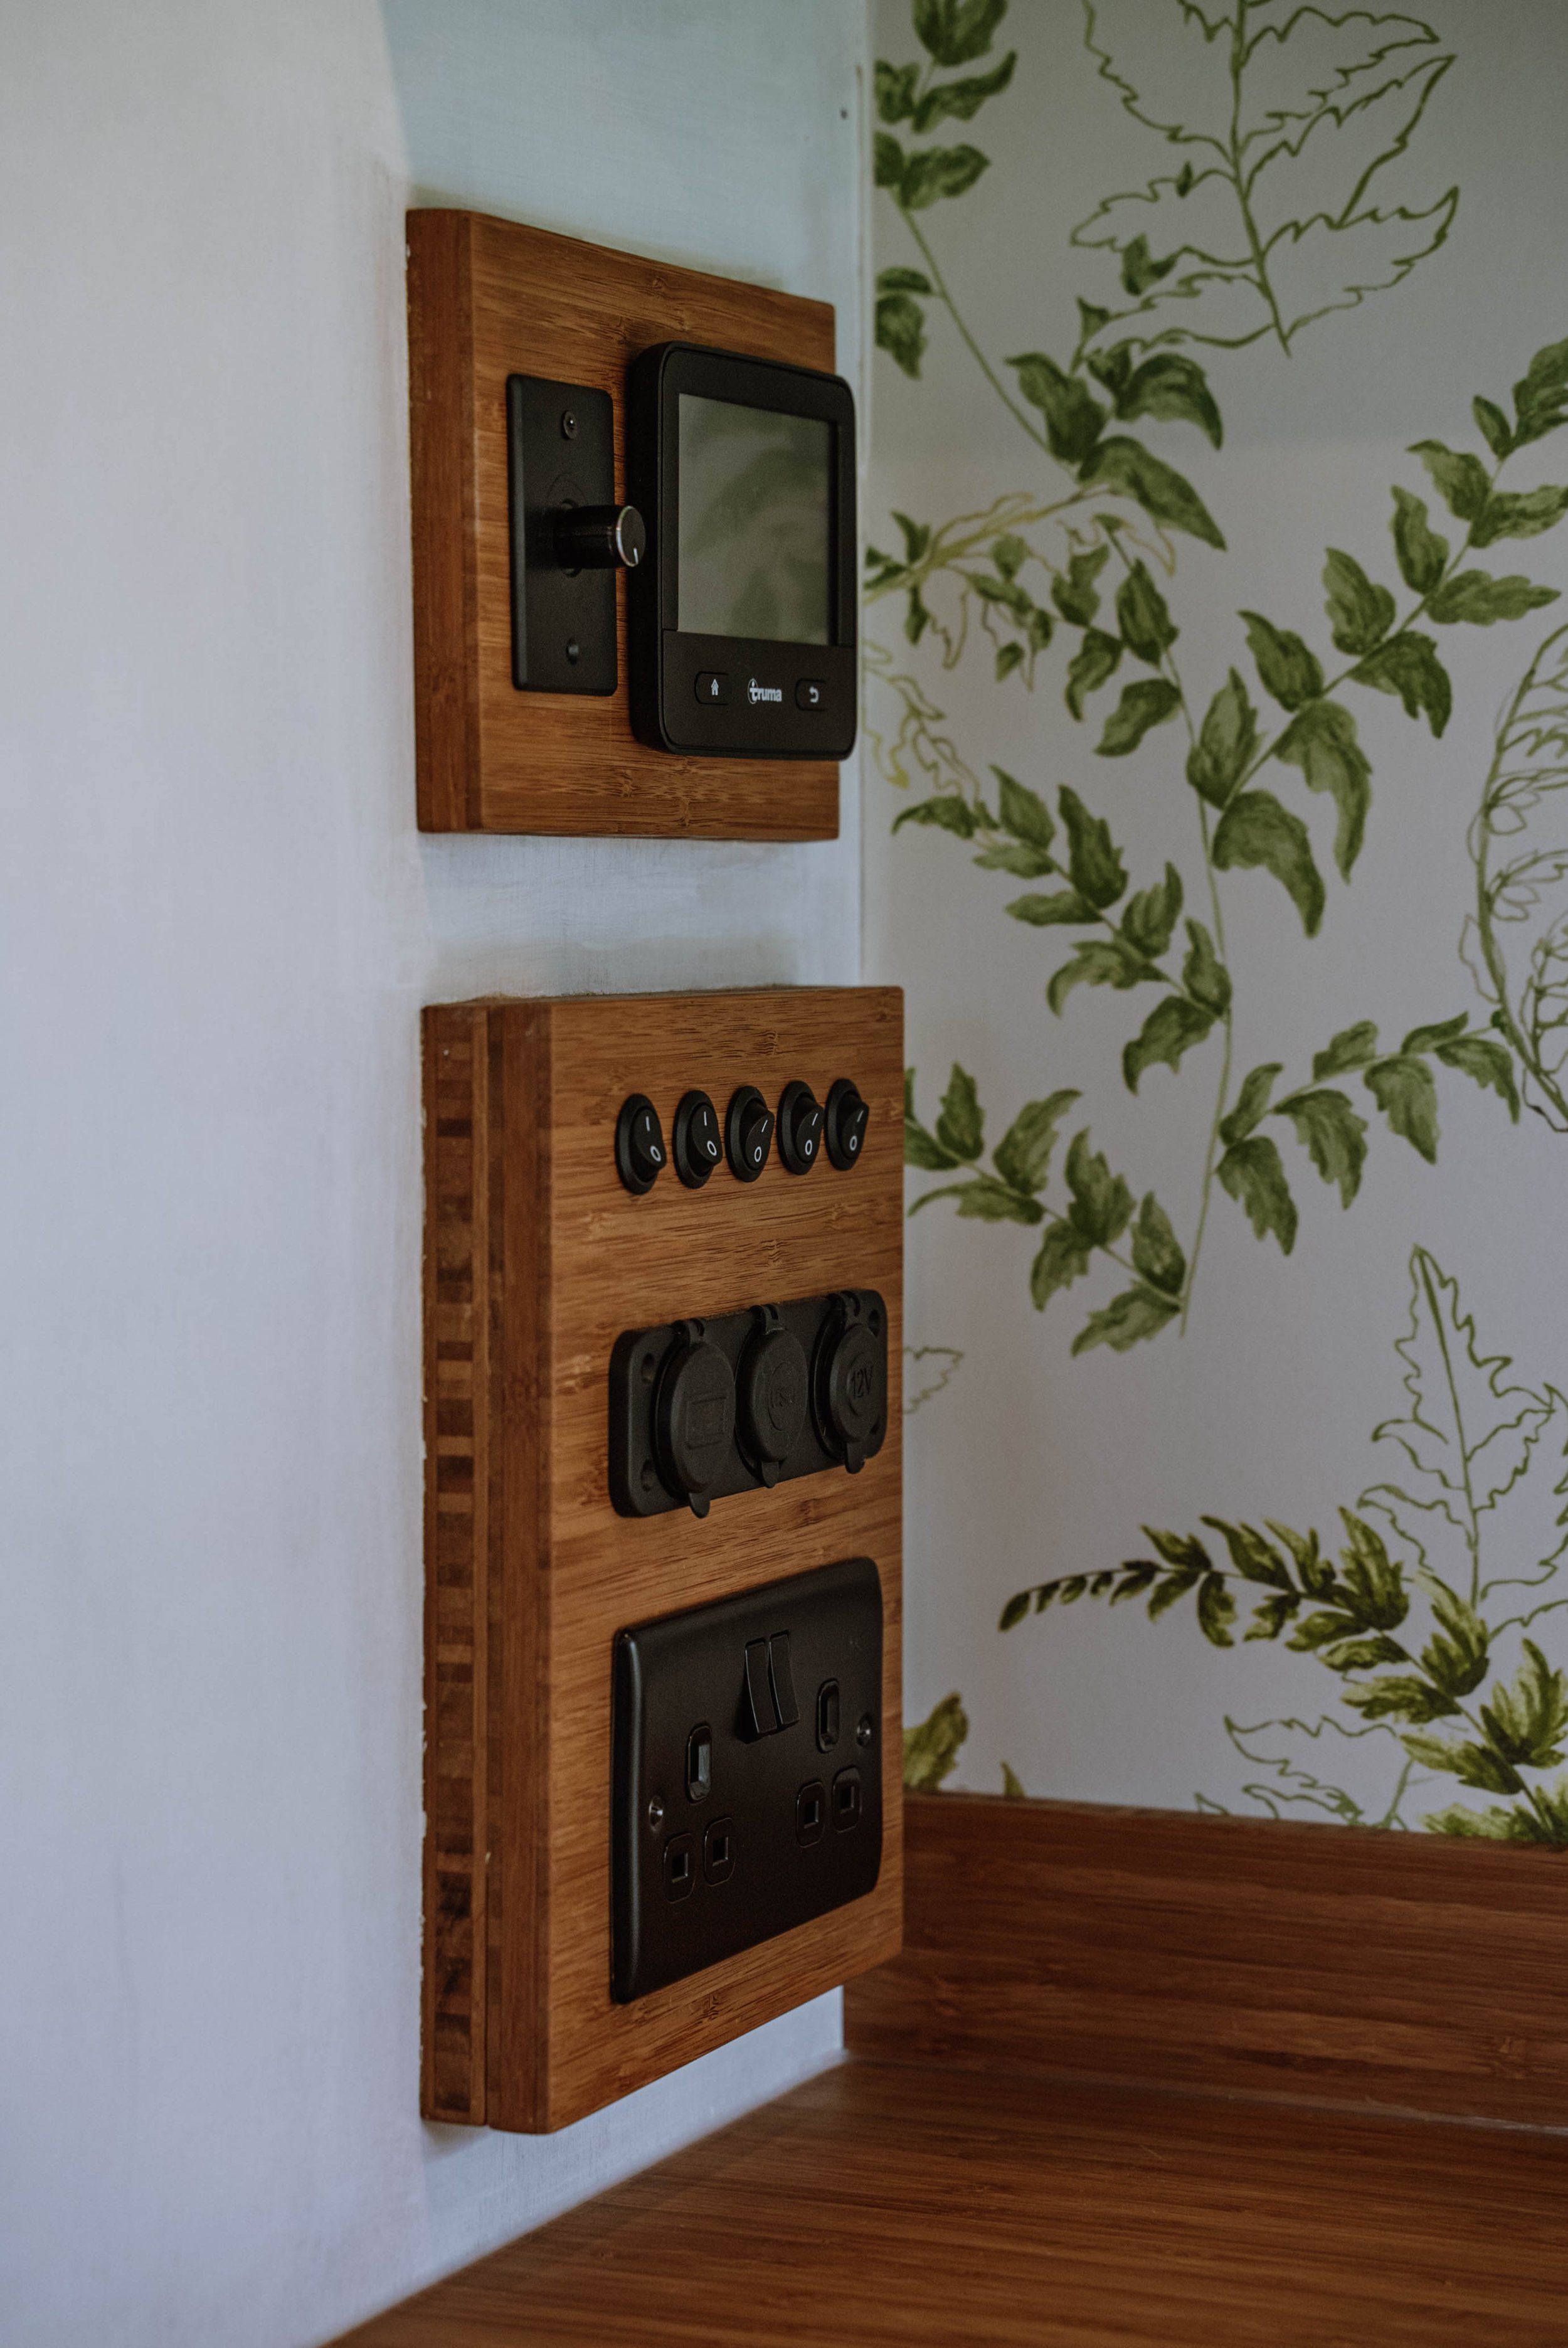
12 Volt Planet
Our van is consistently 20 degrees inside and we have hot water on tap. We got our Truma diesel water and air heater from 12Volt Planet and they were so helpful and friendly. We bought some electrical components from them for our last build too! 100% recommend.

This tucks away nicely under the storage area (which is under the bed). We’ve kept it accessible with a little magnetic door.
Spot Lights
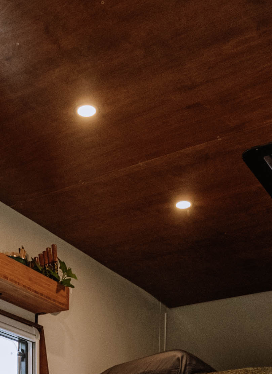
We wanted some simple plain matt black spotlgihts to match the other black details in the van. So we went for these ones. ps- Warm white is so much nicer than cool white when it comes to van lighting (in my humble opinion).
The Bedroom
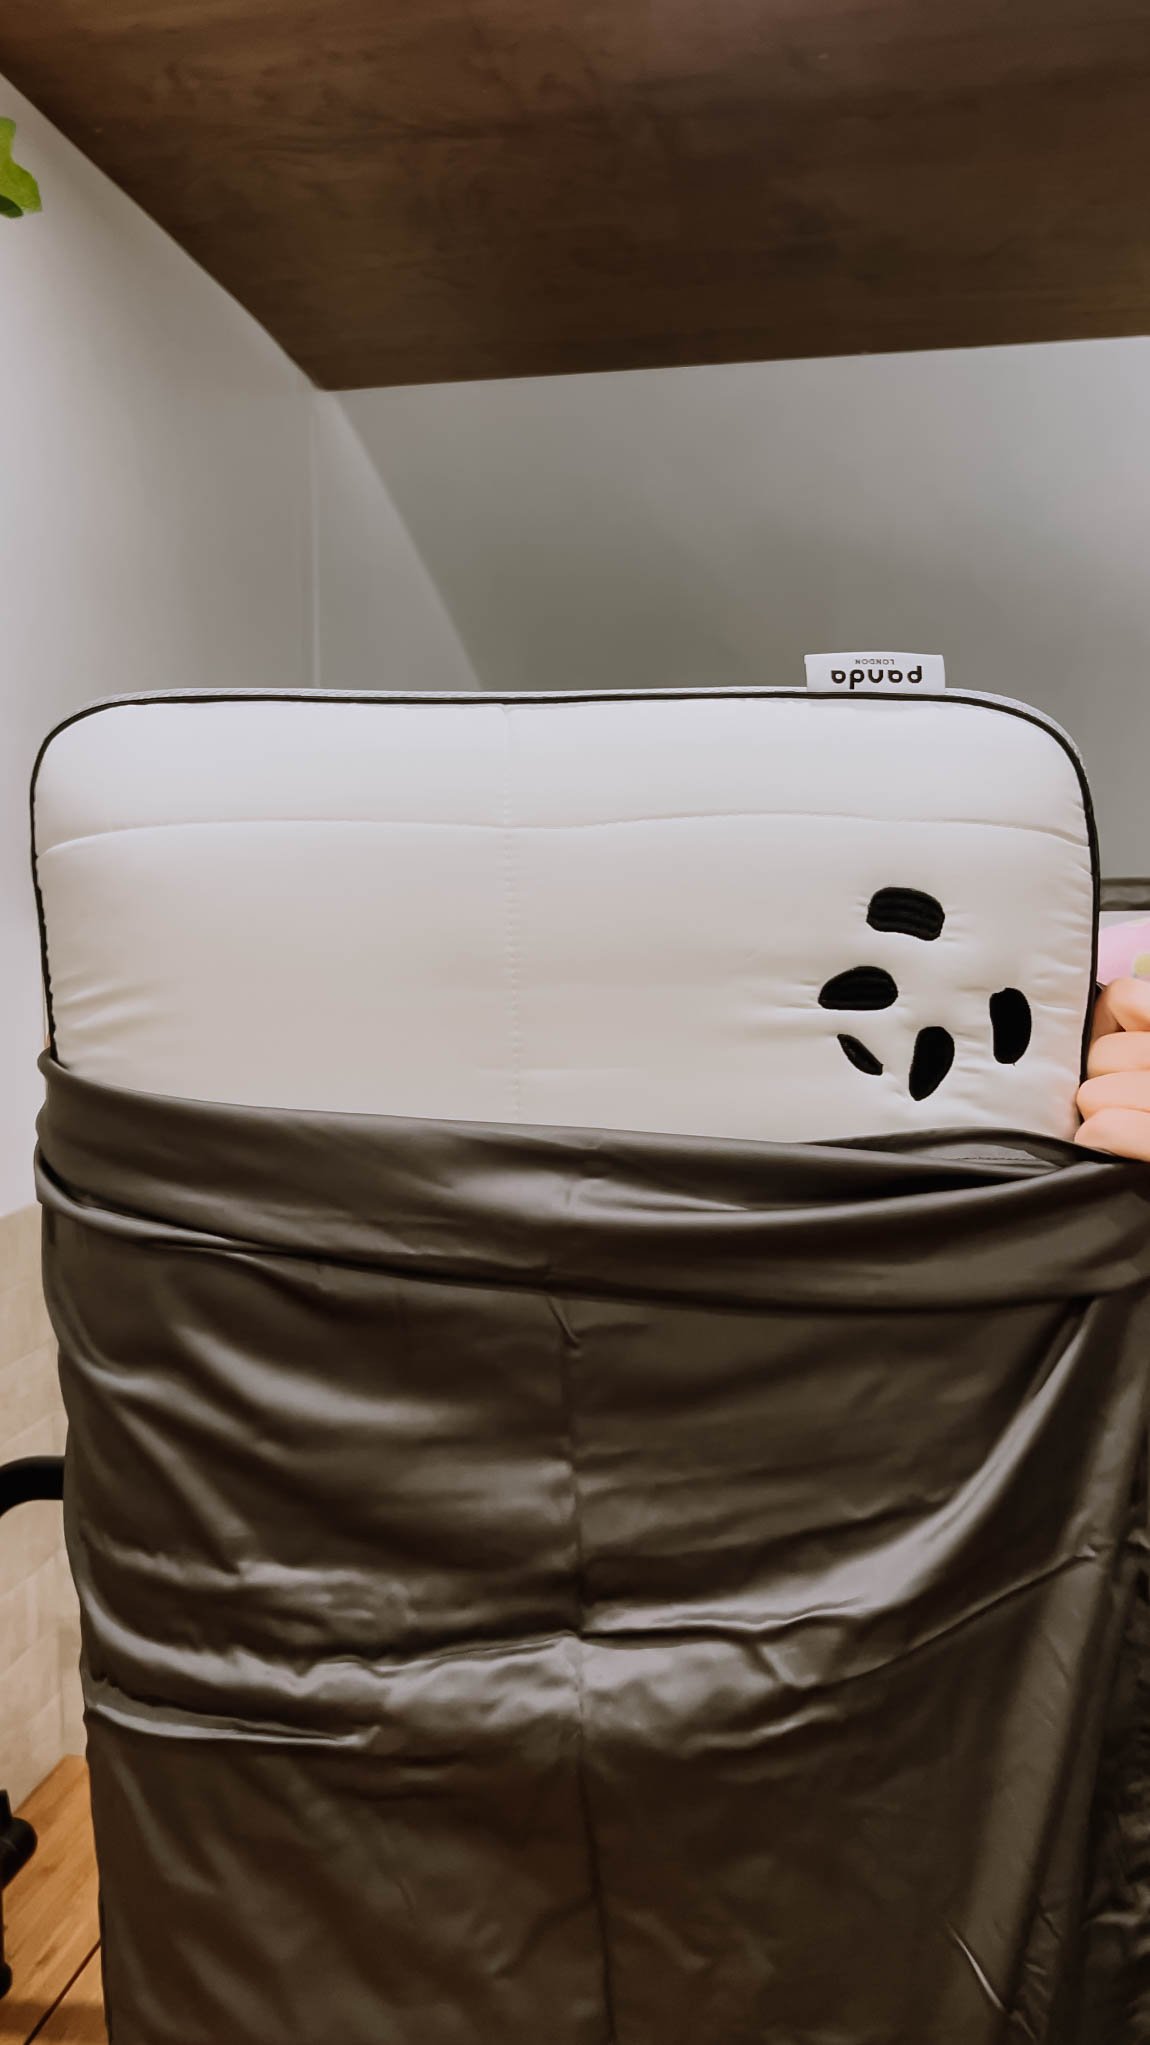
Panda London
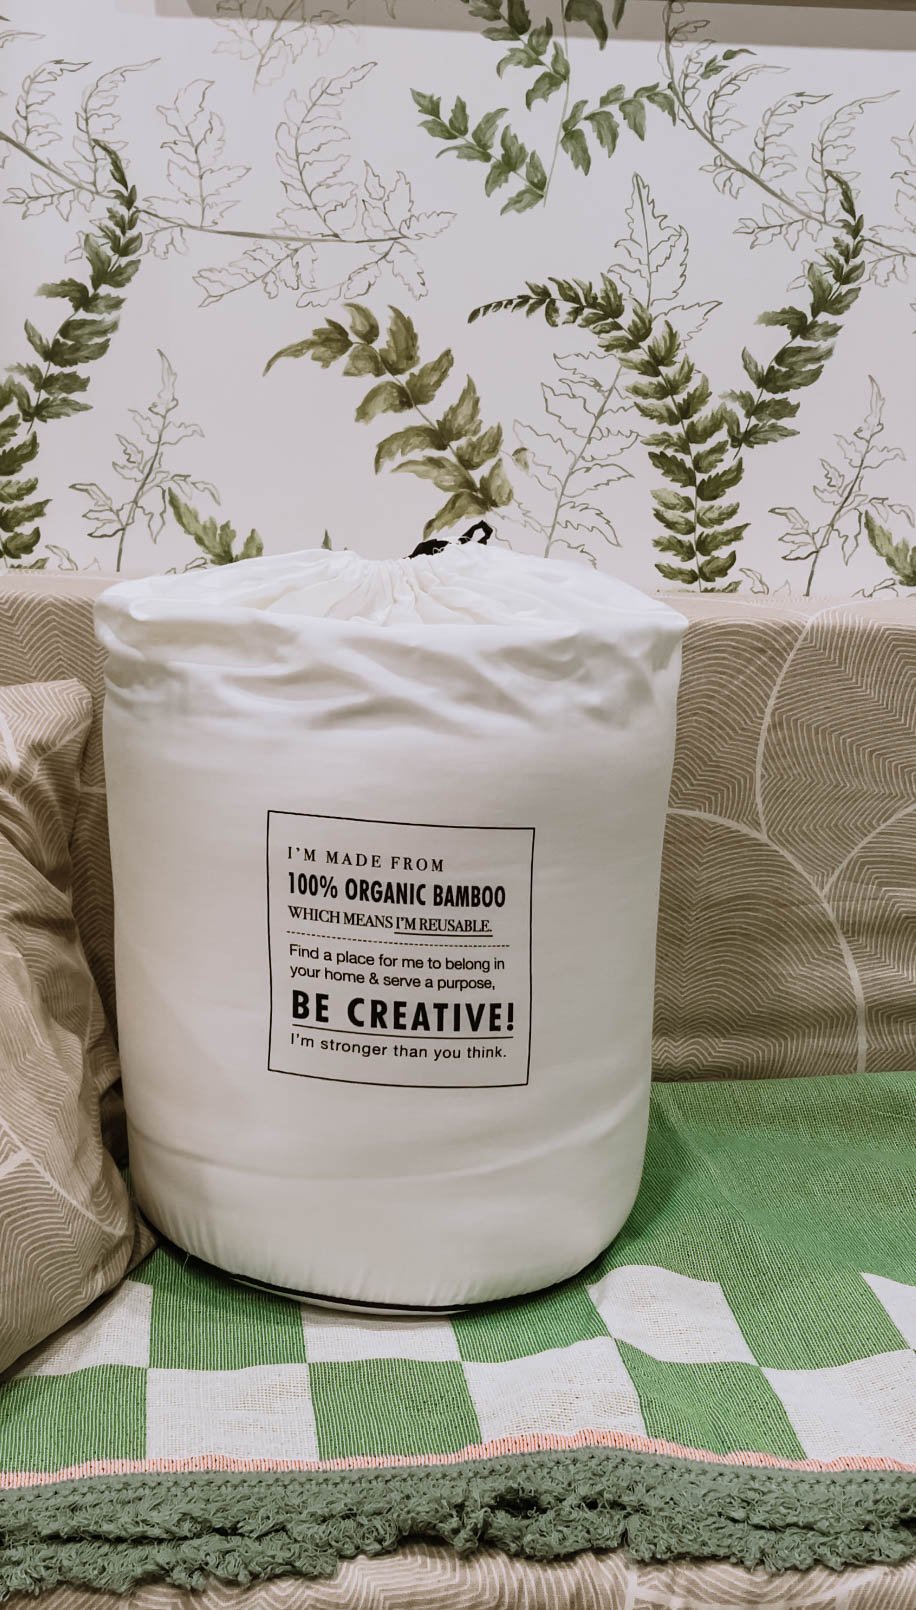
When it comes to mattresses, comfort is king (and sustainability is Queen). Our Mattress, pillows, duvet, and covers are all from Panda. Can you tell we LOVE bamboo!?
Froli System
If you haven’t seen one of these before, this may look a little alien to you. Those of you who followed along with our last van conversion journey will know that our Froli is something we can’t live without. Camper van beds are notorious for getting mold from unavoidable moisture but this keeps everything ventilated. The extra springiness is a bonus and means we don’t need a big heavy mattress!
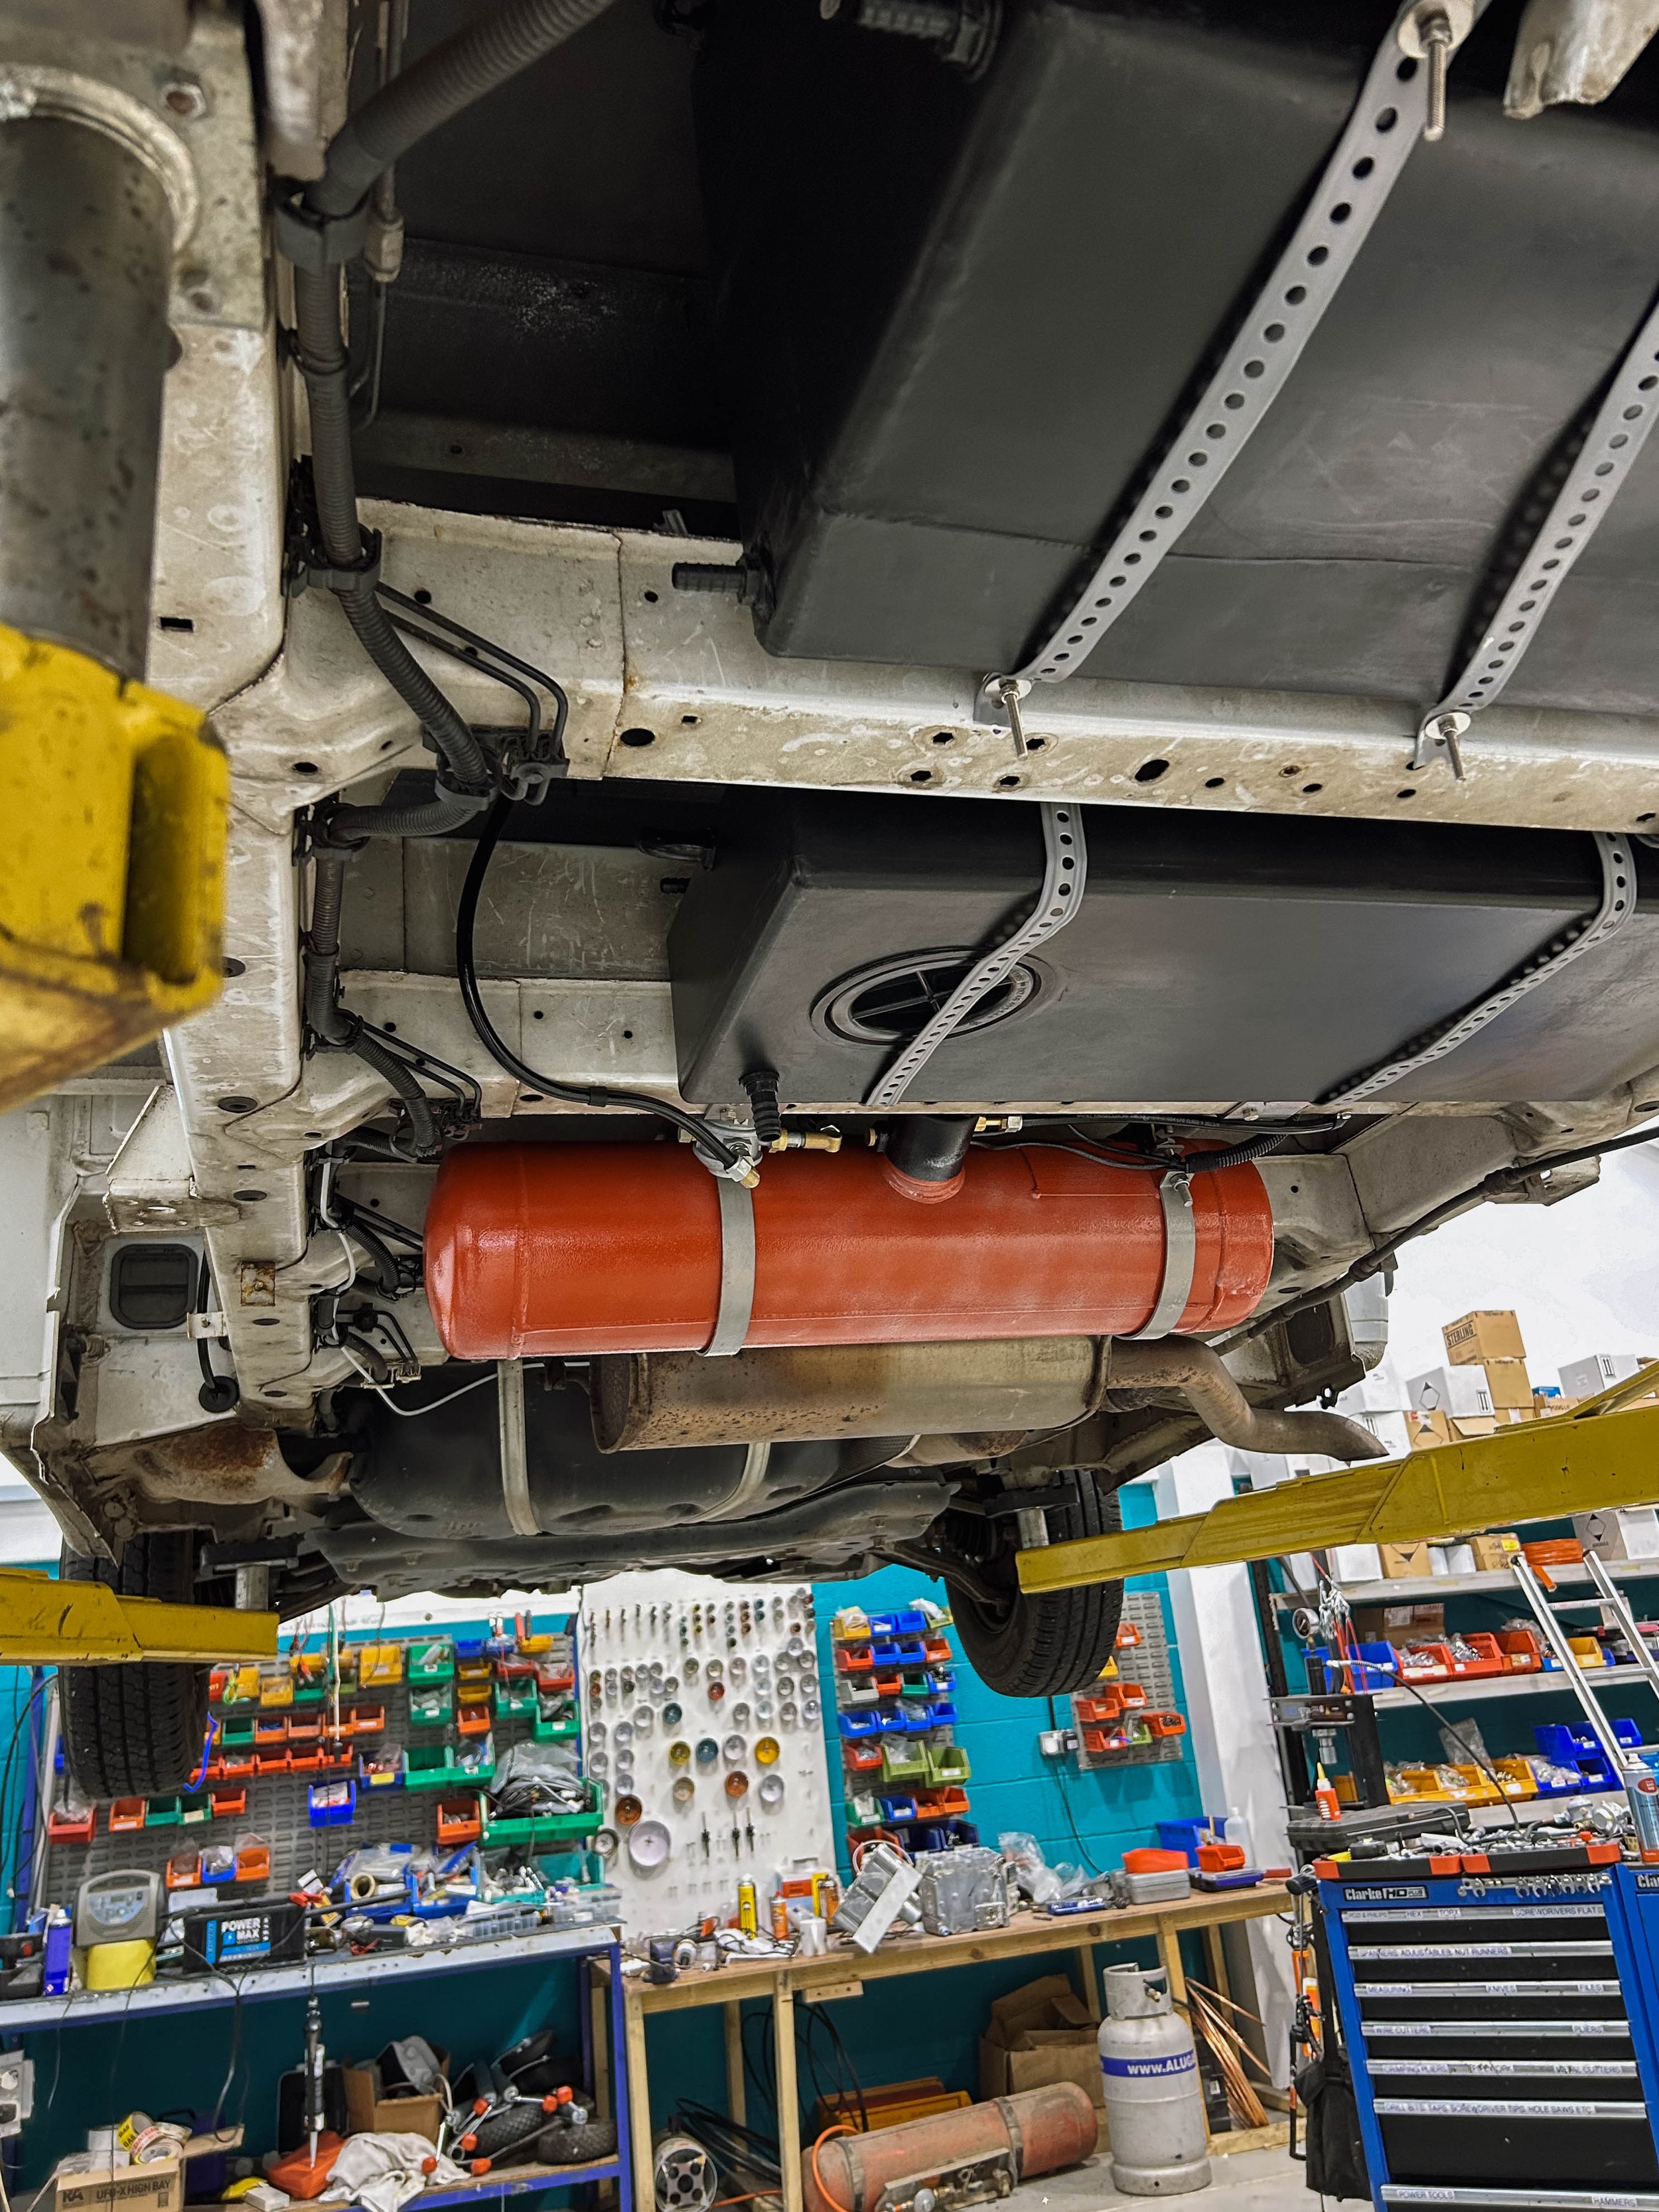
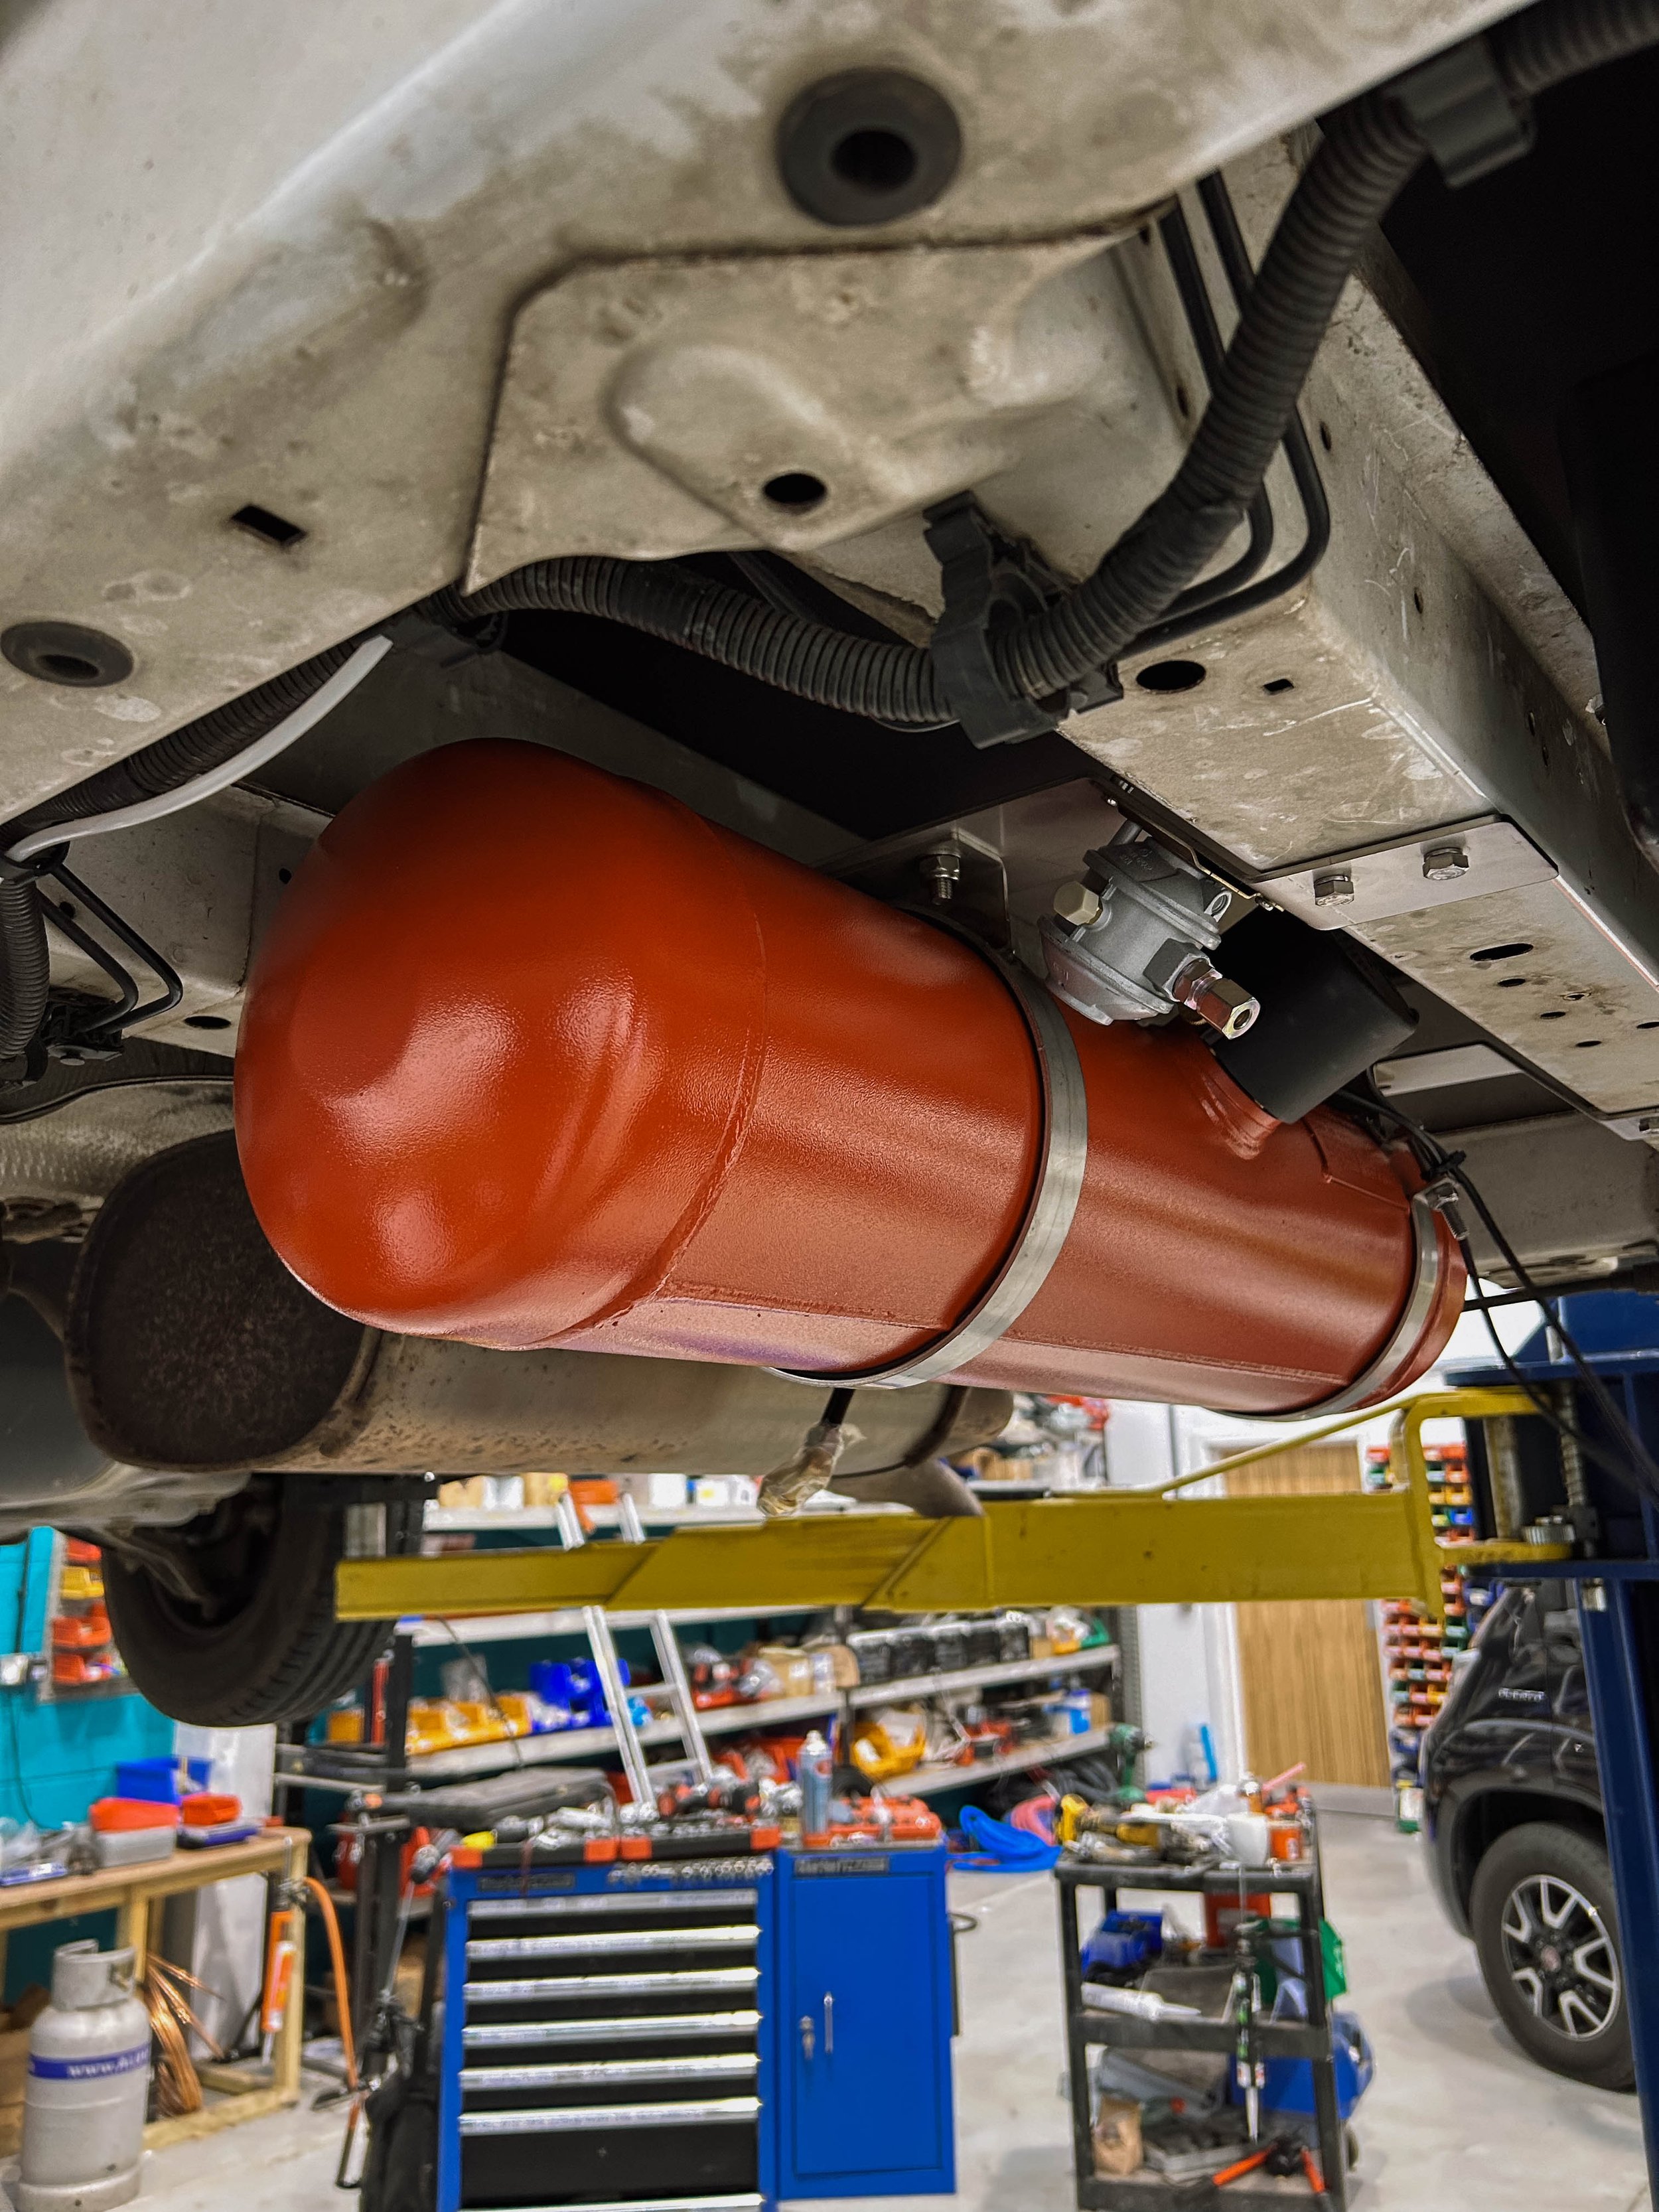
Propex Leisure
Gas tanks might not be the most exciting part of van life, but they're essential. Propex Leisure hooked us up with an underslung tank that keeps our kitchen sizzling and our hearts warm.
Tools
Let's talk about the essentials you'll need to get the job done right. Here's a practical rundown of the tools that will make your van conversion journey smoother and more efficient.
Tape Measure: Your best friend in this endeavour. From measuring the dimensions of your van to figuring out how much space you have for that fancy kitchenette, a tape measure is your go-to tool. You’ll use it every moment of your build so get a decent one that will actually lock into place when you need it to.
Cordless Drill/Driver: Trust me, you don't want to be tethered to a power outlet while you're drilling holes or driving screws into your van's frame. Invest in a decent cordless drill, and you'll thank yourself later. We actually went through a few drills during this build, we kept having to return the cheaper ones and buy a decent one! We’ve ended up with a compact trusty Bosch one.
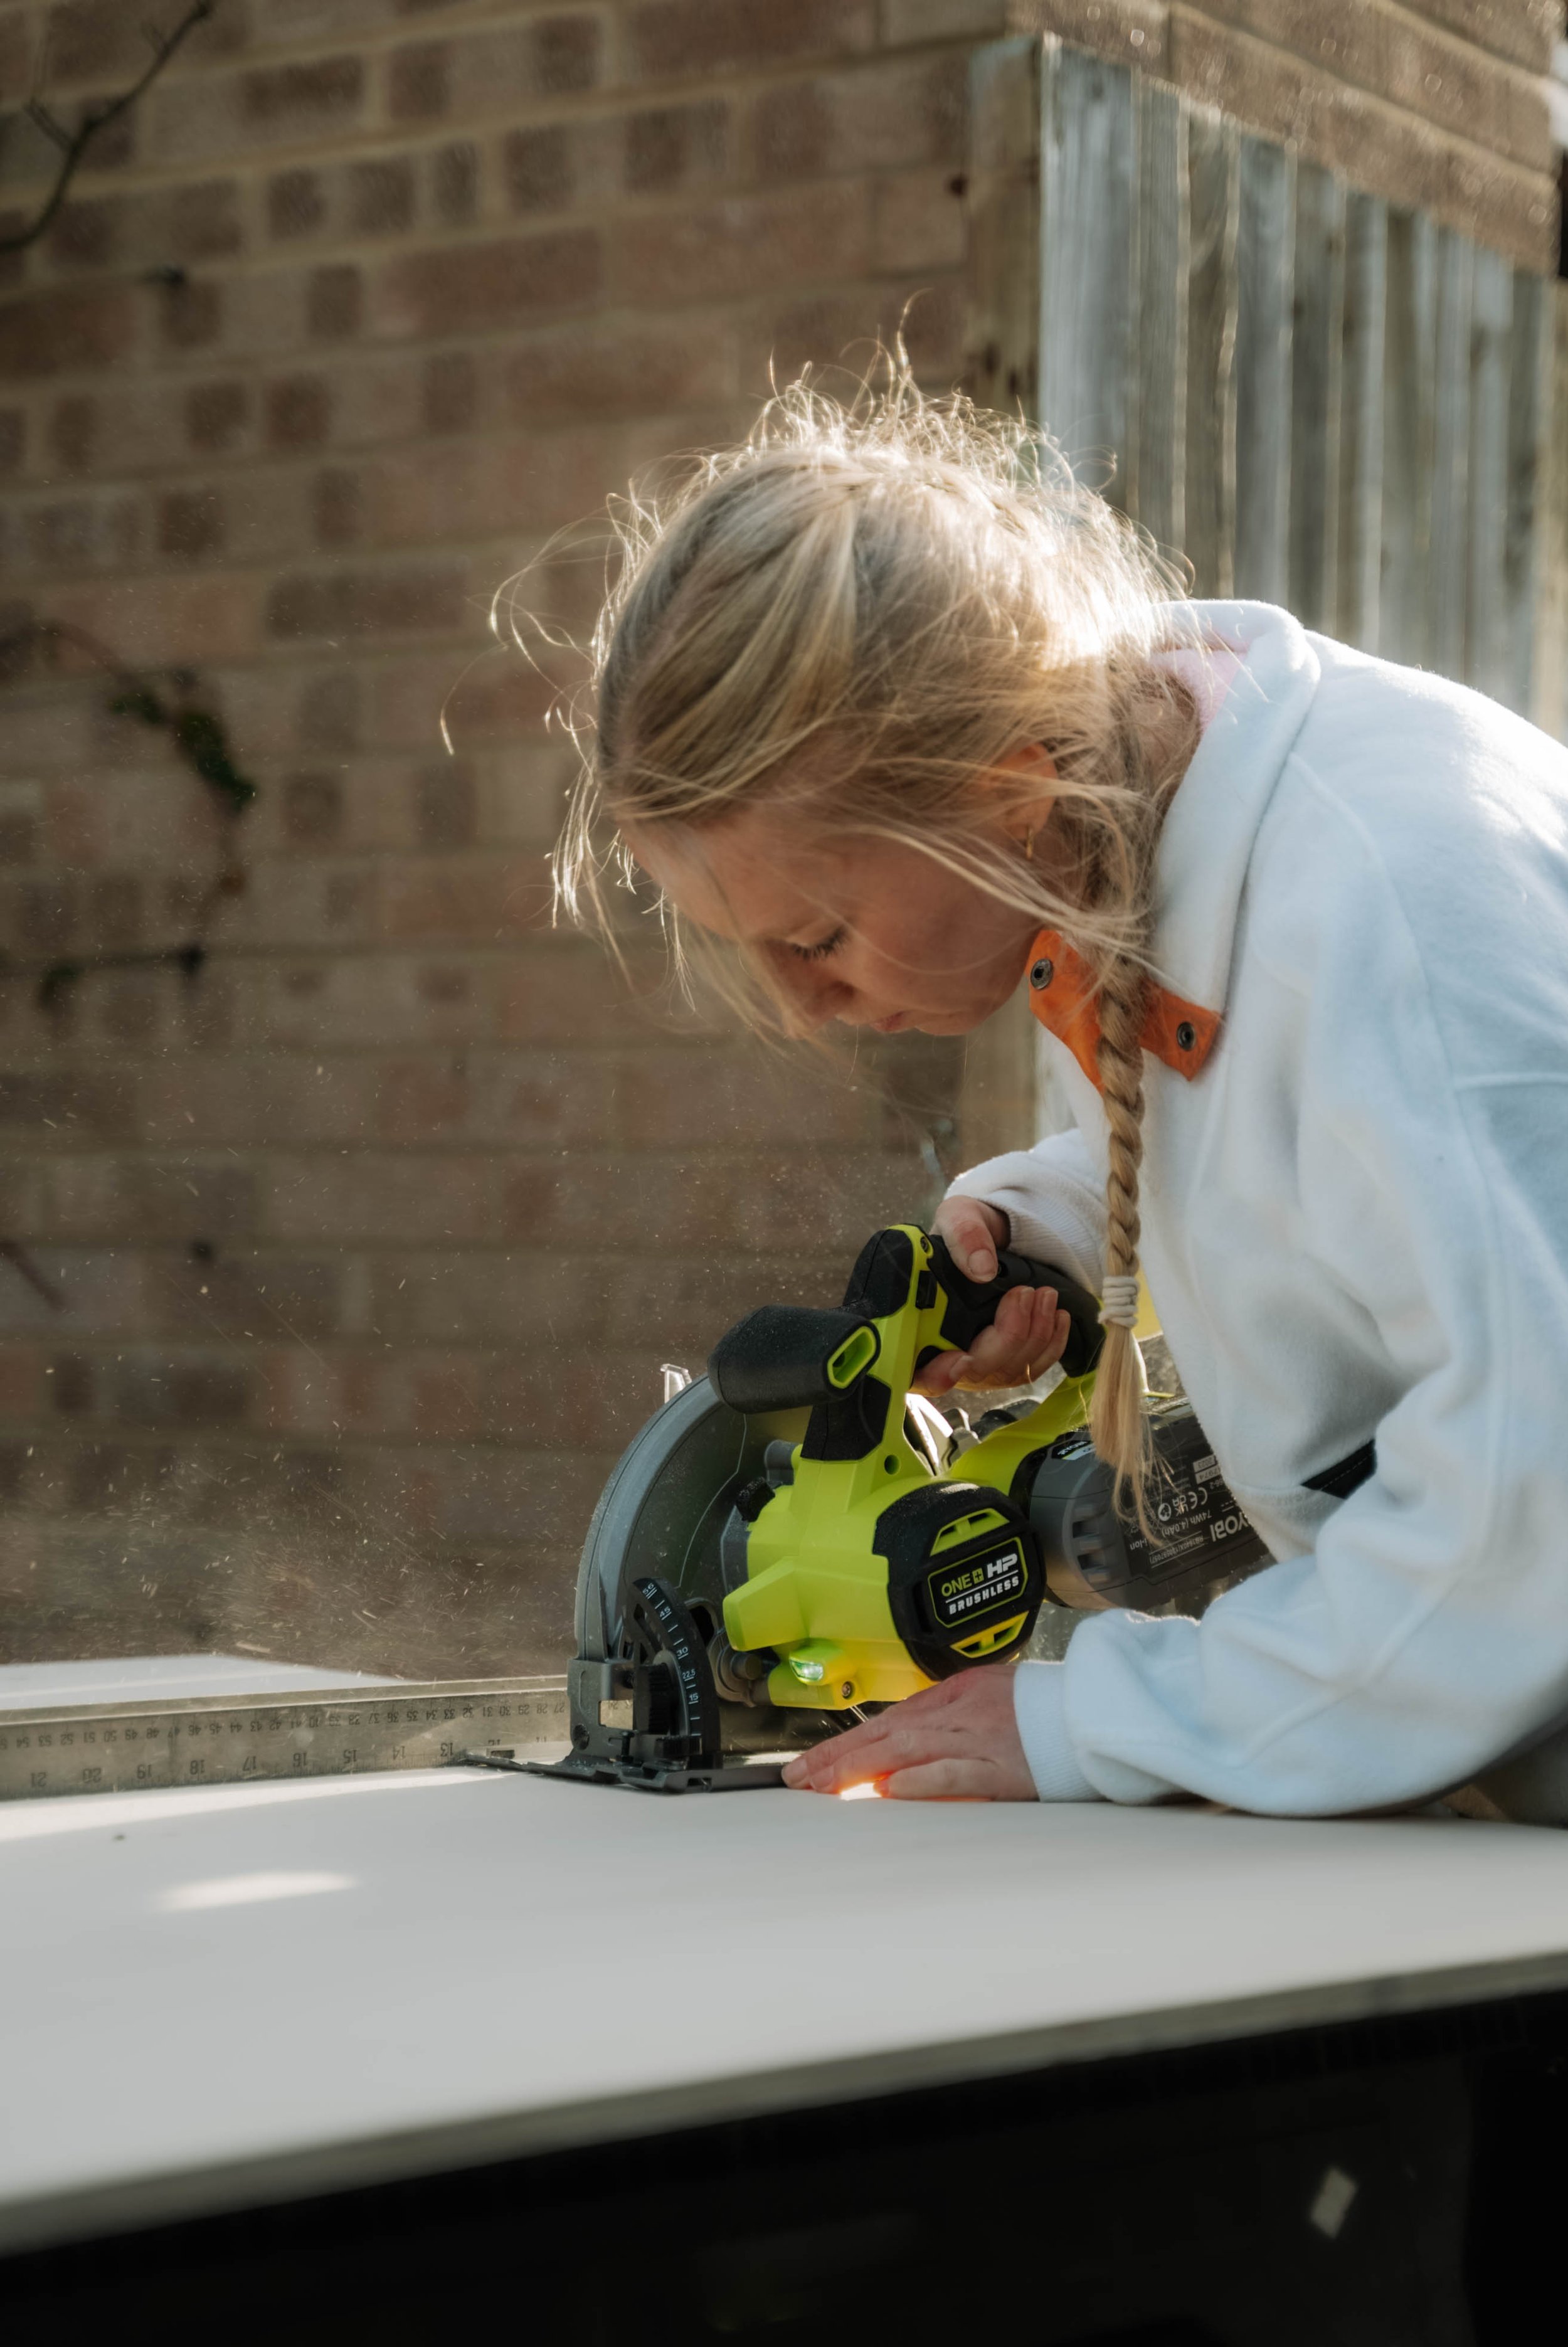
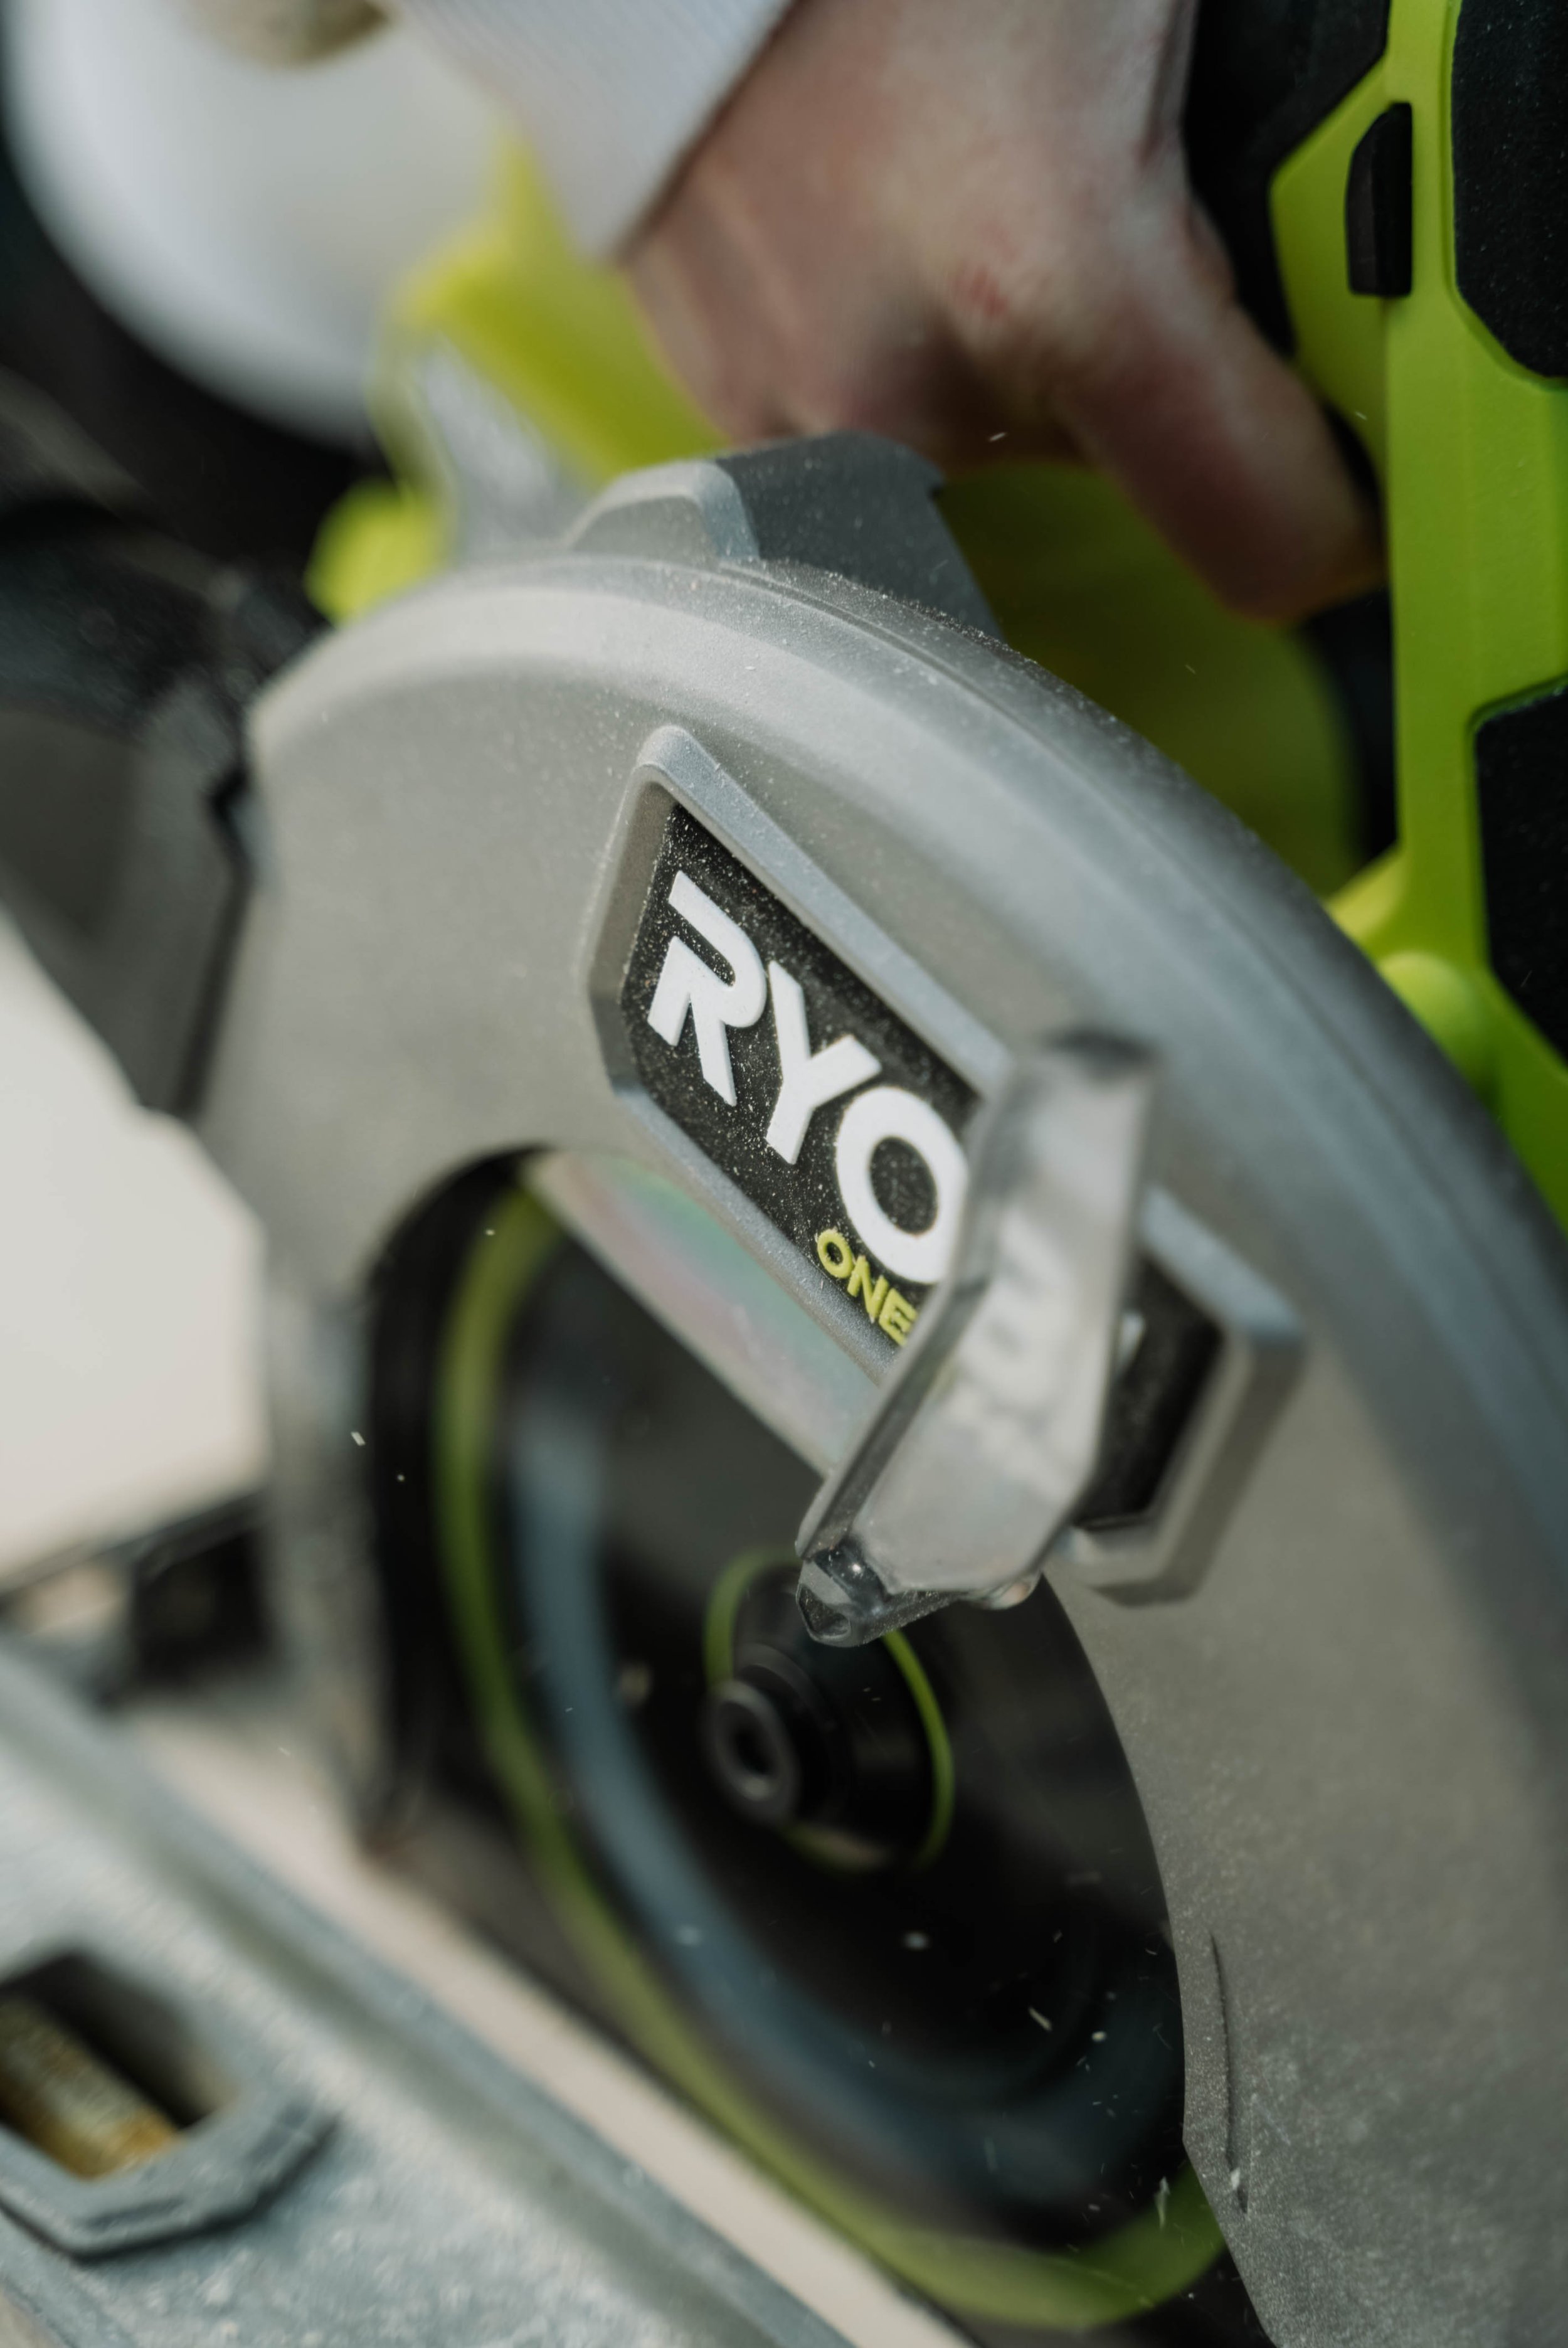
Circular Saw: When it's time to cut those plywood sheets for your bed platform or kitchen cabinets, a circular saw will be your best bet. Just remember to measure twice and cut once! Our circular saw is from Ryobi and is cordless which made our lives a whole lot easier
Router: It’s not 100% necessary but boy can you do some fancy things with a router! I used it to route out a border in the back of our cupboard doors so the cane webbing would sit nicely inside. We have a Ryobi one which shares the cordless battery with the circular saw which is pretty cool! Especially if you don’t have a lot of storage space.
Jigsaw: For those times when you need to make precise cuts or tackle intricate shapes, a jigsaw comes in handy. It's like the Swiss Army knife of cutting tools. We used ours for cutting the window holes in the wood/fibreglass walls, cutting the hole in the roof for the fan and that beautiful curved archway that we have under the bed.
Miter Saw: This isn’t a 100% necessary tool but we were lucky enough to have access to one and it makes cutting those pieces of batten so much easier when you want the perfect straight edge.
Screwdriver Set: A good set of screwdrivers is indispensable. That’s all I’ve got to say.
Hammer: Sometimes, you just need to whack things into place. A hammer may seem old-school, but it gets the job done.
Utility Knife: Whether you're cutting insulation or opening boxes of supplies, a sharp utility knife is a must-have. Just be careful not to cut yourself on these bad boys! I have one from my grandads shed and I used it almost every day of the build.
Pliers: Need to bend, twist, or grip something? Pliers have got you covered. Just make sure you have a few different types on hand for whatever task comes your way.
Clamps: Whether you're gluing pieces together or holding something in place while it dries, clamps are a lifesaver. Just be careful not to clamp your fingers by accident!
Right Angle Tool: This handy gadget ensures your corners and angles are spot-on, making for a more polished finish to your conversion.
Wrench Kit: Don't forget to tighten those nuts and bolts! A wrench kit will have you covered for any fastening needs.
Sandpaper: Sometimes you just need good ol' sandpaper to smooth out rough edges and prep surfaces for painting or finishing.
Wire Stripper/Cutter: For any electrical work, a wire stripper/cutter is essential to ensure safe and secure connections.
Wire Crimping Tool: The one we used was pretty heavy duty but it enabled us to do all of the thick wires. Such a good investment! This is the one I recommend.
Workbench/Table: Having a dedicated space to work on your van conversion makes the process much more manageable.
Extra Accessories:
Hoover
A bit pricey for a hoover I know, but this one is amazing and the battery lasts really well for how powerful it is. I love doing at least 1-2 minutes of hoovering every day to keep on top of things. We did have a 12v one but it really didn’t cut the mustard, let alone get all the hair and dust off the floor.
Hose
We use this HozeLock Hosepipe for filling tank. It’s the smallest and lightest weight one we could find and so far so good.
Kettle
We love our kettle, definitely the fastest boiling one we’ve fond due to the thin base.
Thanks for reading!
I hope this has given you some inspiration for things to use for your own van conversion! This is definitely a more luxury build compared to our medium wheel use van which we lived in for threee and a half years. Having hot water and a separate bathroom for privacy has been amazing, I can’t believe we went without it for so many years!
We will be putting a time lapse of the entire build on Our Wild Horizons YouTube channel, so keep your eyes peeled for that!
And lastly, happy building! Both of our van conversions have been the biggest challenge of our lives but it really is worth it in the end I promise.